📑 Table of Contents ▶
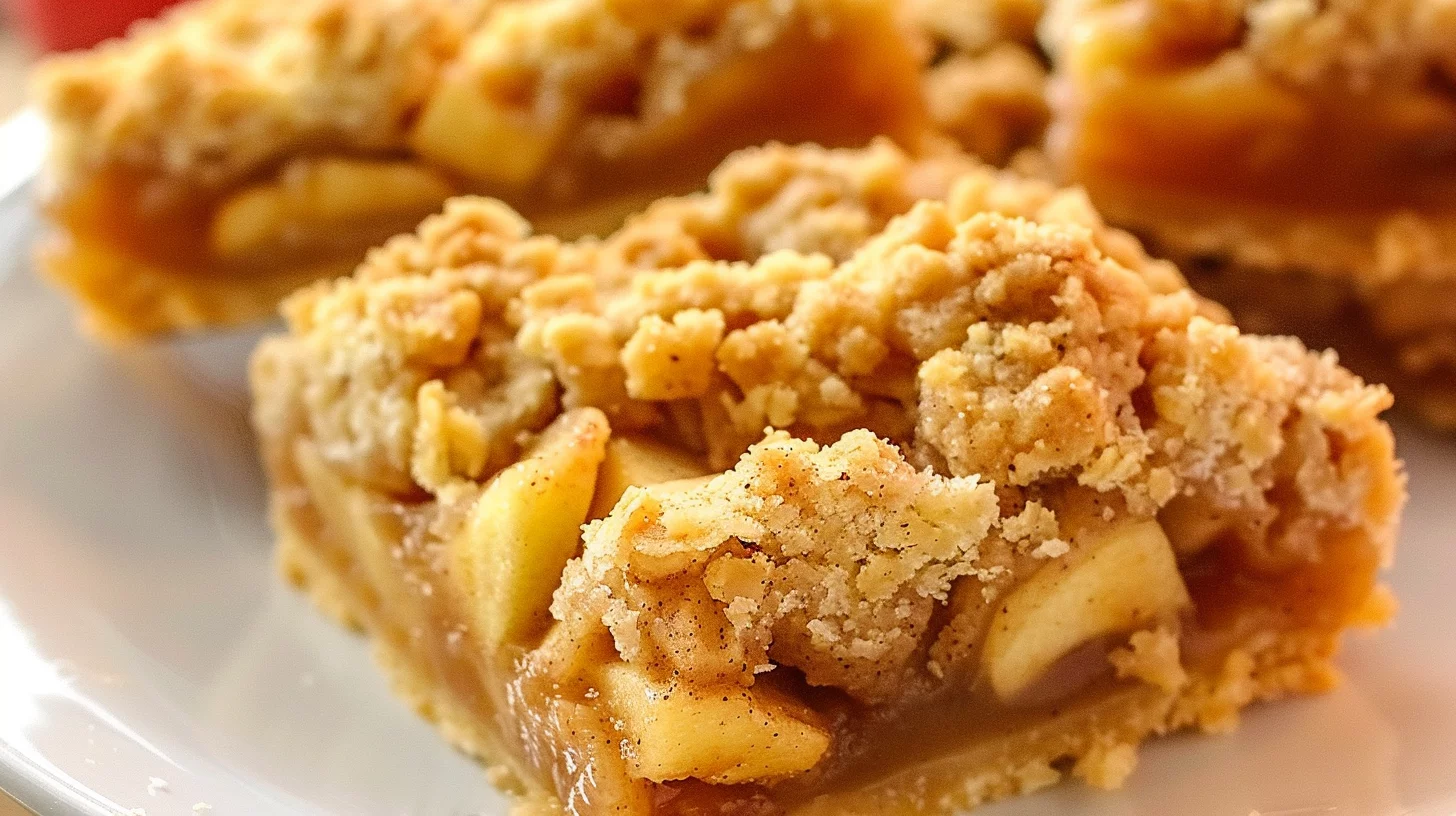
- Apple Pie Bars
- Mastering Apple Pie Bars: A Delicious Journey
- Fundamentals
- Preparation/setup
- Creating the Perfect Apple Pie Bars
- Technique
- Tips/tricks
- Perfecting Your Apple Pie Bars
- Perfecting results
- Troubleshooting/variations
- Serving and Storing Apple Pie Bars
- Serving/presentation
- Pairings/storage
- Conclusion
- FAQs – Apple Pie Bars
- Related posts:
- Cotton Candy Margarita
- Pumpkin Gooey Butter Cake Recipe: Indulge in Irresistible Fall Bliss
- Cheesecake Made with Frozen Lemonade: How to Make the Best Summer Dessert
Apple Pie Bars have always held a special place in my heart. Growing up, my grandma would often make them for family gatherings, filling the house with the warm, comforting aroma of baked apples and cinnamon. These bars were more than just a treat; they were a symbol of love and togetherness, a sweet reminder of the joy that comes from sharing food with loved ones.
Every time I make these Apple Pie Bars, I’m transported back to those cherished moments. The process of chopping apples, mixing spices, and creating the crumbly topping brings a sense of nostalgia and warmth. It’s a simple yet delightful recipe that never fails to bring smiles to the faces of those who try it.
At GrandMmaDelights, my mission is to share this joy with you, helping you create your own memories through the magic of home cooking. These Apple Pie Bars are a perfect example of how simple ingredients can be transformed into something truly special, a delicious embodiment of comfort and tradition.
Join me in this culinary adventure, and let’s explore the vibrant flavors and comforting classics that make home cooking so rewarding. Together, we’ll uncover the secrets to making these Apple Pie Bars a staple in your kitchen, just as they are in mine.
Print
Apple Pie Bars
- Total Time: 1 hour 15 minutes
- Yield: 16 bars
Description
Indulge in the deliciousness of homemade apple pie bars with this easy recipe. Learn how to bake these sweet treats for a delightful dessert option.
Ingredients
- – 4 and 1/2 cups (550 g) chopped cubed apples
- – 2 tablespoons (30 g) granulated sugar
- – 2 tablespoons and 1 teaspoon (25 g) all-purpose flour
- – 2 teaspoons (10 ml) lemon juice
- – 1 teaspoon (5 ml) ground cinnamon
- – 1/4 teaspoon (1 ml) ground nutmeg
- – 2 cups (280 g) all-purpose flour (dip and sweep)
- – 3/4 cup and 1 tablespoon (185 g) unsalted butter, cut into small cubes, cold
- – 1/2 cup (105 g) granulated sugar
- – 1 teaspoon (5 ml) ground cinnamon
Instructions
- Set your oven to 350°F (177°C) and let it preheat. Prepare an 8-inch (20cm) square baking dish by greasing it and lining it with parchment paper, ensuring about 2 inches (5 cm) hang over each side.
- Remove the skin, core, and chop the apples into small cubes. Place them in a medium-sized bowl. Mix the apple pieces with lemon juice, sugar, flour, cinnamon, and nutmeg, then set the bowl aside.
- In a separate large bowl, mix together flour, cinnamon, and sugar.
- Add the cold, diced butter to the flour mixture. Coat the butter with the flour and use either two forks, a pastry cutter, or your fingertips to blend them together.
- Take ⅔ of this mixture and press it into the bottom of the prepared baking dish. Use a spoon dusted with flour to prevent sticking, or use your hands to spread it out evenly.
- Pour the apple mixture over the pressed dough, then cover the apples with the remaining ⅓ of the dough. To create larger crumbles, gently squeeze the dough in your hand before placing it on top.
- Place the dish in the oven and bake for 55 minutes, or until the top is golden and the crumbles are crisp. Allow it to cool completely before cutting. Cool at room temperature for 1-1.5 hours, or speed up the process by chilling in the freezer. Once cooled, use the parchment paper to lift the bars out of the dish, then slice them into 16 pieces. Store them in an airtight container in the fridge for up to 4 days or freeze for up to 3 months.
Notes
- Make sure to use chilled butter when preparing the crumble topping for a flakier texture.
- Coat your spoon with flour to prevent the dough from sticking when spreading it in the baking dish.
- For a faster cooling process, place the bars in the freezer for about 30 minutes before cutting.
- Prep Time: 20 minutes
- Cook Time: 55 minutes
- Category: Dessert
- Method: Baking
- Cuisine: American
Nutrition
- Calories: 180
- Fat: 9g
- Protein: 1g
Keywords: apple crumble, cinnamon crumble, crunchy topping, golden brown, dessert bars, sweet treat
Mastering Apple Pie Bars: A Delicious Journey
Fundamentals
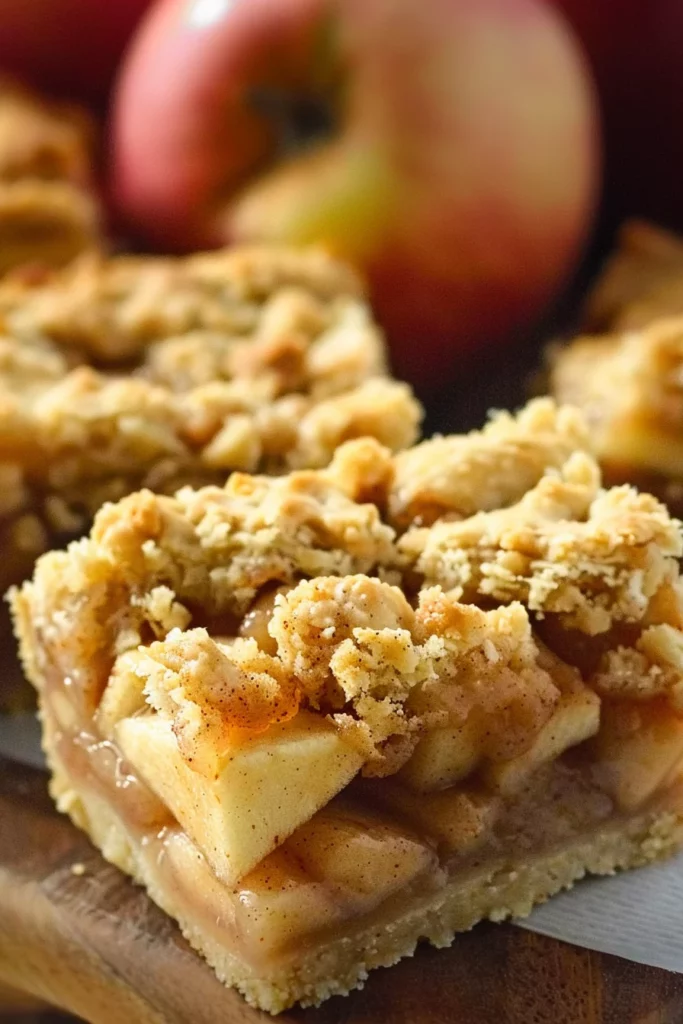
Making Apple Pie Bars is all about understanding the basics. You begin with fresh apples, the heart of this recipe, which provide a sweet and tangy contrast to the buttery crust. The mix of cinnamon and nutmeg adds warmth and depth, enhancing the natural flavors of the apples.
Choosing the right apples is crucial. Varieties like Granny Smith or Honeycrisp work best due to their firm texture and balanced sweetness. These apples hold up well during baking, ensuring your bars have the perfect bite.
Preparation/setup
The preparation for Apple Pie Bars involves a few simple steps. Start by preheating your oven to 350°F (177°C) and preparing your 8-inch baking dish. Grease and line it with parchment paper, making sure the paper hangs over the sides for easy removal later.
Next, prepare your apples. Peel, core, and chop them into small cubes. In a bowl, combine them with lemon juice, sugar, flour, cinnamon, and nutmeg. This mixture will become the flavorful filling for your bars.
Creating the Perfect Apple Pie Bars
Technique
The technique for crafting Apple Pie Bars lies in the crust and crumble. In a large bowl, mix flour, sugar, and cinnamon. Add cold, diced butter, and blend using your fingertips or a pastry cutter until the mixture resembles coarse crumbs. This method ensures a tender, flaky crust.
Press two-thirds of this crumbly mixture into the prepared baking dish, forming a solid base. Spoon the apple mixture over the crust, spreading it evenly. For the topping, gently squeeze the remaining dough in your hand before sprinkling it over the apples to create larger crumbles.
Apple Pie Bars
Tips/tricks
Achieving the perfect Apple Pie Bars requires a few tips. Ensure your butter is cold for a flaky crust. Use a spoon dusted with flour to press the crust evenly, preventing sticking. For a richer flavor, consider adding a pinch of salt to the crust mixture.
To enhance the apple filling, try experimenting with different apple varieties for a unique flavor profile. These simple tricks can elevate your bars from good to great, making them a memorable treat for any occasion.
Perfecting Your Apple Pie Bars
Perfecting results
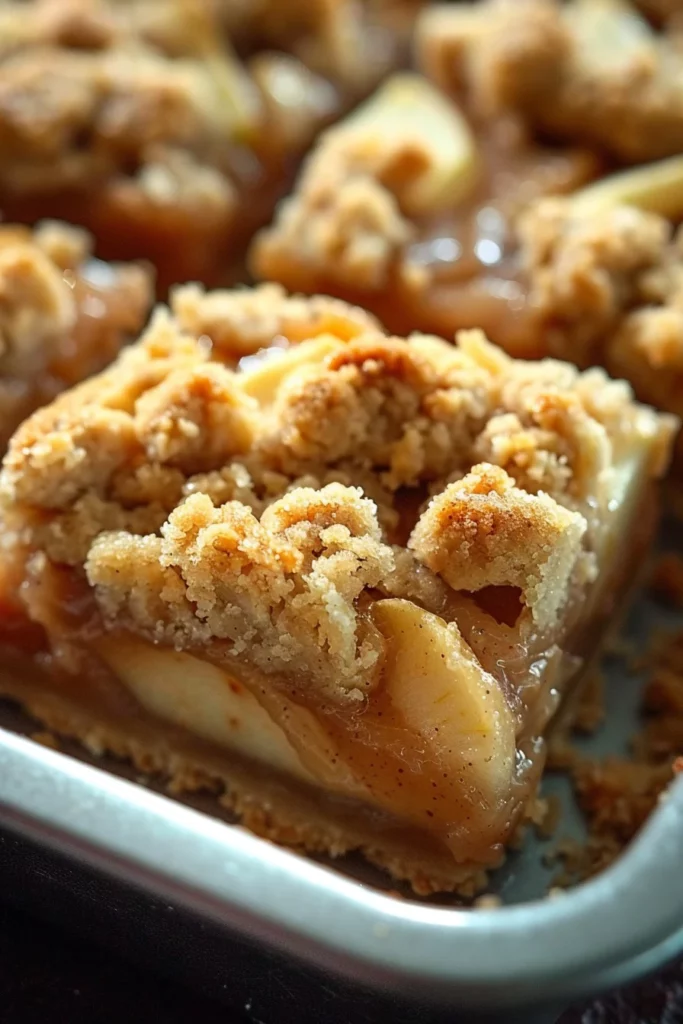
Baking your Apple Pie Bars to perfection is an art. Place your dish in the preheated oven and bake for 55 minutes. The goal is a golden top and crisp crumbles. Patience is key; allow your bars to cool completely before slicing, which helps them firm up and enhances their flavor.
If you’re aiming for a quicker cool-down, use the freezer method. Once cooled, lift the bars using the parchment overhang and slice them into neat pieces. Proper cooling and slicing ensure your bars have the perfect texture and presentation.
Troubleshooting/variations
If your Apple Pie Bars are too crumbly, it may be due to insufficient butter or over-mixing. Ensure your butter remains cold during preparation. Should the filling be too runny, adjust by adding more flour to the apple mixture.
For variations, incorporate other spices such as ginger or cloves for a different flavor dimension. You can also add nuts to the crumble for added texture, or try different fruits like pears for a seasonal twist.
Serving and Storing Apple Pie Bars
Serving/presentation
When serving Apple Pie Bars, presentation is key. Arrange them neatly on a platter and dust with powdered sugar for a touch of elegance. These bars pair beautifully with a scoop of vanilla ice cream or a dollop of whipped cream, enhancing their rich, fruity flavor.
For a more festive presentation, consider serving alongside Caramel Apple Pie Cinnamon Rolls at your next gathering. The combination of textures and flavors will leave your guests delighted.
Pairings/storage
Apple Pie Bars store well in an airtight container in the fridge for up to four days. For longer storage, freeze them for up to three months. When ready to enjoy, let them thaw at room temperature or warm them slightly in the oven for a freshly baked taste.
Apple Pie Bars
Pair these bars with a warm cup of tea or coffee for a comforting afternoon treat. If you’re looking for more apple-inspired desserts, explore our Cinnamon Rolls and Apple Pie Filling for another delightful option.
Conclusion
Apple Pie Bars epitomize the joys of home baking, combining simplicity with classic flavors. This recipe highlights the beauty of transforming humble ingredients into a delightful dessert. The balance of sweet apples and buttery crumble creates a treat that’s both comforting and satisfying.
The versatility of these bars makes them a perfect addition to any occasion, from family dinners to festive celebrations. Their ability to be stored and served at any time adds to their appeal, ensuring you always have a delicious treat on hand.
Explore the full potential of apple-based desserts by trying our Cinnamon Roll Apple Pie and discover even more ways to enjoy the delightful combination of apples and cinnamon.