📑 Table of Contents ▶
- Pumpkin Apple Butter
- Creating the Perfect Pumpkin Apple Butter
- Fundamentals of Flavor
- Preparation and Setup
- Mastering the Art of Pumpkin Apple Butter
- Techniques for Success
- Tips and Tricks
- Refining Your Pumpkin Apple Butter
- Perfecting Results
- Troubleshooting and Variations
- Serving and Enjoying Your Creation
- Presentation and Serving Suggestions
- Pairings and Storage
- Conclusion
- FAQs – Pumpkin Apple Butter
- Related posts:
- Jello Sugar Cookies: The Best Recipe for Colorful Treats
- Air Fryer Apple Fries
- Homemade Cinnamon Swirl Banana Bread: Irresistibly Moist and Flavorful
Autumn has always been my favorite season, not just for the cool, crisp air and vibrant foliage, but for the flavors that come alive during this time of year. One of my fondest memories is the aroma of pumpkin apple butter filling the kitchen—a scent that instantly wraps you in warmth and comfort. The magic of turning simple, humble ingredients into a rich, complex spread is something I’ve cherished and wanted to share with you today.
As the days grow shorter and the evenings chillier, there’s nothing quite like the taste of homemade pumpkin apple butter. The fusion of pumpkin puree and apple cider creates a decadent treat that brings back memories of family gatherings and cozy afternoons spent indoors. It’s a reminder of the beauty of home cooking and the joy it brings to our tables.
In my kitchen, pumpkin apple butter is more than just a recipe—it’s a tradition passed down through generations. Every year, I look forward to making it, experimenting with spices, and savoring the moment when it’s ready to be spread on fresh bread or stirred into oatmeal. Join me as we dive into the art of making this delightful fall classic, and discover how you can create your own batch of pumpkin apple butter at home.
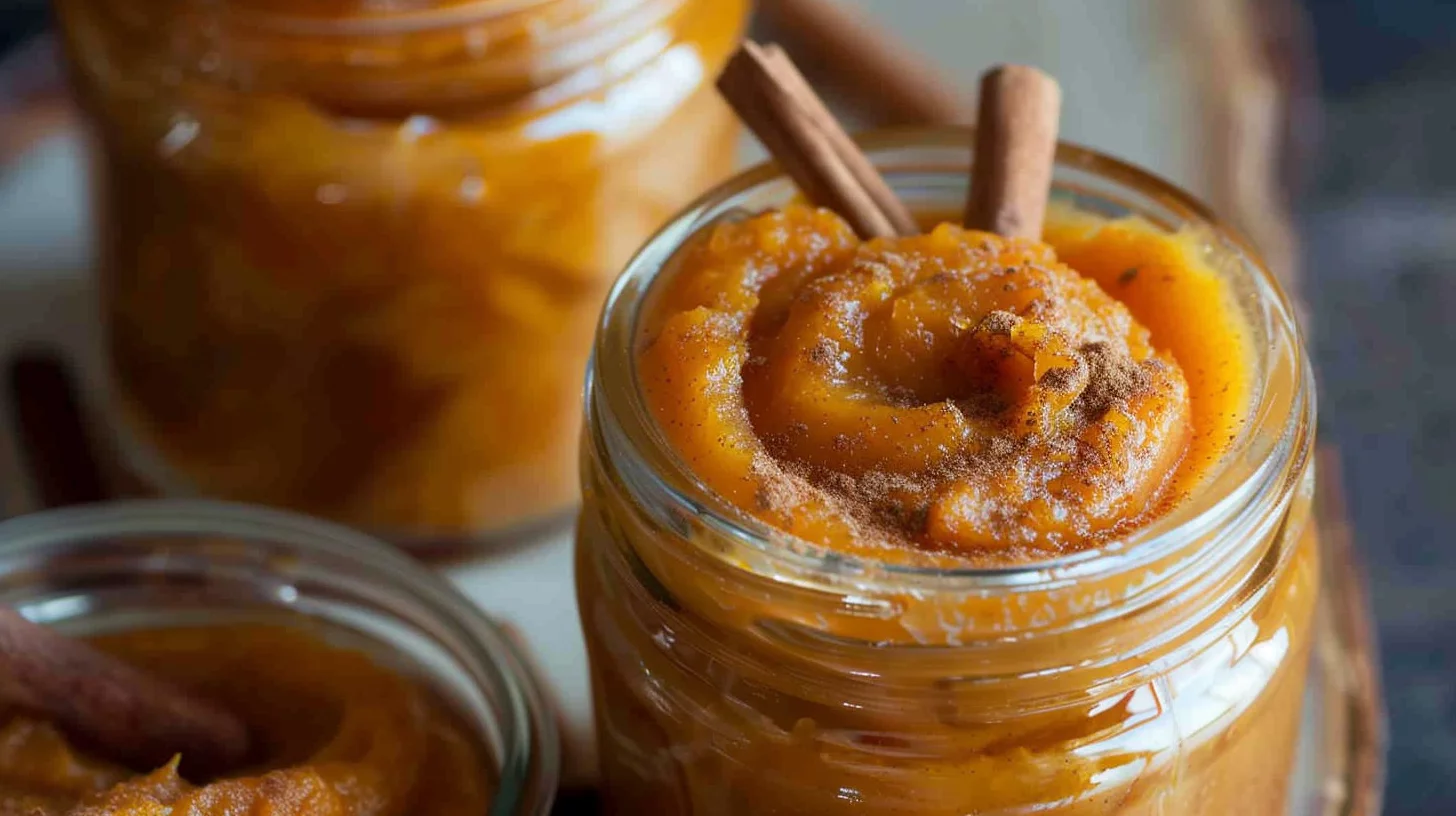
Pumpkin Apple Butter
- Total Time: 1 hour 5 minutes
- Yield: About 2 cups 1x
Description
Learn how to make delicious Pumpkin Apple Butter with this easy recipe. Perfect for spreading on toast or using in fall-inspired dishes. Click to get started!
Ingredients
- 1 can (15 oz/425g) 100% pumpkin puree (or an equivalent amount of homemade puree)
- ¾ cup (180ml) apple cider or unfiltered apple juice
- ½ cup (120ml) maple syrup
- 2 teaspoons (10ml) fresh lemon juice
- 1 cinnamon stick (or 1/2 teaspoon (3 ml) ground cinnamon)
- 1/8 teaspoon (1 ml) freshly grated nutmeg
- 1/2 teaspoon (3 ml) vanilla extract
- Pinch of fine salt
Instructions
- Set your oven to 350 degrees F to preheat.
- In a 9-inch glass or ceramic pie dish placed on a baking sheet, mix together the pumpkin puree, apple cider, maple syrup, lemon juice, cinnamon stick, freshly grated nutmeg, vanilla extract, and a pinch of salt.
- Transfer the dish to the oven and let it bake for half an hour.
- Stir the mixture, then place it back in the oven for another 30 minutes or until the mixture reaches a thick, spreadable texture.
- Transfer the finished product into clean jars, seal them, and store in the refrigerator.
Notes
- Consider using freshly squeezed apple cider for a more robust flavor.
- Adjust the maple syrup amount to your desired level of sweetness.
- If you don’t have a cinnamon stick, ground cinnamon can be used – adjust to taste.
- Prep Time: 5 minutes
- Cook Time: 1 hour
- Category: Dessert
- Method: Baking
- Cuisine: American
Nutrition
- Calories: 33 calories
- Fat: 0 grams fat
- Protein: 0 grams protein
Keywords: pumpkin butter, apple cinnamon, homemade spread, fall flavors, sweet and savory
Creating the Perfect Pumpkin Apple Butter
Fundamentals of Flavor
The key to making exceptional pumpkin apple butter lies in the balance of ingredients. The pumpkin puree serves as the foundation, offering a smooth, earthy base that’s both nutritious and versatile. When combined with apple cider, it takes on a sweet yet tangy profile that complements the spices beautifully. The maple syrup adds a natural sweetness, while the lemon juice provides a hint of acidity, brightening the overall flavor.
Cinnamon and nutmeg, classic fall spices, infuse the mixture with warmth and depth. The cinnamon stick slowly releases its essence during baking, while freshly grated nutmeg adds a touch of spice that elevates the spread. A splash of vanilla extract and a pinch of salt round out the flavors, creating a harmonious blend that’s perfect for the season.
Preparation and Setup
To begin, preheat your oven to 350 degrees Fahrenheit. This temperature ensures the pumpkin apple butter cooks evenly, allowing the flavors to meld together perfectly. Using a 9-inch glass or ceramic pie dish placed on a baking sheet, you’ll have the ideal setup for even heat distribution and easy cleanup.
Once your ingredients are assembled, mix them directly in the pie dish. This method saves time and reduces the need for additional bowls, making the process straightforward and efficient. The combination of pumpkin puree, apple cider, maple syrup, lemon juice, cinnamon, nutmeg, vanilla, and salt should be mixed until well combined, ensuring every spoonful is packed with flavor.
Mastering the Art of Pumpkin Apple Butter
Techniques for Success
Achieving the perfect consistency for your pumpkin apple butter is all about timing and patience. Once you’ve prepared your mixture, transfer the dish to the oven and let it bake for 30 minutes. This initial bake allows the flavors to start melding and the mixture to begin thickening.
After the first half-hour, remove the dish from the oven and give it a good stir. This step is crucial as it prevents any ingredients from settling or sticking, ensuring an even cook. Return it to the oven for another 30 minutes, checking towards the end for the desired thick, spreadable texture.
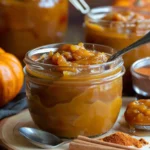
Pumpkin Apple Butter
Tips and Tricks
To enhance the depth of flavor, consider adjusting the spices to your liking. If you prefer a spicier kick, add more nutmeg or even a dash of ginger. For those who enjoy a sweeter spread, a touch more maple syrup can do wonders. Remember, cooking is about personal taste and experimentation.
Keep a close eye on the baking process, especially during the final minutes. Ovens can vary, and the thickness can change quickly. If it reaches the right consistency before the time is up, feel free to remove it early. Conversely, if it needs a bit more time, continue baking until it reaches perfection.
Refining Your Pumpkin Apple Butter
Perfecting Results
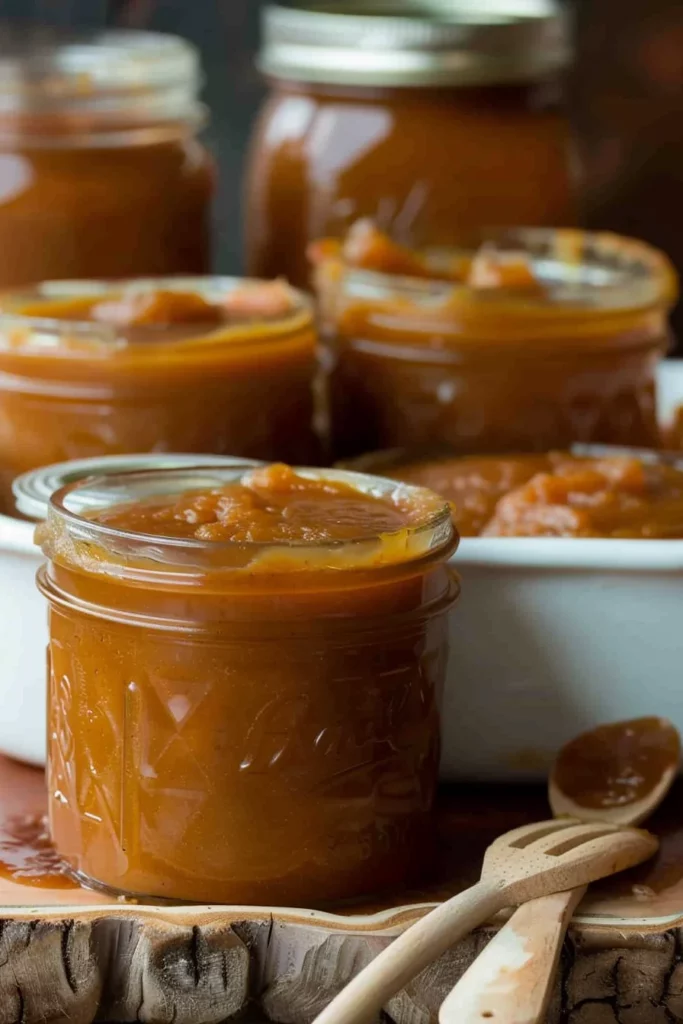
Once your pumpkin apple butter has reached the ideal texture, it’s time to transfer it into clean jars. This step is essential for preserving the freshness and flavor, allowing you to enjoy your creation for weeks to come. Use sterilized jars and lids to ensure a perfect seal, preventing any spoilage.
As you fill each jar, take a moment to appreciate the vibrant color and irresistible aroma. The process of making pumpkin apple butter is as much about the experience as it is about the end result. Each jar is a testament to your culinary skills and the joy of creating something delicious from scratch.
Troubleshooting and Variations
If your pumpkin apple butter is too thin, extend the baking time slightly until it thickens. Alternatively, if it’s too thick, a splash of apple cider can help loosen the consistency. Don’t be afraid to tweak the recipe to suit your preferences—cooking is an art, and every batch can be a new masterpiece.
For a unique twist, consider adding other spices such as clove or allspice. These additions can enhance the complexity of the flavor profile, offering a new dimension to the traditional recipe. Each variation is an opportunity to explore and discover new favorites.
Serving and Enjoying Your Creation
Presentation and Serving Suggestions
When it comes to serving your pumpkin apple butter, the possibilities are endless. Spread it generously over a warm slice of bread, or swirl it into yogurt for a delightful breakfast treat. Its versatility makes it a wonderful addition to both sweet and savory dishes.
For a simple yet elegant presentation, serve it alongside a cheeseboard with a selection of crackers and nuts. The rich flavors of the pumpkin apple butter complement a variety of cheeses, creating a delightful contrast that’s sure to impress your guests.
Pairings and Storage
Pair your pumpkin apple butter with breakfast classics like pancakes or waffles for a delicious morning treat. It also pairs beautifully with desserts such as these No Bake Peanut Butter Cheesecake Cups with Chocolate Shell, offering a delightful contrast of flavors.
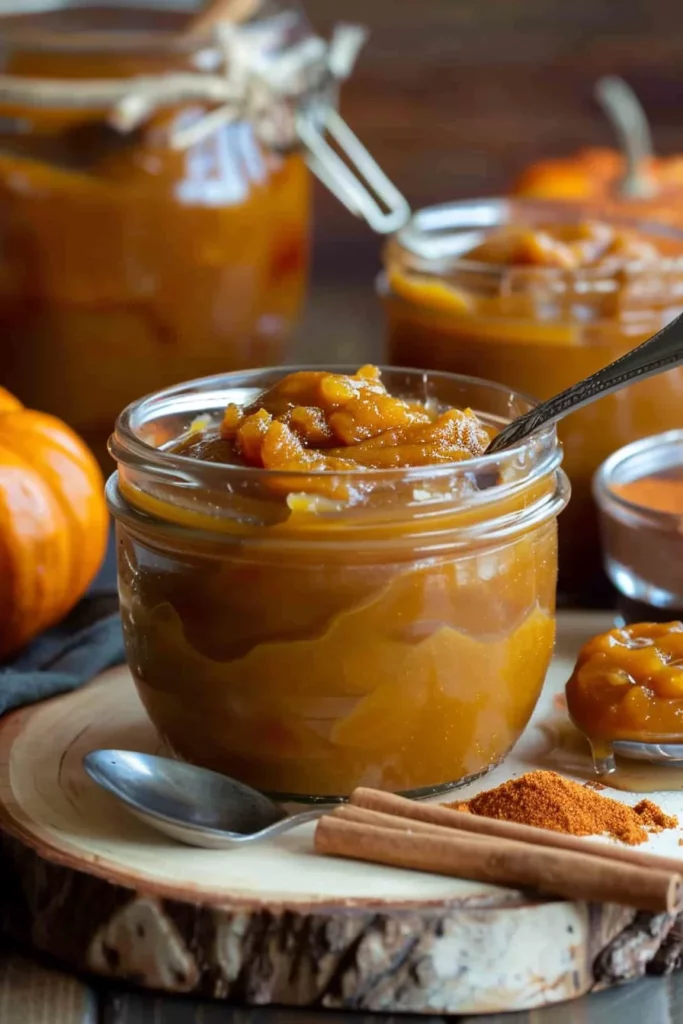
Pumpkin Apple Butter
For those who love exploring new flavors, try pairing it with savory dishes like Sous Vide Butterbasted Halibut. This unexpected combination highlights the versatility of pumpkin apple butter in culinary pairings.
To store, keep your jars refrigerated where they will last for several weeks. If you’d like to extend their shelf life, consider freezing them in airtight containers. This way, you can enjoy the taste of fall long after the season has passed.
Conclusion
Making pumpkin apple butter at home is a rewarding experience that captures the essence of fall in every bite. With its rich flavors and versatile uses, it’s a staple that deserves a place in your kitchen. From the first mix to the final jar, each step is a testament to the joy of home cooking and the magic it brings.
The beauty of this recipe lies in its simplicity and the endless possibilities it offers. Whether you’re enjoying it as a spread, a dip, or a pairing with your favorite dishes, pumpkin apple butter is a delightful addition to any culinary repertoire. Embrace the flavors of the season and share the joy of homemade goodness with those you love.