📑 Table of Contents ▶
- Fundamentals
- Preparation/setup
- Directions
- Easy Milk Bread Loaf Techniques
- Technique
- Tips/tricks
- Easy Milk Bread Loaf Variations
- Perfecting results
- Troubleshooting/variations
- Easy Milk Bread Loaf Serving Suggestions
- Serving/presentation
- Pairings/storage
- Conclusion
- Related posts:
- Easy Vegetable And Beef Bread: The Best Recipe You'll Ever Try
- Perfect Soft Vanilla Dinner Rolls: How to Bake Them Like a Pro
- Greek Yogurt Pancakes
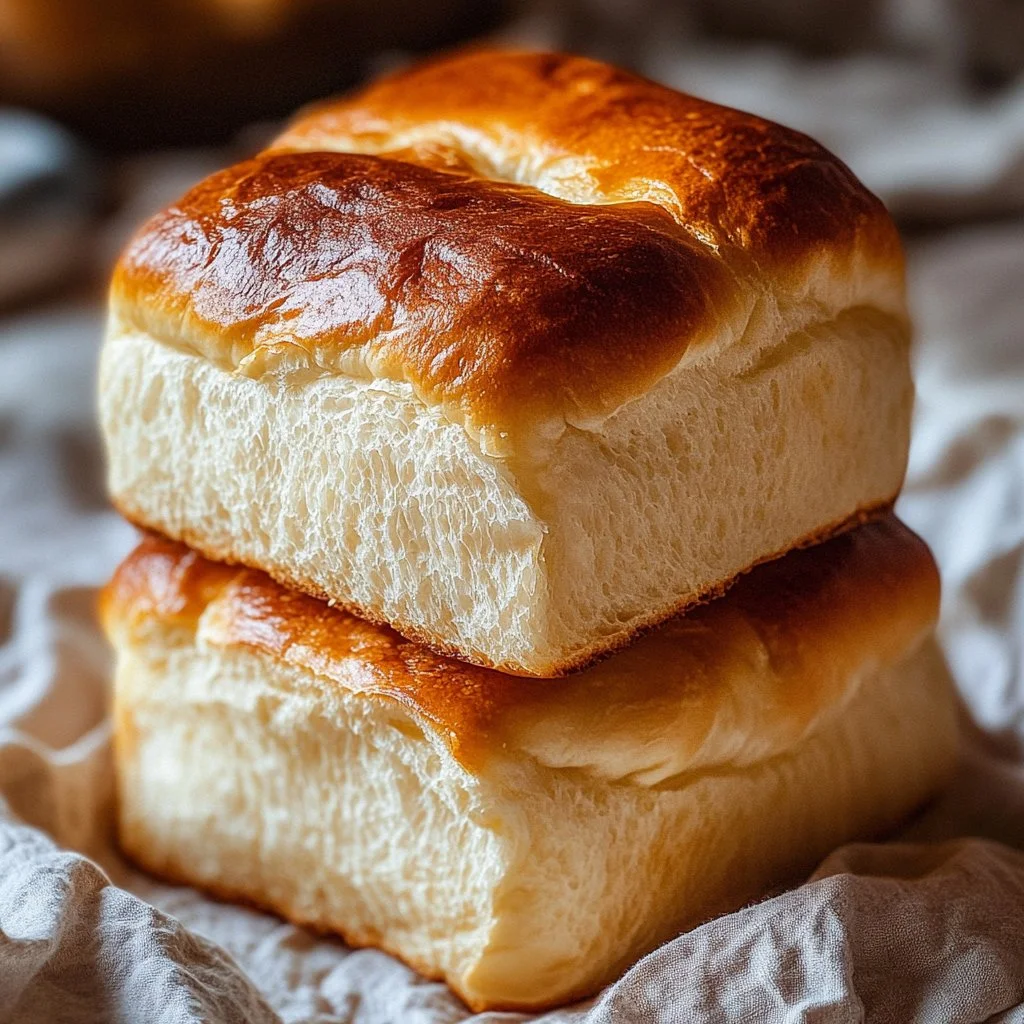
Easy Milk Bread Loaf
Making fresh bread at home has a special way of warming the heart and soul. The smell of baking bread fills the kitchen with nostalgia, bringing memories of family gatherings and cozy meals. Easy milk bread loaves serve not just as a staple but as a delightful treat any time of day. This versatile loaf satisfies cravings, whether you enjoy it as toast in the morning or a comforting sandwich for lunch.
As I embarked on my journey of baking bread, I faced challenges, from kneading techniques to the perfect rising time. However, with each attempt, my knowledge and confidence grew. Milk bread stands out as a favorite because of its soft texture and subtle sweetness, making it perfect for various uses. The key is understanding the essential steps, from combining the ingredients to shaping the dough and finally baking it to golden perfection.
Creating an easy milk bread loaf allows anyone to experience the joys of home baking. With just a handful of ingredients, you connect with tradition while making something that fills your kitchen with love. Let’s dive into the details and explore how to create this delightful bread from scratch.
Easy Milk Bread Loaf
Fundamentals
Understanding the fundamentals of making an easy milk bread loaf is essential for achieving excellent results. This delightful bread features a unique blend of soft texture and subtle sweetness, making it different from other bread varieties. The only way to capture this texture lies in mastering the basic techniques.
Bread flour forms the backbone of this recipe. It provides the right amount of protein to develop gluten, ensuring the structure remains strong and fluffy. Meanwhile, the combination of cold milk and cold water creates a lovely balance, allowing for a smooth dough texture that’s easy to work with. The sugar and sea salt elevate the flavors, while the instant yeast helps the bread rise beautifully.
Preparation/setup
To begin, prepare your workspace and gather all the necessary ingredients. Set out 500 g of bread flour, 40 g of sugar, and 9 g of sea salt. Also, have 1½ tsps of instant yeast ready, alongside 225 g of cold water and 115 g of cold milk. Don’t forget about the unsalted butter—it will add richness to our bread.
Additionally, ensure you have butter for coating the pan and brushing the bread later. Flour for dusting the pan will prevent sticking, allowing for easy removal after baking. Proper setup leads to a smooth baking process, making the experience delightful from start to finish.
Ingredients
- 500 g bread flour (3¾ cups)
- 40 g sugar (3 tbsp)
- 1½ tsps instant yeast
- 225 g cold water (a little less than 1 cup)
- 115 g cold milk (½ cup)
- 9 g sea salt (1½ tsp)
- 25 g unsalted butter (1¾ tbsp)
- Butter for coating the pan and brushing the bread
- Flour for coating the pan
Directions
- Start by mixing the bread flour, sugar, sea salt, and instant yeast in a large bowl.
- Create a well in the center of the dry ingredients, then pour in the cold milk and cold water.
- Mix until all ingredients combine into a shaggy dough.
- Add the softened unsalted butter, and continue mixing until the dough becomes sticky and cohesive.
- Knead the dough on a well-floured surface for about 10 minutes. Ensure it becomes smooth and elastic.
- Form the kneaded dough into a ball and place it in a greased bowl. Cover it with a damp cloth.
- Allow the dough to rise in a warm place for about 1-2 hours, or until it doubles in size.
- Once risen, gently punch down the dough and divide it into equal portions, shaping them into a loaf or rolls.
- Place the shaped dough in a buttered and floured pan. Cover and let it rise again for about 30-45 minutes.
- Preheat your oven to 350°F (175°C).
- Once the dough has risen, brush the top with melted butter for a golden finish.
- Bake in the preheated oven for 30-35 minutes, or until the top turns golden brown and sounds hollow when tapped.
- Remove from the oven, allow to cool briefly, then transfer to a wire rack to cool completely.
Easy Milk Bread Loaf Techniques
Technique
Developing an understanding of techniques will ensure every easy milk bread loaf comes out perfect. Kneading is crucial; it enhances gluten development, giving the bread its delightful texture. Mix the ingredients thoroughly, ensuring no dry flour remains, which contributes to an even bake and rise.
Don’t rush the rising times. Allowing the dough to rise fully is vital for achieving light and airy results. If in a cool environment, it may take longer than expected, so patience pays off in baking.
Tips/tricks
- Ensure ingredients are at the appropriate temperatures. Cold ingredients give better results during rising.
- Use a kitchen scale for accuracy when measuring ingredients.
- Experiment with flour types for different flavors and textures. Whole wheat flour, for example, can be incorporated for a nuttier profile.
- Try different shapes; bake as individual rolls or a braided loaf for an appealing presentation.
- Keep a close eye on baking time—ovens can vary, and you may need to adjust the baking period to achieve the desired golden hue.
Easy Milk Bread Loaf Variations
Perfecting results
Perfecting your easy milk bread loaf involves adjusting various elements. Under-kneading can lead to a dense loaf, while over-kneading can make it tough. Balancing these factors allows for achieving that fluffy interior and crisp exterior.
Once you’re comfortable with the basic recipe, try adding ingredients like herbs or spices. For a sweeter taste, experiment with cinnamon or nutmeg. You can also adjust sugar levels to suit your preferred sweetness.
Troubleshooting/variations
If the bread doesn’t rise, check the yeast’s freshness. Yeast that has expired won’t activate properly, leading to a failed rise. If the bread is dense, it might have suffered from under-kneading or a too-short rising time.
If your milk bread loaf appears sticky post-baking, it may not have been baked long enough. Adjusting the oven temperature slightly can also help in future bakes. Familiarizing yourself with your oven’s behavior will drastically improve results.
Easy Milk Bread Loaf Serving Suggestions
Serving/presentation
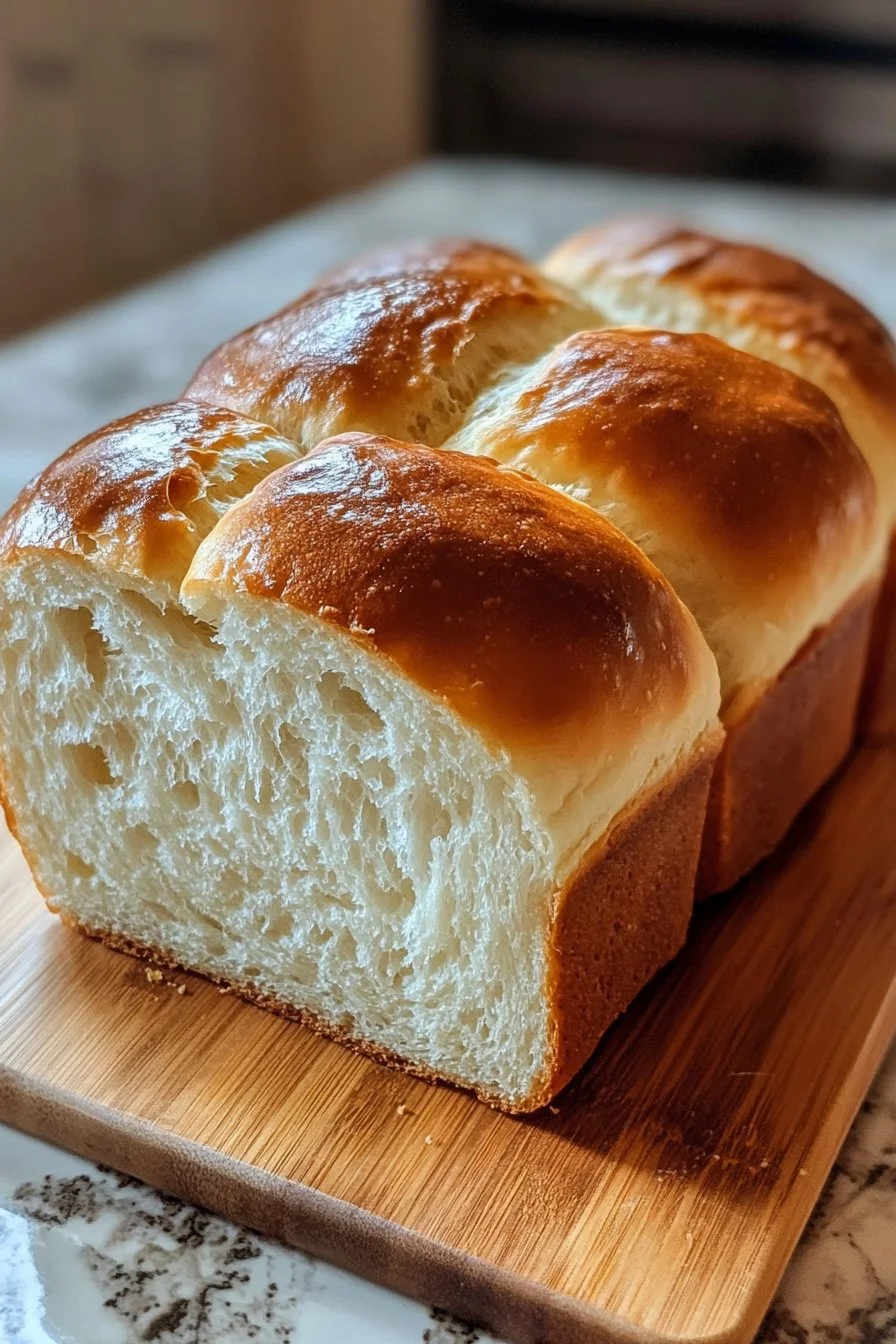
When serving your easy milk bread loaf, presentation can enhance the experience. Slice the loaf evenly with a serrated knife for perfect pieces. Enjoy the bread fresh, still warm from the oven.
For a simple serving suggestion, spread softened butter on each slice and serve with homemade jams. Pair it with a comforting bowl of soup or a fresh salad. The soft texture makes it an excellent base for various toppings.
Pairings/storage
This milk bread serves well with hearty soups, fresh salads, or even as part of a sandwich. Enjoy it on its own or incorporate toppings like avocado, salads, or more.
Store any leftover loaf in a bread bag or wrap it in plastic to maintain freshness. Keep it at room temperature for up to three days. To extend its shelf life, consider freezing the bread. Just wrap it tightly in plastic wrap and place it in an airtight container or freezer bag. When ready to enjoy, thaw and reheat for a fresh-out-of-the-oven experience.
Conclusion
Creating an easy milk bread loaf opens doors to countless culinary possibilities. This simple recipe transforms basic ingredients into a delightful bread that can become the heart of any meal. With patience and practice, anyone can perfect this skill, bringing the joys of freshly baked bread to their dining table. Enjoy every moment spent kneading, shaping, and baking, and share this treat with loved ones for unforgettable experiences.
Print
Easy Milk Bread Loaf
- Total Time: 50 minutes
- Yield: 1 loaf 1x
- Diet: Vegetarian
Description
A delightful soft and slightly sweet milk bread loaf, perfect for toast or sandwiches.
Ingredients
- 500 g bread flour (3¾ cups)
- 40 g sugar (3 tbsp)
- 1½ tsps instant yeast
- 225 g cold water (a little less than 1 cup)
- 115 g cold milk (½ cup)
- 9 g sea salt (1½ tsp)
- 25 g unsalted butter (1¾ tbsp)
- Butter for coating the pan and brushing the bread
- Flour for coating the pan
Instructions
- Mix the bread flour, sugar, sea salt, and instant yeast in a large bowl.
- Create a well in the center, then pour in the cold milk and cold water.
- Mix until all ingredients combine into a shaggy dough.
- Add the softened unsalted butter and mix until the dough becomes sticky and cohesive.
- Knead the dough on a floured surface for about 10 minutes until smooth and elastic.
- Form the dough into a ball and place it in a greased bowl. Cover with a damp cloth.
- Allow the dough to rise in a warm place for 1-2 hours or until it doubles in size.
- Once risen, punch down the dough, divide it into portions, and shape into a loaf or rolls.
- Place the shaped dough in a buttered and floured pan, cover, and let it rise for 30-45 minutes.
- Preheat the oven to 350°F (175°C).
- Once risen, brush the top with melted butter.
- Bake for 30-35 minutes until golden brown and sounds hollow when tapped.
- Cool briefly before transferring to a wire rack to cool completely.
Notes
Ensure ingredients are at appropriate temperatures for the best results. Experiment with flour types and shapes for different results.
- Prep Time: 15 minutes
- Cook Time: 35 minutes
- Category: Bread
- Method: Baking
- Cuisine: Baking
Nutrition
- Serving Size: 1 slice
- Calories: 200
- Sugar: 5g
- Sodium: 350mg
- Fat: 7g
- Saturated Fat: 4g
- Unsaturated Fat: 2g
- Trans Fat: 0g
- Carbohydrates: 32g
- Fiber: 1g
- Protein: 5g
- Cholesterol: 10mg
Keywords: bread, milk bread, baking, comfort food, homemade bread