
📑 Table of Contents ▶
- Understanding Crispy Chicken Tenders
- Fundamentals
- Preparation/setup
- Directions
- Mastering the Technique for Crispy Chicken Tenders
- Technique
- Tips/tricks
- Perfect Crispy Chicken Tenders Every Time
- Perfecting results
- Troubleshooting/variations
- Serving and Storing Crispy Chicken Tenders
- Serving/presentation
- Pairings/storage
- Conclusion
- Related posts:
- Creamy Rotel Pasta with Ground Beef
- Bold and Spicy Venison Snack Sticks Loaded with Cheddar and Habanero Heat: A Fiery Twist on a Classi...
- Chicken Pot Pie Soup
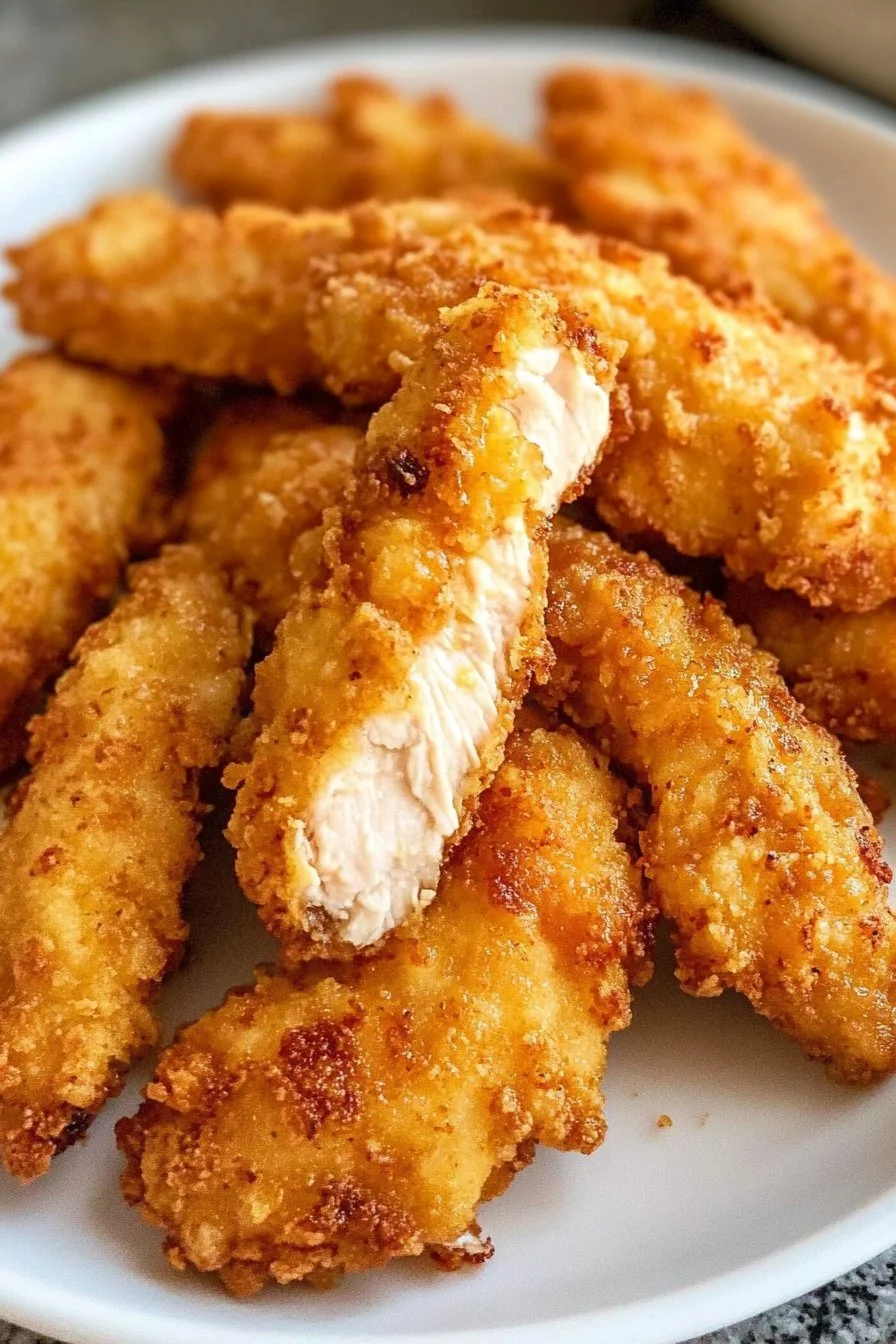
Crispy Chicken Tenders
The aroma of crispy chicken tenders brings back nostalgic memories of family gatherings. Cooking together in the kitchen created moments filled with laughter, chatter, and the wonderful scent of frying chicken. A simple recipe could transform a busy day into something special. Crispy chicken tenders stood out as a favorite—always a hit with family and friends.
The beauty of cooking lies in its ability to bring people together. Chicken tenders become a canvas for creativity while remaining comforting and delicious. Every bite offers a delightful crunch and succulent chicken, a satisfaction that everyone craves. The crispy coating has a magical way of making these tenders irresistible.
Revisiting this straightforward and rewarding recipe reminds us of the joys of home cooking. It’s not just about the food; it’s about the shared experiences and the love poured into every dish. Let’s dive into creating crispy chicken tenders that make every meal feel like a special occasion.
Understanding Crispy Chicken Tenders
Fundamentals
Crispy chicken tenders revolve around a few key elements that ensure the perfect bite every time. Using chicken tenders rather than whole pieces of chicken streamlines the process, allowing for quick cooking and maximum flavor. Their tender nature complements the crispy breading magnificently, creating a satisfying contrast in texture.
The balance of seasonings plays a crucial role as well. A mixture of garlic powder, onion powder, and paprika can elevate the taste. Adding salt and pepper ensures that each bite hits all the right notes, making these chicken tenders memorable. Achieving the perfect crisp requires the right cooking technique and attention to detail.
Preparation/setup
Proper preparation before frying makes all the difference in achieving crispy chicken tenders. Gathering your ingredients sets the stage for a seamless cooking experience. Dredging, dipping, and coating each tender correctly allows for an even distribution of flavors and textures.
Setting up your stations in the kitchen helps maintain an efficient workflow. Arrange the flour mixture, beaten eggs, and breadcrumbs in a sequence that makes sense. This step not only saves time but also helps to ensure consistent results in each batch.
Ingredients
For crispy chicken tenders, ingredients should include the following:
- 1 pound chicken tenders
- 1 cup all-purpose flour
- 2 large eggs
- 1 cup breadcrumbs (panko preferred)
- 1 teaspoon garlic powder
- 1 teaspoon onion powder
- 1 teaspoon paprika
- Salt and pepper to taste
- Vegetable oil for frying
These simple ingredients come together to create a flavorful and crispy exterior that encapsulates moist chicken.
Directions
- In a shallow bowl, mix the flour, garlic powder, onion powder, paprika, salt, and pepper. In another bowl, beat the eggs. In a third bowl, place the breadcrumbs.
- Dredge each chicken tender in flour, then dip it in the beaten eggs, and finally coat with breadcrumbs.
- Heat the vegetable oil in a deep skillet over medium-high heat.
- Fry the chicken tenders for about 5-7 minutes on each side, or until golden brown and cooked through.
- Remove from oil and drain on paper towels. Serve hot.
Mastering the Technique for Crispy Chicken Tenders
Technique
The technique involved in frying chicken tenders is crucial. Heating the oil to the right temperature before adding the tenders ensures that the coating becomes crispy without overcooking the chicken. If the oil is too hot, the outside will burn, while the inside remains raw. Conversely, oil that is not hot enough will result in greasy and soggy tenders.
The method of dredging in flour, dipping in eggs, and coating with breadcrumbs creates three layers of texture that contribute to the crunch. Experimenting with how lightly or heavily the tenders are coated can also alter the final result and the experience of eating them.
Tips/tricks
To enhance your chicken tender experience, consider a few handy tips. First, let the breaded tenders sit for a few minutes before frying. Allowing the coating to adhere better can improve the texture and decrease the chances of it falling off during cooking.
Another important aspect is frying in small batches. Overcrowding the skillet can lead to a drop in oil temperature, resulting in less crispy tenders. Lastly, using a thermometer helps monitor the oil’s temperature, ensuring the perfect frying environment every time.
Perfect Crispy Chicken Tenders Every Time
Perfecting results
Perfecting crispy chicken tenders takes practice and attention to detail. Monitoring the frying process is essential to ensure the tenders reach the desired golden-brown color. Cooking time can vary based on the thickness of the chicken tenders, so checking for doneness with an internal temperature thermometer ensures that they are safe to eat.
Once cooked, resting the tenders for a moment allows the juices to redistribute within the chicken, making each bite more succulent. This step boosts overall flavor and moistness for a satisfying crunch.
Troubleshooting/variations
If the breading doesn’t stick, the issue may stem from not drying the chicken tenders adequately. Pat them dry with paper towels before beginning the breading process. If the tenders are soggy after frying, it’s likely due to insufficient oil temperature or overcrowding during cooking.
Variations allow for creativity in flavoring the chicken. Experimenting with different spices or adding grated Parmesan cheese to the breadcrumb mixture can offer unique twists on the classic recipe. Even trying different frying oils can slightly change the flavor profile of the tenders.
Serving and Storing Crispy Chicken Tenders
Serving/presentation
Plating crispy chicken tenders can elevate the dining experience. Arrange the tenders on a platter garnished with fresh herbs or lemon wedges for a pop of color. Serve them alongside dipping sauces like honey mustard or barbecue for added flavor and engagement at the table.
Accompanying sides such as coleslaw or fries create a complete meal that delights all ages. Presenting the dish in a fun way makes it more enjoyable, especially for kids and gatherings.
Pairings/storage
While serving chicken tenders, consider pairing them with classic sides like mashed potatoes, fresh salads, or classic macaroni and cheese. These combinations create a balanced meal that complements the crispy texture and taste of the tenders.
Storing leftover chicken tenders is not difficult. Allow them to cool completely before placing them in an airtight container. They typically remain fresh in the refrigerator for 2-3 days. Reheating in the oven helps restore some of the original crispiness, making the tenders enjoyable even on the second day.
Conclusion
Crispy chicken tenders encapsulate comfort food and family bonding. The straightforward recipe emphasizes the joy of cooking and the satisfaction of creating something special. Each bite tells a story, making the experience worthwhile beyond just food. Embrace the adventure of making crispy chicken tenders in your kitchen and continue sharing those delightful moments around the table.
Print
Crispy Chicken Tenders
- Total Time: 30 minutes
- Yield: 4 servings 1x
- Diet: None
Description
Crispy chicken tenders are a comforting dish that combines succulent chicken with a delightful crunch, perfect for family gatherings and special occasions.
Ingredients
- 1 pound chicken tenders
- 1 cup all-purpose flour
- 2 large eggs
- 1 cup breadcrumbs (panko preferred)
- 1 teaspoon garlic powder
- 1 teaspoon onion powder
- 1 teaspoon paprika
- Salt and pepper to taste
- Vegetable oil for frying
Instructions
- In a shallow bowl, mix the flour, garlic powder, onion powder, paprika, salt, and pepper.
- In another bowl, beat the eggs.
- In a third bowl, place the breadcrumbs.
- Dredge each chicken tender in flour, then dip it in the beaten eggs, and finally coat with breadcrumbs.
- Heat the vegetable oil in a deep skillet over medium-high heat.
- Fry the chicken tenders for about 5-7 minutes on each side, or until golden brown and cooked through.
- Remove from oil and drain on paper towels. Serve hot.
Notes
Let breaded tenders sit for a few minutes before frying for better texture. Fry in small batches to maintain oil temperature.
- Prep Time: 15 minutes
- Cook Time: 15 minutes
- Category: Main Course
- Method: Frying
- Cuisine: American
Nutrition
- Serving Size: 1 serving
- Calories: 350
- Sugar: 1g
- Sodium: 600mg
- Fat: 16g
- Saturated Fat: 2g
- Unsaturated Fat: 10g
- Trans Fat: 0g
- Carbohydrates: 24g
- Fiber: 1g
- Protein: 25g
- Cholesterol: 150mg
Keywords: chicken tenders, crispy chicken, comfort food, frying, family recipe