📑 Table of Contents ▶
- Understanding Condensed Milk Bread
- Fundamentals
- Preparation/Setup
- Directions
- Techniques for Perfecting Condensed Milk Bread
- Technique
- Tips/Tricks
- Perfecting the Results of Condensed Milk Bread
- Perfecting Results
- Troubleshooting/Variations
- Serving and Storing Condensed Milk Bread
- Serving/Presentation
- Pairings/Storage
- Condensed Milk Bread
- Related posts:
- Irresistible Lemon Cake
- The Best Zucchini Bread Recipe: Irresistible Zucchini Indulgence
- Chocolate Dipped Fruit
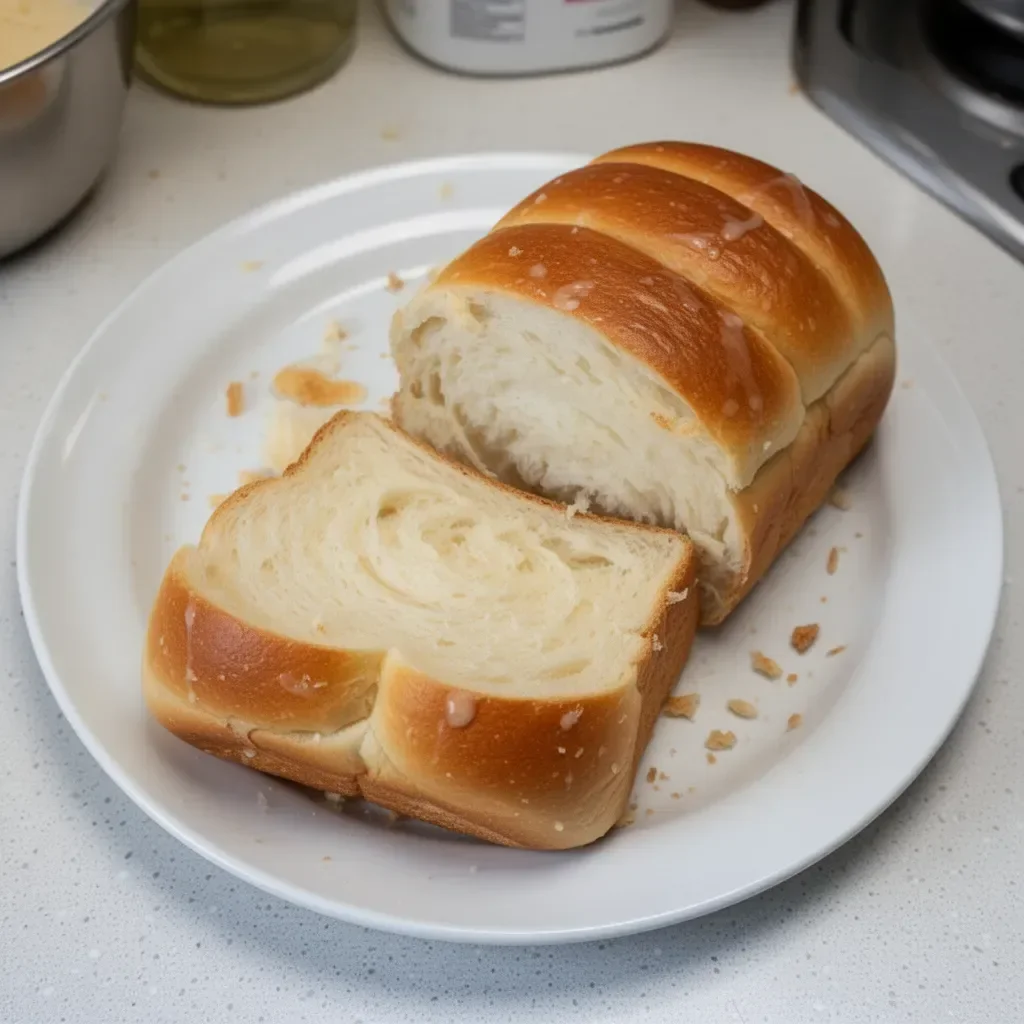
Condensed Milk Bread
The aroma of freshly baked bread wafts through the kitchen, filling the air with warmth and comfort. Every time I create this condensed milk bread, it evokes memories of family gatherings and cozy afternoons spent with loved ones. This recipe holds a special place in my heart, inviting everyone to come together around the table and share in its delightful softness.
Condensed milk bread offers a unique twist on a classic favorite. The sweetened condensed milk adds a rich flavor and tenderness that sets it apart. This bread is perfect for breakfast, a snack, or even a base for sandwiches. Every slice holds the promise of sweetness, making it a treat for both the young and the young at heart.
Baking can seem daunting, but I believe anyone can master the art of making this bread. With simple ingredients and a bit of patience, you too can create this delicious loaf, bringing the joy of homemade goodness into your home. The steps may feel laborious, but the end result—a golden-brown loaf—is truly worth the effort.
Gather your ingredients, roll up your sleeves, and let’s embark on this baking adventure together as we discover the magic of condensed milk bread.
Understanding Condensed Milk Bread
Fundamentals
Before delving into the recipe, it’s essential to understand what makes condensed milk bread unique. The combination of active dry yeast, all-purpose flour, and sweetened condensed milk creates a tender crumb and a delightful sweetness. This bread doesn’t just serve as a side; it can easily stand alone as a sweet treat.
The yeast introduces a lightness to the bread, allowing it to rise beautifully during the proofing stages. This airy texture perfectly complements the richness from the condensed milk. The butter adds a luxurious mouthfeel, enhancing the overall experience. Together, these ingredients create a loaf that is not only visually appealing but deliciously satisfying.
Preparation/Setup
Setting up your workspace is key to a successful baking experience. Make sure to gather all your ingredients: active dry yeast, salt, milk, sweetened condensed milk, an egg, all-purpose flour, and unsalted butter.
Start by softening the butter at room temperature. Ensuring proper measuring techniques, like leveling off your flour and measuring liquids accurately, can greatly influence the final product.
With a clean, floured surface, you’ll create an optimal workspace for kneading later in the process. Having everything ready allows for smoother transitions between steps, resulting in a more enjoyable baking experience.
Ingredients
For this delicious condensed milk bread, you’ll need:
- 1 tablespoon active dry yeast
- 1/2 teaspoon salt
- 1 cup milk (room temperature)
- 1/2 cup sweetened condensed milk
- 1 egg
- 3.5 cups all-purpose flour
- 1/4 cup unsalted butter (softened)
- 2 teaspoons egg yolk
- 1 tablespoon milk
- 3 tablespoons condensed milk
- 1 tablespoon unsalted butter (softened)
These ingredients blend seamlessly to create a flavor profile that stands out. Ensuring you have everything measured and ready will streamline the process and make it far less stressful.
Directions
- Start by softening the butter at room temperature.
- In a large mixing bowl, whisk together the milk, sweetened condensed milk, egg, salt, and yeast until well combined.
- Sift the all-purpose flour into the same bowl and use a spatula to mix until combined.
- Continue mixing and folding the dough until the ingredients are fully incorporated.
- Add the softened butter to the dough and mix thoroughly until well combined.
- Transfer the dough to a floured surface and knead by hand for 15 to 20 minutes, until smooth. If it becomes too sticky, sprinkle a tablespoon of flour over the dough as needed.
- Place the dough in a buttered bowl, cover it with a cloth or plastic wrap, and let it proof in a warm area for 1 hour, or until it has doubled in size.
- After the first proofing, gently press the dough to release air. Divide the dough into two equal portions.
- Flatten and shape each portion into a 16 x 8-inch rectangle, then roll it up and pinch the seam to seal.
- Place the seam side down, cut the dough into equal pieces using a knife.
- Line the pieces in a loaf pan and lightly cover with plastic wrap. Let it rise in a warm area for 45 minutes.
- Preheat the oven to 180°C (356°F) and bake for 22 minutes, until golden brown.
- Prepare the glaze by whisking together the condensed milk and softened butter in a small bowl.
- Once baked, remove the bread from the loaf pan immediately and brush with the condensed milk glaze.
Techniques for Perfecting Condensed Milk Bread
Technique
Kneading plays a vital role in developing the gluten in the bread. The more you knead the dough, the more elastic and robust it becomes, leading to that wonderfully fluffy texture.
When shaping your dough, consider using a bench scraper to assist in cutting equal pieces. This tool makes the process easier and minimizes mess. Be gentle with the dough during shaping to maintain the air bubbles created during proofing.
Tips/Tricks
Here are some tips to enhance your baking process:
- Ensure your yeast is active by checking the expiration date; it should foam when mixed with warm liquid.
- Environment is essential for proofing. If your home is cool, consider placing the bowl in a warm spot or using the microwave method mentioned earlier.
- A light touch when handling the dough helps keep it airy. Avoid overworking it at the shaping stage.
- If you find your dough sticky, use spring-loaded measuring spoons to help add flour gradually as needed, ensuring you don’t over-measure.
Perfecting the Results of Condensed Milk Bread
Perfecting Results
Perfecting your condensed milk bread relies on consistent practices. Each step contributes to the final product, from mixing to kneading to baking.
Consider using a digital thermometer to check the internal temperature of the bread; a perfectly baked loaf should reach around 190°F. This ensures it’s fully cooked through and tailored to your taste.
Troubleshooting/Variations
Every baking experience offers learning opportunities. If your bread doesn’t rise as expected, check the temperature of your liquid ingredients. Too hot or too cold can inhibit yeast activity.
If your bread is too dense, ensure you’ve kneaded enough to develop the gluten. Conversely, if it’s overly airy or falls apart, it might need a touch more flour during the kneading process.
Variations can add delightful twists to your loaf. Consider adding cinnamon for a spiced version or using different extracts for flavor!
Serving and Storing Condensed Milk Bread
Serving/Presentation
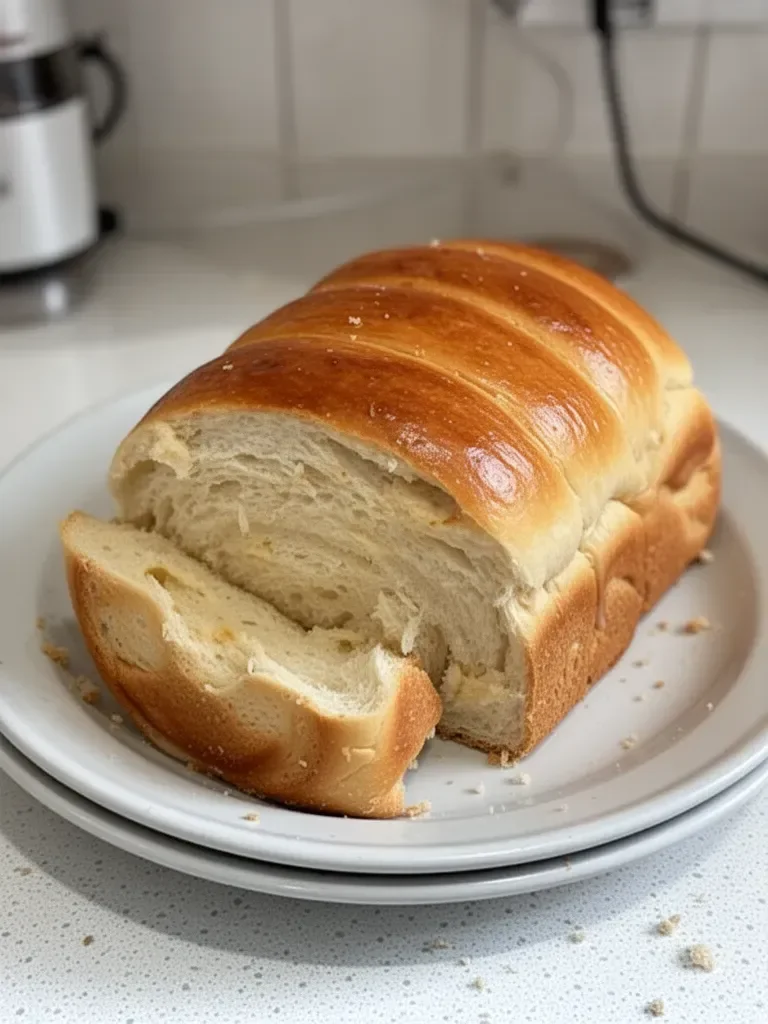
When it comes to serving, this condensed milk bread shines in its simplicity. Slice it warm and let its soft interior greet guests with inviting aroma.
Consider a light dusting of powdered sugar over the top for a touch of sweetness, or serve with butter for a classic addition. Freshly made bread always evokes happiness, and your guests will appreciate the effort that goes into this delicious creation.
Pairings/Storage
Condensed milk bread pairs beautifully with jams, honey, or even cream cheese for a delightful breakfast experience.
When it comes to storing your bread, ensure it cools completely before sealing it in an airtight container. This method preserves its freshness for up to three days. For longer storage, slice the bread and freeze in individual portions for simple snack options later.
Crafting condensed milk bread brings joy and connection to the table, and each slice becomes a vessel for sharing moments with loved ones.
The journey of creating this bread, from gathering ingredients to slicing the final product, fulfills the promise of warm, homemade goodness.
Print
Condensed Milk Bread
- Total Time: 90 minutes
- Yield: 2 loaves 1x
- Diet: Vegetarian
Description
This condensed milk bread combines the sweetness of condensed milk with a tender crumb, making it perfect for breakfast or a sweet treat.
Ingredients
- 1 tablespoon active dry yeast
- 1/2 teaspoon salt
- 1 cup milk (room temperature)
- 1/2 cup sweetened condensed milk
- 1 egg
- 3.5 cups all-purpose flour
- 1/4 cup unsalted butter (softened)
- 2 teaspoons egg yolk
- 1 tablespoon milk
- 3 tablespoons condensed milk
- 1 tablespoon unsalted butter (softened)
Instructions
- Start by softening the butter at room temperature.
- In a large mixing bowl, whisk together the milk, sweetened condensed milk, egg, salt, and yeast until well combined.
- Sift the all-purpose flour into the same bowl and use a spatula to mix until combined.
- Continue mixing and folding the dough until the ingredients are fully incorporated.
- Add the softened butter to the dough and mix thoroughly until well combined.
- Transfer the dough to a floured surface and knead by hand for 15 to 20 minutes, until smooth.
- Place the dough in a buttered bowl, cover it with a cloth or plastic wrap, and let it proof in a warm area for 1 hour, or until it has doubled in size.
- After the first proofing, gently press the dough to release air. Divide the dough into two equal portions.
- Flatten and shape each portion into a 16 x 8-inch rectangle, then roll it up and pinch the seam to seal.
- Place the seam side down, cut the dough into equal pieces using a knife.
- Line the pieces in a loaf pan and lightly cover with plastic wrap. Let it rise in a warm area for 45 minutes.
- Preheat the oven to 180°C (356°F) and bake for 22 minutes, until golden brown.
- Prepare the glaze by whisking together the condensed milk and softened butter in a small bowl.
- Once baked, remove the bread from the loaf pan immediately and brush with the condensed milk glaze.
Notes
Ensure your yeast is active and handle the dough gently to maintain its airy texture.
- Prep Time: 15 minutes
- Cook Time: 22 minutes
- Category: Bread
- Method: Baking
- Cuisine: American
Nutrition
- Serving Size: 1 slice
- Calories: 220
- Sugar: 8g
- Sodium: 180mg
- Fat: 6g
- Saturated Fat: 3g
- Unsaturated Fat: 3g
- Trans Fat: 0g
- Carbohydrates: 36g
- Fiber: 1g
- Protein: 6g
- Cholesterol: 30mg
Keywords: condensed milk bread, baking, sweet bread, homemade bread, easy bread recipe