📑 Table of Contents ▶
- Fundamentals
- Preparation/Setup
- Directions
- Simple Techniques for Perfect Homemade Bread
- Technique
- Tips/Tricks
- Perfecting Your Homemade Bread
- Perfecting Results
- Troubleshooting/Variations
- Serving Your Homemade Bread
- Serving/Presentation
- Pairings/Storage
- Conclusion
- Related posts:
- Cheese and Potato Sticks
- 5 Delicious One Pot Sausage Rice Recipes
- Green Papaya Salad
20-Minute Homemade Bread
Creating homemade bread can be an incredibly rewarding experience. The warm aroma wafting through the kitchen as bread bakes transports you back to family gatherings, where freshly baked bread was a staple. There’s something truly magical about taking just a few simple ingredients and transforming them into a loaf of bread that is perfect for any occasion.
This 20-minute homemade bread recipe uses only six essential ingredients, making it easy to whip up even on a busy weeknight. The quick preparation allows you to have fresh bread on the table in no time, which is ideal for those last-minute dinner parties or cozy family meals. Homemade bread adds a personal touch to any meal and provides an opportunity to experiment with flavors and textures by adding herbs, cheese, or garlic.
The heart of this recipe lies in its simplicity. As you dive into the process, you’ll discover how easy it is to craft a delicious loaf that not only nourishes but also brings everyone together at the table. Enjoy this journey of homemade bread-making that promises both satisfaction and flavor, all in just a short span of 20 minutes.
20-Minute Homemade Bread
Fundamentals
Understanding the basics of bread-making sets the stage for success. Bread relies on the combination of flour, liquid, and a leavening agent to rise. In this recipe, all-purpose flour, baking powder, and milk come together to create a tender loaf with a satisfying texture.
Baking powder serves as the leavening agent in this quick bread, allowing it to rise without the need for yeast. This means you don’t have to wait for the dough to rise, making it an excellent option for bread enthusiasts and busy cooks alike. The simplicity of this recipe makes it perfect for beginners and seasoned bakers.
You’ll also notice the versatility of flavors you can add. Enhancements like herbs, cheese, or garlic can elevate your homemade bread into a customized treat. Feel free to let your creativity shine through as you incorporate these optional ingredients based on your preferences or what you have on hand.
Preparation/Setup
Before you start, preheat your oven to 400°F (200°C) and grease a baking sheet. This step is crucial as it ensures that your bread doesn’t stick to the pan and allows for easy transfer once it’s baked. Having everything ready makes the process smoother and quicker.
Gather the following ingredients: 2 cups of all-purpose flour, 1 tablespoon of baking powder, 1 teaspoon of salt, 1 tablespoon of sugar, 1 cup of milk, and 1/4 cup of vegetable oil. These foundational components blend together to create a delightful dough that will soon transform into a golden-brown loaf.
Preparing your workspace is equally important. Dust a clean countertop or a smooth surface with some flour before you start mixing. This will be where you knead your dough, and having a floured surface will make this step much easier and prevent sticking.
Ingredients
- 2 cups all-purpose flour
- 1 tablespoon baking powder
- 1 teaspoon salt
- 1 tablespoon sugar
- 1 cup milk
- 1/4 cup vegetable oil
- Optional: herbs, cheese, or garlic for flavor enhancement
Gather these ingredients before diving into the bread-making process. Measuring accurately ensures that your bread rises properly and has the perfect consistency.
Directions
-
In a large bowl, whisk together the all-purpose flour, baking powder, salt, and sugar. Combining the dry ingredients first allows for even distribution of each component, which is crucial for a uniformly baked loaf.
-
Add the milk and vegetable oil to the dry mixture. Stir until the ingredients come together to form a dough. Be careful not to over-mix, as this can lead to a denser loaf.
-
Turn the dough onto a floured surface. Knead it gently for about one minute until smooth, which helps develop the gluten slightly, contributing to the bread’s texture.
-
Shape the dough into a round loaf. Transfer it to the prepared baking sheet. For a decorative touch, you can score the top with a knife, allowing steam to escape during baking.
-
Bake for 15-20 minutes or until the bread turns a golden-brown color and sounds hollow when tapped on the bottom. This indicates that it’s fully cooked through.
-
Let the loaf cool slightly before slicing. This makes it easier to cut and enhances the flavors. Enjoy your fresh homemade bread warm or at room temperature.
Simple Techniques for Perfect Homemade Bread
Technique
Baking is as much a science as it is an art. Using the proper techniques can elevate your homemade bread to new heights. Once you understand the methods involved, you’ll find that making bread can become an enjoyable routine in your kitchen.
Mixing the dough is a critical step in ensuring the bread rises well. Use your hands or a spatula to combine wet and dry ingredients efficiently. Being gentle yet thorough during this phase helps avoid excessive gluten development, leading to a finer crumb texture.
Another essential technique is kneading the dough. While this recipe calls for only a minute of kneading, it’s enough to bring the dough together and enhance its elasticity. When shaping the loaf, make sure to create a smooth surface, which will give your bread a nice rise and even baking.
Tips/Tricks
-
Adding flavor components like cheese, herbs, or garlic can transform the taste of your homemade bread. Consider incorporating about half a cup of shredded cheese or a tablespoon of your favorite herb to the dough.
-
If you’re using dried herbs, crush them lightly before adding. This helps to release their flavors more effectively.
-
Always watch your bread closely towards the end of the baking time. Ovens can vary in temperature, and you want to achieve that golden-brown finish without overcooking.
-
To check for doneness, tap the bottom of the loaf—if it sounds hollow, it’s ready. If not, return it to the oven for a couple more minutes.
Perfecting Your Homemade Bread
Perfecting Results
Getting the perfect loaf is all about practice and learning from each bake. Don’t be afraid to experiment with different variations of flavors and textures. This experimentation not only improves your skills but also delights everyone around the table with new creations.
A well-prepared baking sheet can make a noticeable difference. If you find your bread has trouble sticking, consider using parchment paper in addition to greasing the pan. This will also help with the cleanup afterward!
Troubleshooting/Variations
Sometimes, things don’t go exactly as planned. If your bread doesn’t rise as expected, consider checking the freshness of your baking powder. It should be active and able to produce the required leavening for your bread. Testing it can be as simple as adding a bit to hot water—if it bubbles up, it’s still good!
If you desire a crustier loaf, you can place a small pan of water at the bottom of the oven while baking. The steam will help develop a crispy crust on the outside of your bread while remaining soft inside.
Serving Your Homemade Bread
Serving/Presentation
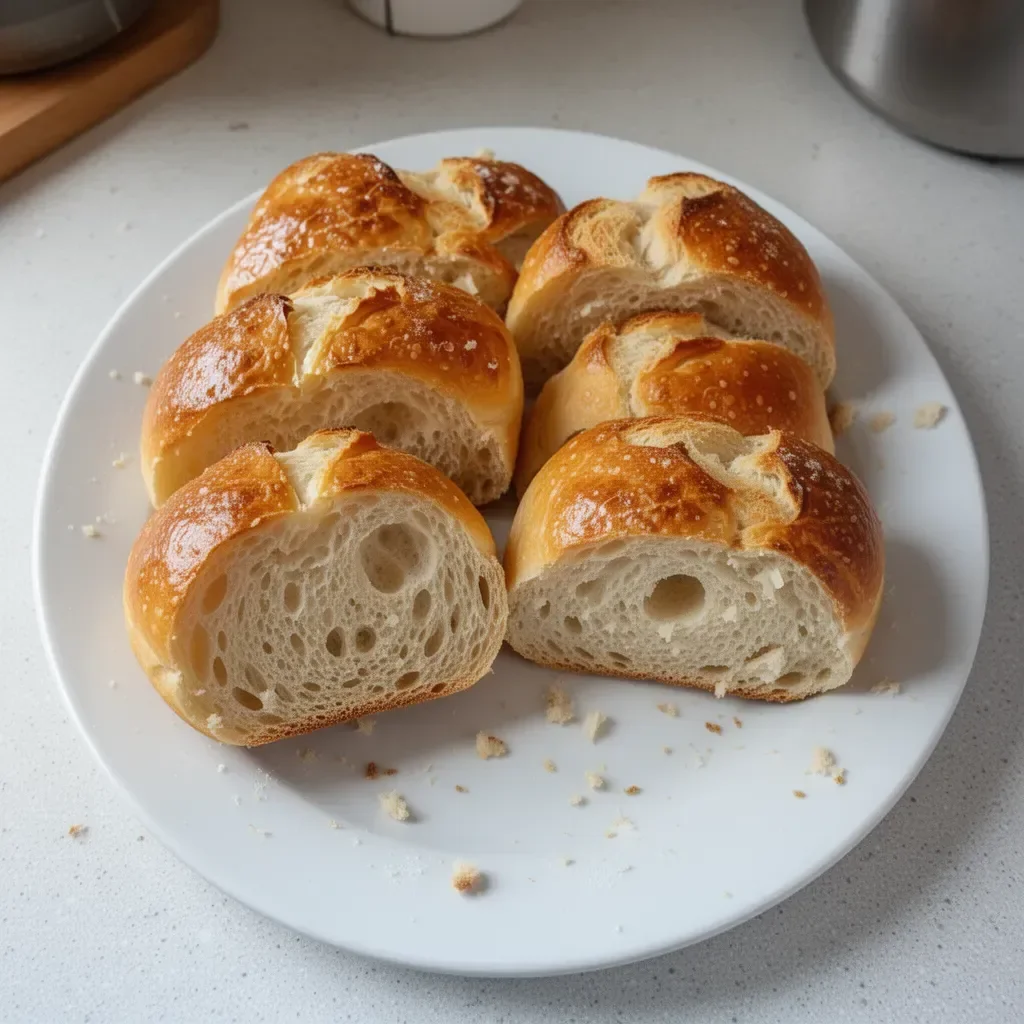
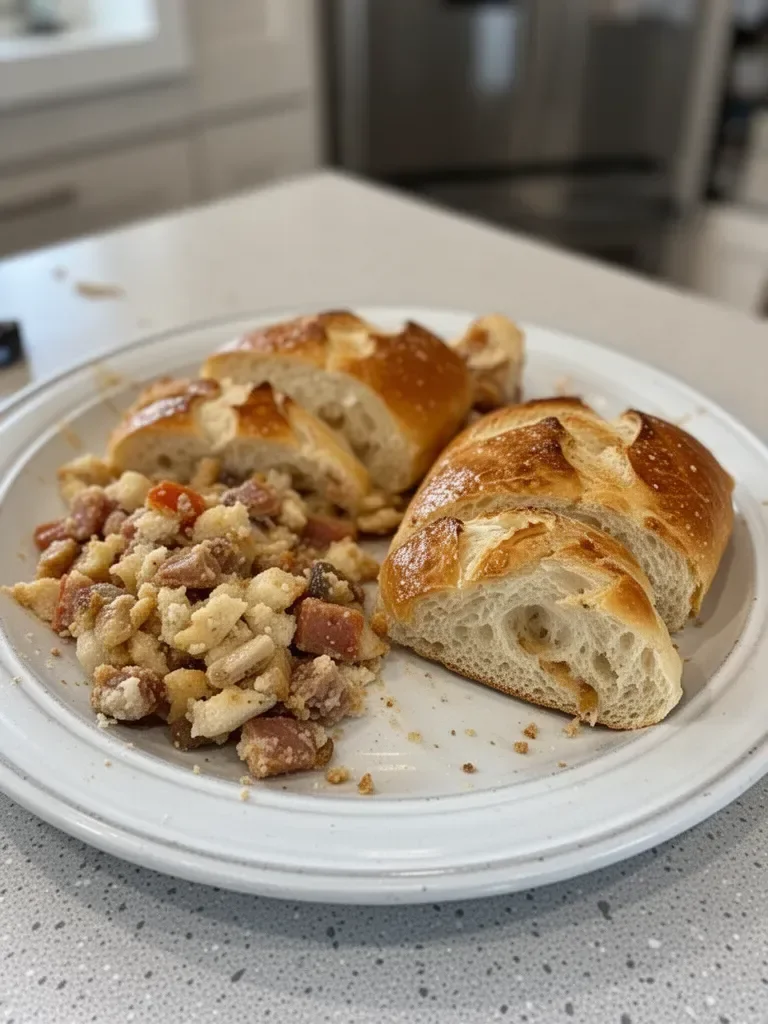
The presentation of your homemade bread can elevate your dining experience. A simple round loaf can be the centerpiece of your table. Consider serving your bread with a selection of spreads or dips. Olive oil, hummus, or even a flavorful butter infused with herbs complement homemade bread beautifully.
Slice it into thick rounds, and serve it warm to allow the flavors to shine through. This inviting display encourages everyone to dig in and enjoy each bite.
Pairings/Storage
While this bread pairs wonderfully with all kinds of meals, consider serving it along with soups, salads, or even as part of a cheese platter. Its versatility makes it ideal for various occasions, from casual dinners to festive gatherings.
For storage, keep the bread in an airtight container or wrapped in plastic wrap at room temperature. This will maintain its softness and freshness for a couple of days. If you find you have leftovers, consider freezing slices for later use.
Conclusion
Creating your own 20-minute homemade bread not only fills your home with comforting aromas but also invites creativity into your cooking routine. With a few basic ingredients, you can craft a delicious loaf that brings warmth and connection to your table. Embracing this simple recipe opens the door to countless variations, ensuring that every slice is a timeless delight. As you perfect your technique and explore new flavors, remember that the joy of bread-making comes from sharing your creations with others.
Print
20-Minute Homemade Bread
- Total Time: 25 minutes
- Yield: 4 servings 1x
- Diet: Vegetarian
Description
Enjoy the delightful experience of making your own bread in just 20 minutes with this simple recipe using six essential ingredients.
Ingredients
- 2 cups all-purpose flour
- 1 tablespoon baking powder
- 1 teaspoon salt
- 1 tablespoon sugar
- 1 cup milk
- 1/4 cup vegetable oil
- Optional: herbs, cheese, or garlic for flavor enhancement
Instructions
- Preheat your oven to 400°F (200°C) and grease a baking sheet.
- Whisk together the all-purpose flour, baking powder, salt, and sugar in a large bowl.
- Add the milk and vegetable oil to the dry mixture. Stir until the ingredients form a dough.
- Turn the dough onto a floured surface and knead gently for about one minute.
- Shape the dough into a round loaf and transfer it to the prepared baking sheet.
- Bake for 15-20 minutes until the bread is golden-brown and sounds hollow when tapped.
- Let the loaf cool slightly before slicing and enjoy warm or at room temperature.
Notes
Consider adding half a cup of shredded cheese or a tablespoon of herbs for enhanced flavor.
- Prep Time: 5 minutes
- Cook Time: 20 minutes
- Category: Bread
- Method: Baking
- Cuisine: Homemade
Nutrition
- Serving Size: 1 slice
- Calories: 180
- Sugar: 1g
- Sodium: 300mg
- Fat: 6g
- Saturated Fat: 1g
- Unsaturated Fat: 4g
- Trans Fat: 0g
- Carbohydrates: 27g
- Fiber: 1g
- Protein: 4g
- Cholesterol: 5mg
Keywords: quick bread, homemade bread, easy recipe