📑 Table of Contents ▶
- Fundamentals
- Preparation/setup
- Directions
- Cheesy Rotisserie Chicken Enchiladas: Techniques and Tips
- Technique
- Tips/Tricks
- Cheesy Rotisserie Chicken Enchiladas: Perfecting Results
- Perfecting Results
- Troubleshooting/Variations
- Cheesy Rotisserie Chicken Enchiladas: Serving Suggestions and Storage
- Serving/presentation
- Pairings/storage
- Conclusion
- Related posts:
- Cheeseburger Casserole
- Garlic Butter Shrimp Scampi Lasagna: The Best Fusion Recipe Ever!
- One Pot Chicken and Rice with Caramelized Lemon: The Best Recipe You’ll Ever Try
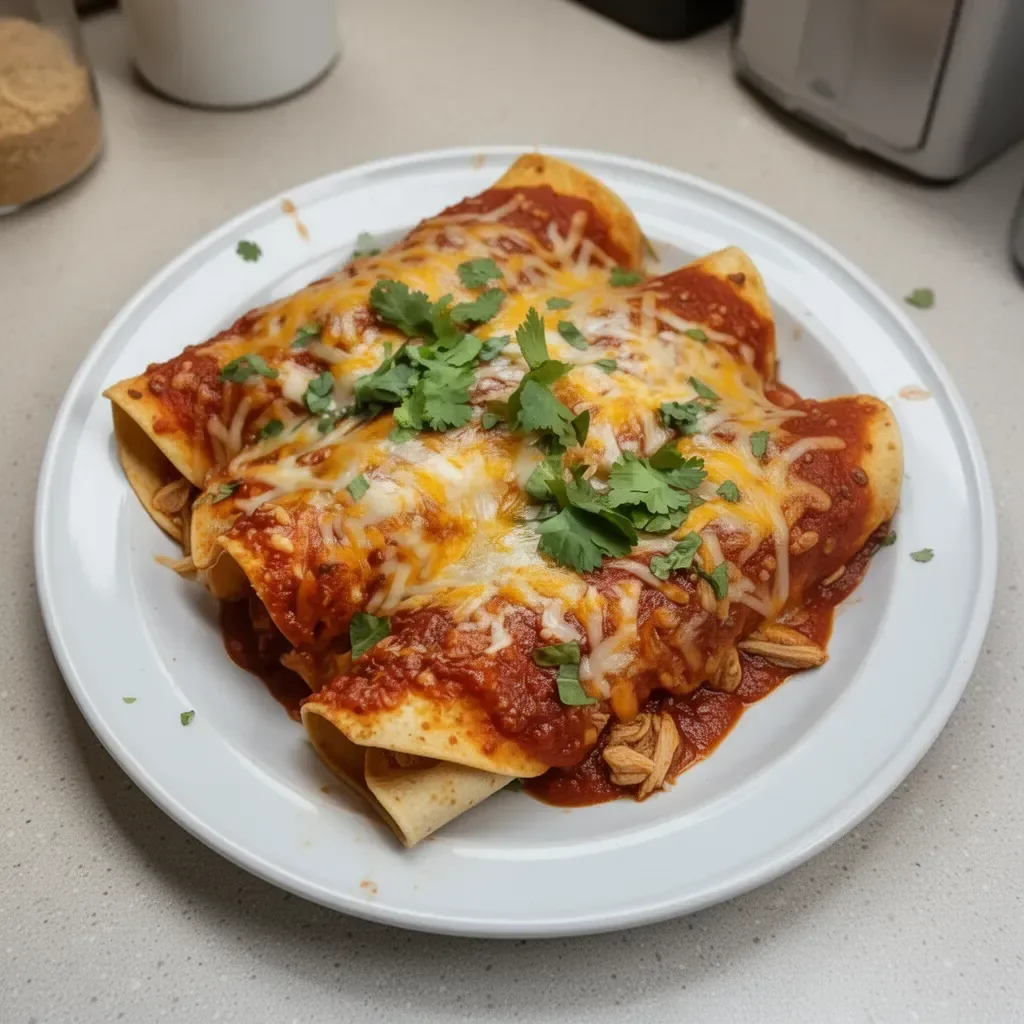
Cheesy Rotisserie Chicken Enchiladas
A cozy kitchen filled with the mouthwatering aroma of cheesy rotisserie chicken enchiladas evokes the warmest memories. Enthusiastic family gatherings often revolve around dishes that bring everyone together. These cheesy enchiladas, with their delightful layers, stand out as a comforting favorite for every occasion.
Each Sunday afternoon, I find myself reminiscing about the thrill of cooking with loved ones. The excitement builds as we gather around the table, ready to feast on a dish that combines simple ingredients into a hearty meal. Cheesy rotisserie chicken enchiladas become the star, bringing everyone closer while they share stories and laughter.
The versatility of this dish makes it an ideal choice for busy weeknights or festive celebrations. With just a few ingredients, including beautifully shredded rotisserie chicken, melted cheese, and zesty enchilada sauce, you can create a masterpiece that everyone craves. The magic happens when these flavors blend seamlessly into a dish that warms both the belly and the heart.
Through these cheesy enchiladas, I hope to inspire you to embrace home cooking and the joy of gathering people together around a table filled with delicious food. Let’s dive into the preparation and savor each step in creating this unforgettable meal.
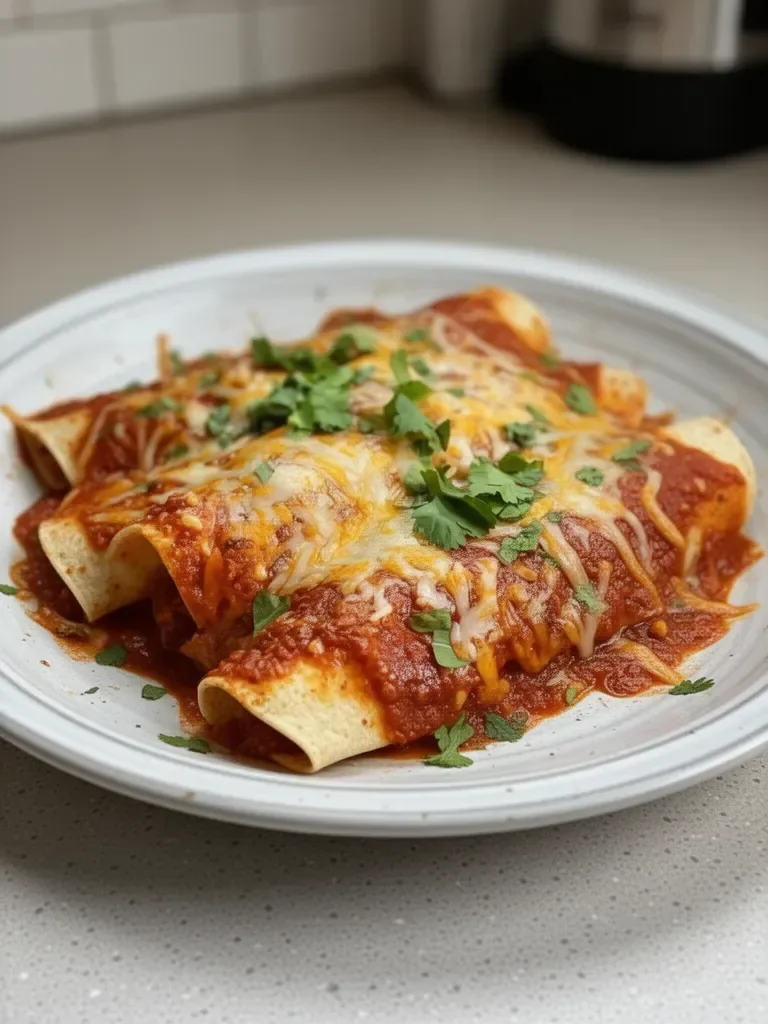
Cheesy Rotisserie Chicken Enchiladas
Fundamentals
Creating cheesy rotisserie chicken enchiladas starts with understanding the fundamentals of the dish. Enchiladas serve as a canvas for flavors and textures, making it a beloved staple in many kitchens. The combination of crispy corn tortillas, tender chicken, and gooey cheese offers a satisfying experience that awakens the senses.
You will need several key components: rotisserie chicken, corn tortillas, cheese, and enchilada sauce. The rotisserie chicken provides an effortless way to incorporate rich, rotisserie flavor without extensive prep time. Meanwhile, the corn tortillas deliver the right amount of crispness and authenticity to the dish.
Consider the cheeses you want to include. A mix of cheddar and mozzarella creates a fantastic blend of sharpness and creaminess. This cheesy combination enhances the enchiladas’ overall taste, making every bite a delightful experience.
Preparation/setup
Before you start creating cheesy rotisserie chicken enchiladas, preparation is key. Gather all your ingredients to streamline the cooking process. This organized setup helps keep the kitchen chaos to a minimum and enhances your enjoyment of the cooking experience.
Begin by shredding your rotisserie chicken into bite-sized pieces. This not only adds flavor but also ensures that the chicken mixes well with other components. While preparing, you might also want to toss in some diced onions and minced garlic to enhance the dish’s aromatic qualities.
Next, preheat your oven to around 375°F. This temperature will allow your enchiladas to bake thoroughly, obtaining that perfect bubbly cheese topping. Have your baking dish ready, greasing it lightly with olive oil to prevent sticking. This minor step ensures that your enchiladas come out beautifully, maintaining their shape and integrity.
Ingredients
Here’s what you will need for your cheesy rotisserie chicken enchiladas:
- 3 cups rotisserie chicken, shredded
- 8 pieces corn tortillas
- 2 cups shredded cheese (cheddar and mozzarella are great)
- 1 can (10 oz) enchilada sauce (choose either red or green based on your preference)
- 1 cup sour cream
- 1/2 cup diced onions
- 2 cloves garlic, minced
- 1 tablespoon olive oil
- Salt and pepper, to taste
- Fresh cilantro, for garnish
Directions
- Preheat your oven to 375°F.
- In a mixing bowl, combine the shredded rotisserie chicken, diced onions, and minced garlic.
- Pour half of the enchilada sauce into the bottom of the greased baking dish and spread it to coat evenly.
- Take each corn tortilla and fill it with a generous amount of the chicken mixture. Add a sprinkle of cheese, roll, and place seam side down in the dish.
- Continue until all tortillas are filled and arranged in the baking dish.
- Pour the remaining enchilada sauce over the rolled tortillas.
- Top generously with the rest of the cheese.
- Bake in the preheated oven for 20-25 minutes, or until the cheese melts and starts to bubble.
- Let the dish cool for a few minutes before serving, then slice into portions.
- Serve with a dollop of sour cream on top and sprinkle with fresh cilantro for added color and flavor.
Cheesy Rotisserie Chicken Enchiladas: Techniques and Tips
Technique
Mastering the art of enchiladas lies in the technique used during assembly and baking. First, warm your corn tortillas slightly in a dry skillet to make them pliable. This simple step prevents tearing while rolling and helps maintain their shape when filled.
Ensure a balanced ratio of filling to sauce. A layer of sauce at the bottom keeps the tortillas from sticking, while adding filling to achieve a delicious flavor profile throughout the enchiladas. Alternate layering sauces and filling helps in elevating the overall taste.
Consider the level of spice you prefer. If you opt for a green enchilada sauce, know that it usually features a milder profile. A red sauce often packs more heat. Have fun experimenting with sauces to find the perfect balance suited to your taste.
Tips/Tricks
- For added flavor, add spices like cumin or chili powder to the chicken mixture. They enhance the overall depth without overpowering the dish.
- If you enjoy a bit of extra crunch, add some diced bell peppers or zucchini to the chicken filling. These can elevate the taste and provide some delightful texture.
- Don’t hesitate to adjust portions according to your tastes; you might prefer more or less cheese, for instance. Cooking should feel free and enjoyable!
Cheesy Rotisserie Chicken Enchiladas: Perfecting Results
Perfecting Results
Cooking enchiladas requires attention to detail to ensure perfection. You’ll know they are done when the cheese is bubbly and the edges of the tortillas start to brown slightly. Allowing them to rest for a few minutes after baking helps the ingredients settle and enhances the overall flavor.
Use an instant-read thermometer to ensure proper heating throughout, especially if you prepare a larger batch. Aim for an internal temperature of 165°F to confirm your cheesy rotisserie chicken enchiladas are ready for serving.
If you prefer crispier edges, consider broiling the enchiladas for a minute or two after baking. This technique creates that beautiful golden finish, providing a delightful contrast to the soft inside of the dish.
Troubleshooting/Variations
Occasionally, your enchiladas may not come out as expected. If they turn out too watery, consider reducing the amount of sauce or thickening it with cornstarch before adding. This adjustment keeps your enchiladas well-balanced with flavors without the excess liquid.
Want to switch things up? Try different protein options besides chicken. Shredded beef or black beans offer delicious alternatives that accommodate various dietary preferences.
Experimenting with various types of sauces can also yield exciting results. Consider incorporating mole sauce or a tomatillo sauce for a unique spin on classic enchiladas.
Cheesy Rotisserie Chicken Enchiladas: Serving Suggestions and Storage
Serving/presentation
When presenting your cheesy rotisserie chicken enchiladas, consider garnishing with fresh cilantro or a sprinkle of diced green onions. These vibrant additions enhance the dish’s visual appeal while adding fresh flavor that can lighten the whole meal.
Serve alongside a traditional side of Mexican rice or a fresh salad. These accompaniments perfectly complement the enchiladas and provide balanced nutrition. The essential element is creating an inviting display that encourages everyone to dig in and enjoy.
Pairings/storage
Cheesy rotisserie chicken enchiladas pair well with simple sides such as corn, beans, or even a fresh avocado salad. You can add a touch of lime or a dash of hot sauce for extra zing. Keep it simple, focusing on flavors that highlight the richness of the enchiladas.
If you have leftovers, store them in an airtight container in the refrigerator. Enjoy them within three to four days for the best quality. You can also freeze assembled, unbaked enchiladas for later enjoyment. This makes them a fantastic option for meal prepping ahead of busy weeks.
Conclusion
Whipping up cheesy rotisserie chicken enchiladas becomes a joyful experience that rekindles cherished memories while creating new ones. An inviting dish, it beautifully showcases simple ingredients and techniques absent of fuss. Each bite delivers an explosion of flavor, making it an enduring favorite for countless gatherings and weeknight dinners alike.
Print
Cheesy Rotisserie Chicken Enchiladas
- Total Time: 40 minutes
- Yield: 4 servings 1x
- Diet: None
Description
Delicious cheesy enchiladas filled with shredded rotisserie chicken, topped with gooey cheese and zesty enchilada sauce, perfect for family gatherings or busy weeknights.
Ingredients
- 3 cups rotisserie chicken, shredded
- 8 pieces corn tortillas
- 2 cups shredded cheese (cheddar and mozzarella)
- 1 can (10 oz) enchilada sauce (red or green)
- 1 cup sour cream
- 1/2 cup diced onions
- 2 cloves garlic, minced
- 1 tablespoon olive oil
- Salt and pepper, to taste
- Fresh cilantro, for garnish
Instructions
- Preheat your oven to 375°F.
- Combine the shredded rotisserie chicken, diced onions, and minced garlic in a mixing bowl.
- Pour half of the enchilada sauce into the bottom of a greased baking dish and spread it evenly.
- Fill each corn tortilla with a generous amount of the chicken mixture, sprinkle with cheese, roll, and place seam side down in the dish.
- Continue until all tortillas are filled and arranged in the baking dish.
- Pour the remaining enchilada sauce over the rolled tortillas.
- Top generously with the rest of the cheese.
- Bake in the preheated oven for 20-25 minutes, or until the cheese melts and bubbles.
- Let the dish cool for a few minutes before serving, then slice into portions.
- Serve with a dollop of sour cream and sprinkle with fresh cilantro.
Notes
For added flavor, consider adding spices like cumin or chili powder to the chicken mixture. If you prefer crispier edges, broil the enchiladas for a minute or two after baking.
- Prep Time: 15 minutes
- Cook Time: 25 minutes
- Category: Main Course
- Method: Baking
- Cuisine: Mexican
Nutrition
- Serving Size: 1 serving
- Calories: 350
- Sugar: 5g
- Sodium: 400mg
- Fat: 12g
- Saturated Fat: 4g
- Unsaturated Fat: 6g
- Trans Fat: 0g
- Carbohydrates: 45g
- Fiber: 3g
- Protein: 15g
- Cholesterol: 30mg
Keywords: enchiladas, rotisserie chicken, Mexican food, cheesy recipe, weeknight dinner