📑 Table of Contents ▶
- The Basics of Crunchy Dill Pickles
- Fundamentals
- Preparation/Setup
- Directions
- Mastering the Art of Pickling
- Technique
- Tips/Tricks
- Perfecting Your Pickles
- Perfecting Results
- Troubleshooting/Variations
- Serving and Storage
- Serving/Presentation
- Pairings/Storage
- Perfectly Crunchy Homemade Dill Pickles
- Related posts:
- Sponge Cake Recipe: How to Make a Fluffy Delight
- White Chocolate Lemon Raspberry Cookies
- Alfajores
How to Make Perfectly Crunchy Homemade Dill Pickles
The art of making perfectly crunchy homemade dill pickles takes me back to my childhood. In the summer, my family would gather in the backyard, surrounded by fresh produce from our garden. The irresistible scent of dill mingled with the vibrant colors of cucumbers and herbs created a sensory experience that I will never forget. It became a cherished tradition to spend a day pickling together, transforming fresh ingredients into something delightful.
There’s something incredibly satisfying about storing away jars filled with your own creations. Each jar represents not only a delicious snack but also the love and effort put into the process. Crunchy homemade dill pickles invite memories of laughter, stories exchanged, and those perfect bites of flavor that celebrate family and friendship. As I grew older, I refined my pickling techniques, and now I feel compelled to share how you can achieve those same crisp, tangy pickles in your own kitchen.
Today, we’ll dive into the world of pickling, breaking down the steps to create perfectly crunchy dill pickles. The combination of fresh cucumbers, spices, and herbs captivates the senses and promises that delightful crunch in every bite. Let’s get started on this delicious journey of homemade pickles!
The Basics of Crunchy Dill Pickles
Fundamentals
Homemade dill pickles require a few essential ingredients and some foundational knowledge to ensure success. Fresh pickling cucumbers rank high on the list. These cucumbers possess the ideal texture, which delivers that delightful crunch. The beauty of making pickles lies in the simplicity of the recipe yet the multitude of flavors it can produce.
Equally important is the brine, which involves a mixture of water, vinegar, and salt to create the salty-sour flavor profile. Garlic, dill, and peppercorns elevate the taste and aroma, making each pickle a mini explosion of flavor. I recommend using high-quality pickling vinegar to effectively balance acidity and flavor. Consistent attention to measuring your ingredients yields pickles that tantalize the taste buds.
Preparation/Setup
Start by gathering your tools and ingredients. You need eight quart-sized mason jars, lids, and a canner for the processing phase. It’s essential to prepare your water bath ahead of time so it’s ready when the time comes to process the jars. Utilize a large pot for boiling your brine mixture, ensuring it’s spacious enough for both the water and cucumbers.
Equally important is to clean your cucumbers thoroughly. Wash them under cool running water to remove any debris. Soaking them in cool water for an hour ensures they stay crisp during the pickling process. After soaking, you’ll be ready to assemble your jars.
Ingredients
To make perfectly crunchy homemade dill pickles, you’ll need the following ingredients:
- 6 pounds fresh pickling cucumbers
- 3 quarts fresh water
- 1 quart pickling vinegar (7%)
- 3/4 cup pickling salt
- 7 teaspoons black peppercorns
- 7-14 cloves fresh garlic
- 7 teaspoons Sriracha or red pepper flakes (optional for heat)
- 7-14 sprigs fresh dill
- 2 teaspoons Pickle Crisp
Directions
- Clean and prepare your cucumbers by washing them thoroughly and soaking them in cool water for an hour.
- Set up your workspace by preparing the mason jars and your canner. Bring your water bath to a boil.
- Add two cloves of garlic, a sprig or two of fresh dill, and 1 teaspoon of peppercorns into each mason jar, along with 1/4 teaspoon of Pickle Crisp.
- Prepare the brine by combining water, vinegar, and salt in a large pot. Bring the mixture to a rolling boil.
- Cut off the blossom end of your cucumbers to help preserve their crispness. Begin packing the jars tightly with cucumbers—whole or speared—leaving at least 1-inch of headspace at the top.
- Ladle the boiling brine carefully over the cucumbers in each jar, ensuring to leave 1/2 inch of headspace.
- Use a spatula to press against the pickles inside the jar gently, creating a path for trapped air to escape. Repeat this step several times around the inside of the jar.
- Wipe the rims of the jars, place the lids and rings on top, and twist until they’re finger-tight.
- Process your jars in the water bath for 15 minutes for quarts or 10 minutes for pints.
- Once processed, remove the jars from the bath and let them rest on a dishcloth or cutting board without disturbance.
- After 24 hours, check for a proper seal. Those that sealed correctly can be stored up to a year. If some jars do not seal, refrigerate them for up to four weeks.
Mastering the Art of Pickling
Technique
The key to achieving great results with homemade dill pickles lies in mastering a few simple techniques. Understanding the importance of the brine ratio is essential. You want adequate salt and vinegar to ensure safe preservation while maximizing flavor. Adjusting the amount of garlic and spices in your jars allows you to customize your pickles to suit your taste preferences.
Packing your jars tightly is also crucial for crunchy homemade dill pickles. This not only maintains the integrity of the cucumbers but helps them absorb the brine evenly. Consider the size of your cucumbers as you pack them in; thicker slices or whole cucumbers retain their crunchiness better than thinner ones.
Tips/Tricks
Include some fresh garlic cloves and dill sprigs for added flavor. Additionally, don’t shy away from experimenting with spices like Sriracha or red pepper flakes if you enjoy a spicy kick. For those who like a stronger garlic flavor, adding more garlic cloves will certainly elevate the overall taste. Remember to always cut off the blossom end of the cucumbers to preserve their crunch during the pickling process.
Patience also plays a role. Allowing the pickles to sit for 24 hours before checking for a seal lets the flavors develop fully. Storing jars in a cool, dark place can extend their shelf life and maintain flavor integrity.
Perfecting Your Pickles
Perfecting Results
To ensure perfectly crunchy homemade dill pickles, keep a few factors in check. Always use fresh, crisp cucumbers that are perfectly firm—this is non-negotiable. The cucumber’s texture significantly influences the overall crunch and flavor of your pickles. Removing the blossom end before packing the jars plays a critical role in achieving crispness.
Monitor the water temperature during processing. Maintaining the right temperature and processing time is vital for proper sealing and preservation. Double-check your salt and vinegar ratios to ensure effective preservation without overwhelming the cucumbers’ fresh taste.
Troubleshooting/Variations
In the world of pickling, troubleshooting is part of the journey. If you find that your pickles do not remain crisp after 24 hours, consider reducing the processing time in high altitude areas if applicable. Always check for proper seals to avoid spoilage.
Feel free to experiment with different herbs and spices to create variations of your dill pickles. Adding mustard seeds, coriander seeds, or even a splash of lemon can introduce exciting new flavors to your pickling adventure.
Serving and Storage
Serving/Presentation
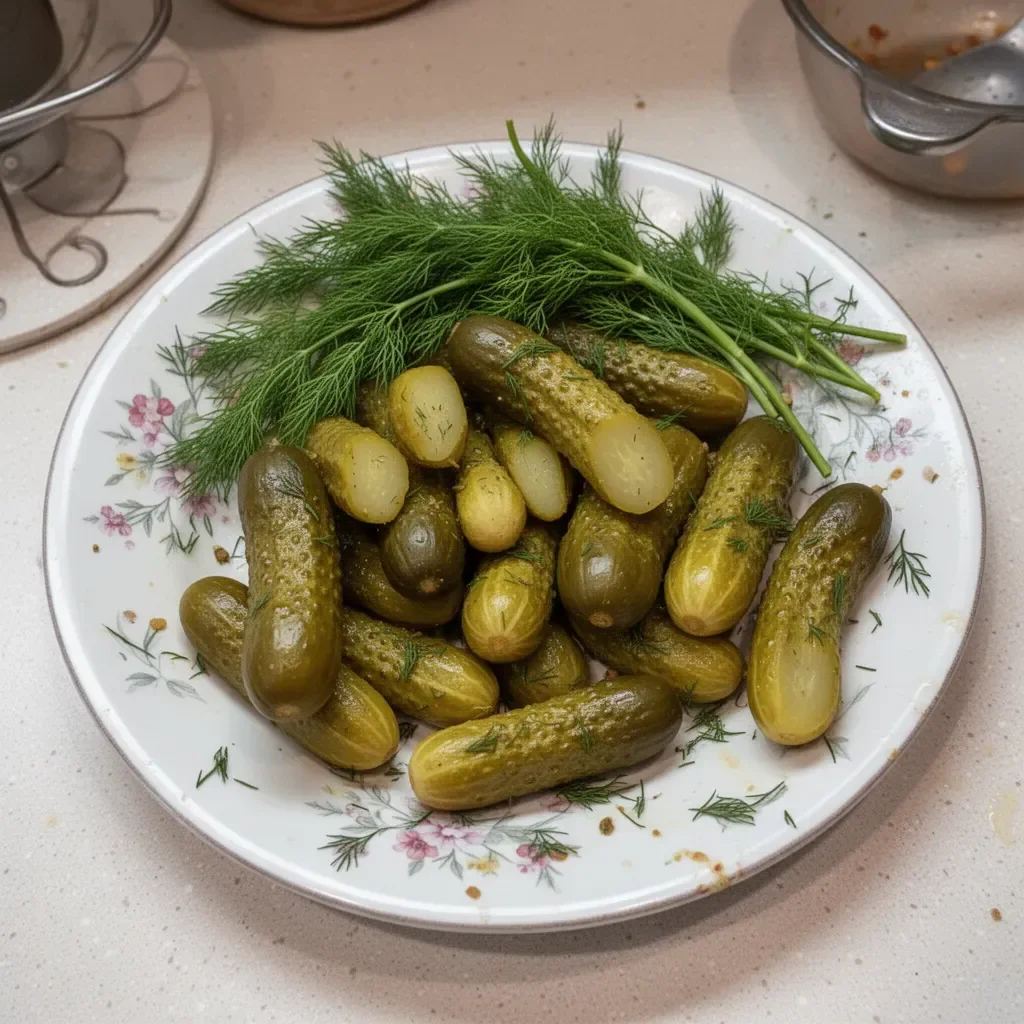
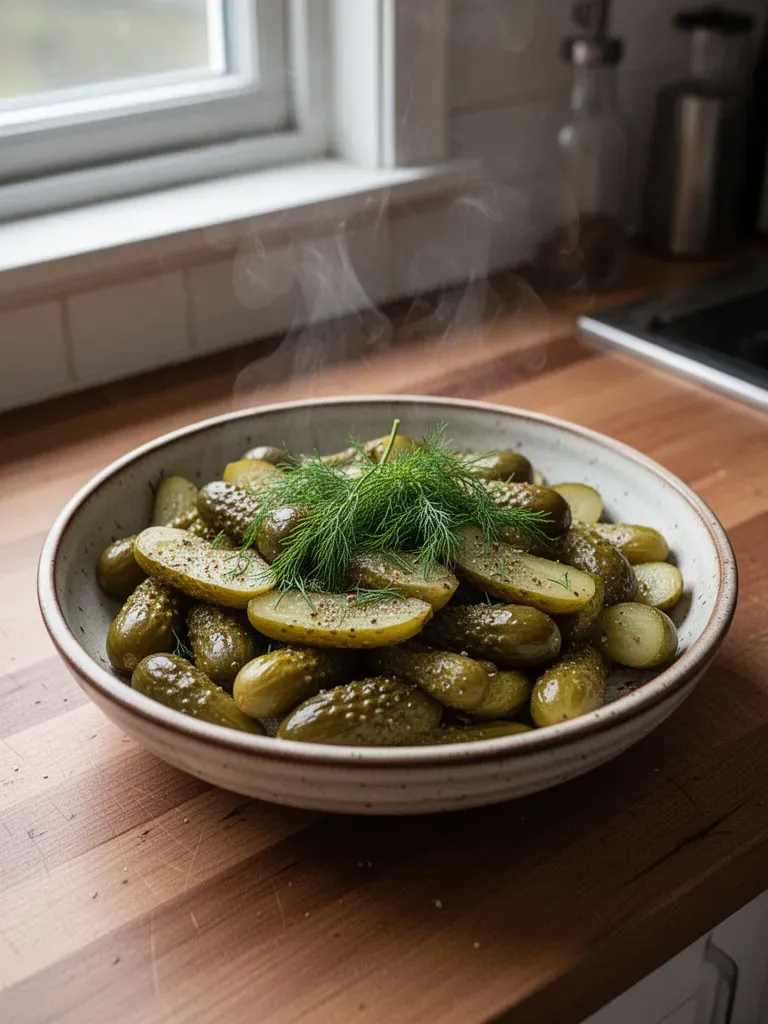
Presenting your homemade dill pickles involves more than just placing jars on the serving table. Consider using decorative dishes to showcase your pickles alongside cheese and crackers for a delightful appetizer. Pair your pickles with sandwiches, burgers, or salads, enhancing those dishes with a zesty crunch.
Slice or spear your pickles to suit various serving styles. For gatherings, offer an assortment of pickled vegetables for variety and fun. Including your homemade pickles in gift baskets creates a personalized touch that friends and family will surely appreciate.
Pairings/Storage
As you enjoy your homemade dill pickles, consider serving them with fresh salads or hearty sandwiches. The tangy crunch of a dill pickle elevates flavors and complements rich dishes beautifully. Stowing away your jars in a cool, dark place preserves their flavor and quality for up to a year.
Always check your jars before using to ensure the seal remains intact. Any unsealed jars should be refrigerated immediately and consumed within four weeks to ensure quality.
Crafting perfectly crunchy homemade dill pickles is truly a rewarding culinary adventure. With fresh ingredients, precise techniques, and plenty of love, you’ll create delightful jars filled with memories, flavors, and joy. So, lace up your apron, roll up your sleeves, and dive into the world of pickling—it’s a journey well worth taking.
Print
Perfectly Crunchy Homemade Dill Pickles
- Total Time: 45 minutes
- Yield: 4 quarts 1x
- Diet: Vegetarian
Description
Learn how to make perfectly crunchy homemade dill pickles using fresh cucumbers, spices, and herbs for a delightful snack.
Ingredients
- 6 pounds fresh pickling cucumbers
- 3 quarts fresh water
- 1 quart pickling vinegar (7%)
- 3/4 cup pickling salt
- 7 teaspoons black peppercorns
- 7–14 cloves fresh garlic
- 7 teaspoons Sriracha or red pepper flakes (optional for heat)
- 7–14 sprigs fresh dill
- 2 teaspoons Pickle Crisp
Instructions
- Clean and prepare your cucumbers by washing them thoroughly and soaking them in cool water for an hour.
- Set up your workspace by preparing the mason jars and your canner. Bring your water bath to a boil.
- Add two cloves of garlic, a sprig or two of fresh dill, and 1 teaspoon of peppercorns into each mason jar, along with 1/4 teaspoon of Pickle Crisp.
- Prepare the brine by combining water, vinegar, and salt in a large pot. Bring the mixture to a rolling boil.
- Cut off the blossom end of your cucumbers to help preserve their crispness. Begin packing the jars tightly with cucumbers—whole or speared—leaving at least 1-inch of headspace at the top.
- Ladle the boiling brine carefully over the cucumbers in each jar, ensuring to leave 1/2 inch of headspace.
- Use a spatula to press against the pickles inside the jar gently, creating a path for trapped air to escape. Repeat this step several times around the inside of the jar.
- Wipe the rims of the jars, place the lids and rings on top, and twist until they’re finger-tight.
- Process your jars in the water bath for 15 minutes for quarts or 10 minutes for pints.
- Once processed, remove the jars from the bath and let them rest on a dishcloth or cutting board without disturbance.
- After 24 hours, check for a proper seal. Those that sealed correctly can be stored up to a year. If some jars do not seal, refrigerate them for up to four weeks.
Notes
Experiment with spices like Sriracha for heat and adjust the amount of garlic according to your preference. Storing jars in a cool, dark place can enhance their shelf life.
- Prep Time: 15 minutes
- Cook Time: 30 minutes
- Category: Condiments
- Method: Canning
- Cuisine: American
Nutrition
- Serving Size: 1 pickle
- Calories: 30
- Sugar: 1g
- Sodium: 350mg
- Fat: 0g
- Saturated Fat: 0g
- Unsaturated Fat: 0g
- Trans Fat: 0g
- Carbohydrates: 7g
- Fiber: 1g
- Protein: 1g
- Cholesterol: 0mg
Keywords: dill pickles, homemade pickles, canning, preserving, crunchy pickles