
📑 Table of Contents ▶
- Easy Cheesy Garlic Bread Essentials
- Fundamentals
- Preparation/setup
- Directions
- Easy Cheesy Garlic Bread Techniques
- Technique
- Tips/tricks
- Perfecting Easy Cheesy Garlic Bread
- Perfecting results
- Troubleshooting/variations
- Presenting Easy Cheesy Garlic Bread
- Serving/presentation
- Pairings/storage
- Related posts:
- Pumpkin Gnocchi With Sage Butter: Irresistibly Crispy Sage Leaves
- Egg Roll in a Bowl Recipe
- One Pot Chili Mac and Cheese
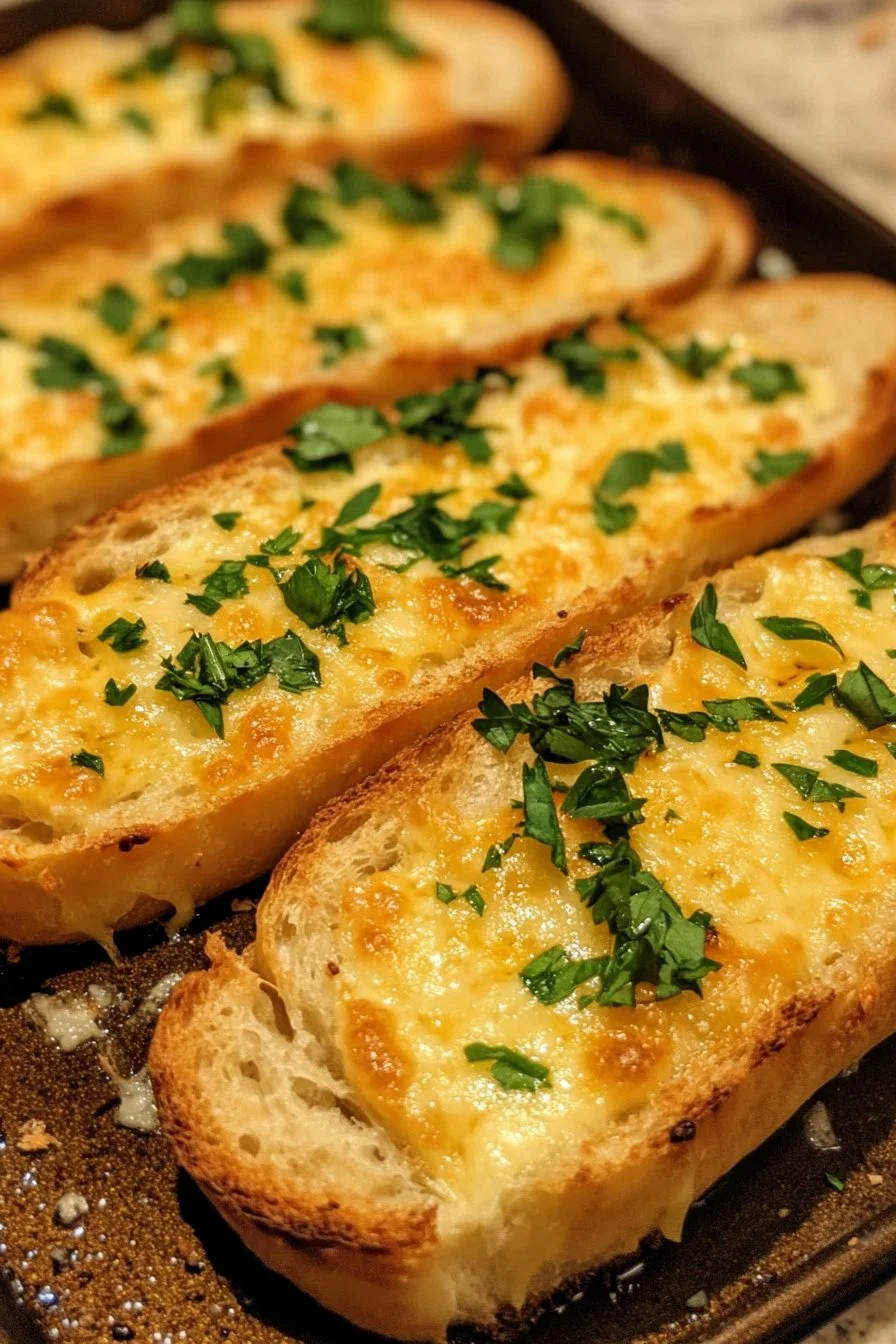
Easy Cheesy Garlic Bread
Transforming a simple loaf into a comforting, cheesy delight feels like magic. Easy cheesy garlic bread carries the soul of family gatherings and cozy nights in. It brings back memories of warm kitchens filled with laughter and the aroma of buttery goodness wafting through the air.
Many evenings, the mere thought of cheesy garlic bread could turn a mundane meal into a mini celebration. The buttery, garlic-rich topping on soft Hawaiian rolls takes center stage, marrying comfort and flavor seamlessly. You savor each bite, feeling a wave of nostalgia with every cheesy pull.
In homes across the country, the simplicity of easy cheesy garlic bread finds its way into busy weeknights and special occasions. It’s a dish that bridges gaps between generations. From kids to grandparents, everyone seems to agree on this irresistible treat. You don’t need to be a culinary expert to create it, making it a great option for cooks of all skill levels.
Let’s dive into the delightful process of making easy cheesy garlic bread. With just a handful of ingredients, you’ll create a tasty appetizer or side dish that everyone will love. It’s all about enjoying the simple act of cooking, so grab those soft Hawaiian rolls and get ready for a culinary journey filled with cheesy, garlicky goodness.
Easy Cheesy Garlic Bread Essentials
Fundamentals
Creating easy cheesy garlic bread begins with understanding the foundational elements that make it so irresistible. Soft Hawaiian rolls serve as the cozy base, providing a slight sweetness that balances beautifully with the savory toppings. Choosing the right cheese is crucial; mozzarella and cheddar melt wonderfully, enriching the overall taste. With each ingredient, you set the stage for a flavor explosion.
Preparation/setup
Start by ensuring everything is ready for your easy cheesy garlic bread experience. Preheat your oven to 350°F (175°C); this ensures the cheese melts perfectly without burning. Slice the Hawaiian rolls in half and lay them cut-side up on a baking sheet. This setup makes adding the delicious toppings a breeze.
Ingredients
Gather the following ingredients to get started:
- Soft Hawaiian rolls
- Cheese (mozzarella or cheddar)
- Butter
- Garlic (minced)
- Parsley
- Salt
Directions
- Preheat the oven to 350°F (175°C).
- Slice the Hawaiian rolls in half and place them on a baking sheet.
- In a bowl, mix softened butter, minced garlic, chopped parsley, and salt.
- Spread the butter mixture generously over the cut sides of the rolls.
- Top with plenty of cheese.
- Bake in the preheated oven for about 10-15 minutes, or until the cheese is melted and bubbly.
- Serve warm.
Easy Cheesy Garlic Bread Techniques
Technique
Mastering easy cheesy garlic bread involves honing your technique. The butter-garlic mixture is key. Ensure that your butter is softened not just for easy spreading but also to combine smoothly with the garlic and parsley. This mixture creates the delectable topping that seeps into the bread, enhancing every bite. Experiment with different amounts of garlic for a punchy or milder flavor profile that suits your taste.
Tips/tricks
To elevate your easy cheesy garlic bread experience, consider a few simple tricks. Adding a sprinkle of black pepper or red pepper flakes can introduce an exciting kick. If your cheese tends to brown too quickly, you can cover your baking sheet loosely with a piece of foil during baking, removing it in the last few minutes for that beautiful bubble.
Perfecting Easy Cheesy Garlic Bread
Perfecting results
No one wants a soggy or burnt treat. Achieving perfectly baked easy cheesy garlic bread relies on keeping an eye on the oven. Baking for 10-15 minutes generally yields gooey cheese and bread that holds its shape. If you prefer an extra crispy crust, try broiling it for an additional minute or two after the cheese melts. This technique adds a delightful crunch.
Troubleshooting/variations
Sometimes, things don’t go as planned. If your cheese doesn’t melt properly, it might be too cold or thickly layered. Spread the cheese evenly and ensure it’s at room temperature before baking. Variations abound; swap cheeses, add diced tomatoes, or even layer on some cooked vegetables for a twist on the classic recipe.
Presenting Easy Cheesy Garlic Bread
Serving/presentation
When it comes to serving easy cheesy garlic bread, presentation plays a key role in transforming a simple dish into an exciting feast. Slicing the rolls neatly allows guests to easily grab their pieces. Serve warm, garnished with a sprinkle of parsley or a light drizzle of olive oil for a touch of elegance. Pair it alongside a fresh salad or a hearty soup for a well-rounded meal.
Pairings/storage
While easy cheesy garlic bread shines on its own, its versatility lets you pair it with various dishes. Try serving it alongside your favorite pasta or grilled chicken for a delightful complement. To store leftovers, allow the bread to cool completely, then keep it in an airtight container in the fridge for up to three days. Reheat it in the oven to regain its crispy texture.
Easy cheesy garlic bread captures the essence of comfort food, making it a crowd-pleaser for gatherings and an easy weeknight treat. The combination of soft, pillowy rolls, a savory, garlic-infused topping, and bubbly melted cheese creates that heavenly bite everyone craves. Embrace the simplicity of this delightful dish and watch it become a cherished staple in your kitchen.
