📑 Table of Contents ▶
- Easy Dog Icing Fundamentals
- Understanding the Basics
- Preparation and Setup
- Directions
- Techniques for Success
- Mastering the Icing Technique
- Tips and Tricks for the Perfect Icing
- Perfecting Your Easy Dog Icing
- Achieving the Best Results
- Troubleshooting and Variations
- Serving Your Dog Icing
- Presentation Ideas
- Storage and Futuristic Use
- Related posts:
- Yogurt Cloud Cake for a Light Dessert
- Pumpkin Pie Crumble Bars: Irresistible Fall Indulgence
- Strawberry Cheesecake Chimichangas: The Best Recipe Ever!
Easy Dog Icing
Creating special treats for pets can be one of the most rewarding experiences. From celebrating birthdays to just saying, “I love you,” finding a way to enhance your dog’s mealtime experience is a true joy. Easy dog icing adds a delightful touch to homemade biscuits and cakes, making them visually appealing and tasty for your furry friends.
Whether it’s for a special occasion or just a routine treat, knowing how to whip up this simple dog icing can bring happiness to both you and your four-legged companions. Nothing feels quite as rewarding as watching your dog enjoy the little things, like a treat that you’ve spent time making from scratch. Plus, it’s easy to find joy in using simple, everyday ingredients to create something special.
Embracing creativity in the kitchen doesn’t just apply to humans; dogs enjoy a homemade touch too! This icing manages to be both easy and fun, allowing you to add food coloring for that extra flair if you wish. Let’s dive into the details of crafting this dog-friendly frosting that will impress not only your pets but also anyone watching you whip it up.
Easy Dog Icing Fundamentals
Understanding the Basics
Crafting dog icing doesn’t involve a complicated list of ingredients. In fact, simplicity is at the heart of this delightful recipe. Your main ingredients will include powdered sugar, water, and corn syrup. These items come together to create a smooth icing that your dog will love.
Should you choose to add food coloring, the creativity can shine even brighter. Just remember, the primary goal is to create a safe and enjoyable experience for your pet. No need for extra additives or unrecognizable components—keeping it simple ensures everyone stays happy.
Preparation and Setup
Getting started with easy dog icing requires minimal preparation. First, gather your ingredients: 1 cup of powdered sugar, 1 tablespoon of water, and 1/2 teaspoon of corn syrup. A bowl and a stirring utensil come in handy for mixing.
Begin by mixing the powdered sugar with water in a bowl until smooth. This process should take just a few moments. Look for a consistency that flows easily but can hold its shape when you pipe it onto treats. After ensuring it is well-mixed, add the corn syrup. Stir the mixture further until it fully incorporates.
Your preparation is now complete; you’re just a few steps away from making your dog’s treats look and taste fantastic.
Ingredients
- 1 cup powdered sugar
- 1 tablespoon water
- 1/2 teaspoon corn syrup
- Food coloring (optional)
Directions
- In a bowl, mix the powdered sugar and water until smooth.
- Add corn syrup and stir to combine.
- If desired, add food coloring to the icing.
- Use immediately to frost cakes or cookies, or let sit to harden.

Techniques for Success
Mastering the Icing Technique
To successfully create easy dog icing, mastering the mixing technique is essential. Ensure that all ingredients blend well; this promotes a smooth texture that will spread pleasantly over your dog’s treats. Start with room temperature water for the best results, as it helps the powdered sugar dissolve more readily.
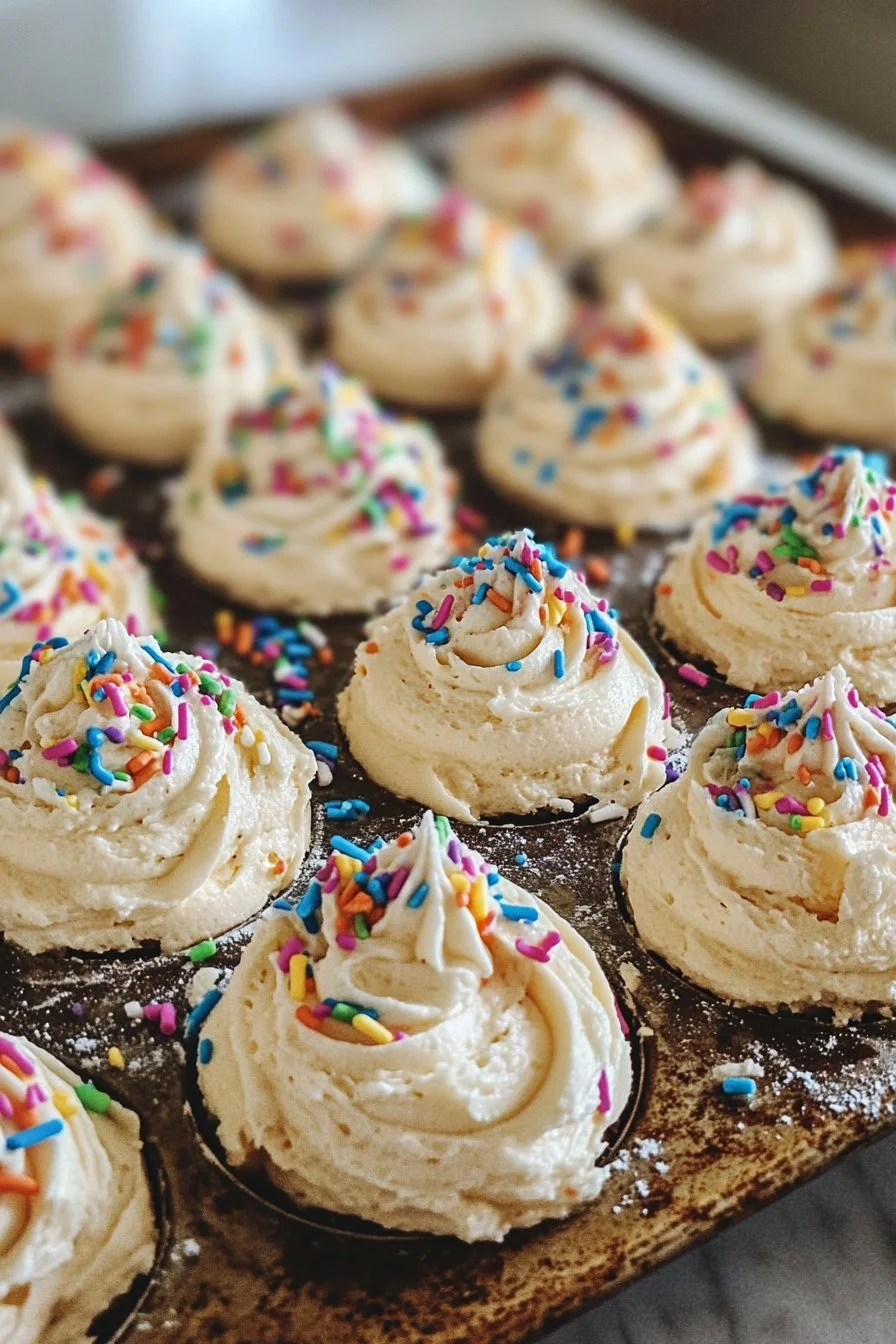
When applying the icing, consider using a piping bag for precision. A piping bag allows you to create decorative designs that can transform a simple cookie into a work of art. Alternatively, you can also use a spatula to spread the icing directly on the treats.
Tips and Tricks for the Perfect Icing
To achieve the best results with your easy dog icing, keep these tips in mind:
- Ensure your bowl and utensils are clean before beginning. This prevents any unwanted flavors or contaminants from affecting the icing.
- Consider the consistency. If you want a thicker icing for detailed work, adjust your water slightly. For a glaze-like finish, increase the water carefully.
- Timing is key. If you plan to let the icing harden, be cautious not to allow it to sit too long. Use it promptly for the best results.
Perfecting Your Easy Dog Icing
Achieving the Best Results
Achieving the perfect consistency for your easy dog icing enhances both appearance and taste. If you find your icing is too thick, just add a drop more water until you reach the desired flow. Conversely, if it is too runny, add a little more powdered sugar to thicken it back up.
Experimenting with the ingredient ratios allows you to customize your icing. Adjusting the corn syrup can also impact the sweetness level, allowing you to find the ideal balance for your dog’s palate.
Troubleshooting and Variations
In some cases, you may encounter a few common problems while making your icing.
- If your icing doesn’t hold its shape, consider reducing the water slightly.
- For a more vibrant look, increase the amount of food coloring gradually until you reach your desired shade.
- If the icing dries too quickly, ensure that you’re working in a slightly cooler area and not leaving it exposed to air for too long.
There’s always room for variations as well. You can play around with different colors of food coloring to make treats festive for holidays or special birthdays.
Serving Your Dog Icing
Presentation Ideas
Serving your easy dog icing beautifully enhances the experience. Consider using cookie cutters to create fun shapes before decorating with icing. This not only makes the treats aesthetically pleasing but also opens opportunities for creative decoration.
When applying the icing, think about layering flavors. Frosting a biscuit and topping it with crumbled treats or peanut butter can turn a simple snack into an exciting culinary adventure for your dog.
Storage and Futuristic Use
To ensure your icing stays intact, store it in an airtight container reserved for pet treats. If you have icing left over, cover it tightly and refrigerate, but use it within a few days for the best quality.
When ready to use, allow it to come back to room temperature before attempting to spread or pipe. Keep in mind that every time your furry friend gets a special treat, it builds long-lasting memories between the two of you.
Having easy dog icing at hand transforms mealtime into a celebration, honoring the spirit of companionship. Making this icing not only shares your love but also showcases creativity with your furry loved ones.
Print
Easy Dog Icing
- Total Time: 5 minutes
- Yield: Makes enough icing for several treats
- Diet: Dog-Friendly
Description
A delightful recipe for dog-friendly icing to enhance treats and make mealtime special.
Ingredients
- 1 cup powdered sugar
- 1 tablespoon water
- 1/2 teaspoon corn syrup
- Food coloring (optional)
Instructions
- In a bowl, mix the powdered sugar and water until smooth.
- Add corn syrup and stir to combine.
- If desired, add food coloring to the icing.
- Use immediately to frost cakes or cookies, or let sit to harden.
Notes
Ensure all utensils are clean before beginning to prevent unwanted flavors. Adjust water for desired icing consistency.
- Prep Time: 5 minutes
- Cook Time: 0 minutes
- Category: Dessert
- Method: Mixing
- Cuisine: Pet Treats
Nutrition
- Serving Size: N/A
- Calories: 100 (estimation based on total ingredients)
- Sugar: 25g
- Sodium: 5mg
- Fat: 0g
- Saturated Fat: 0g
- Unsaturated Fat: 0g
- Trans Fat: 0g
- Carbohydrates: 25g
- Fiber: 0g
- Protein: 0g
- Cholesterol: 0mg
Keywords: dog treats, dog icing, pet friendly recipes, homemade dog treats
