📑 Table of Contents ▶
- Fundamentals
- Preparation/setup
- Directions
- Mastering Easy Homemade White Bread
- Technique
- Tips/tricks
- Perfecting Easy Homemade White Bread
- Perfecting results
- Troubleshooting/variations
- Serving Easy Homemade White Bread
- Serving/presentation
- Pairings/storage
- Easy Homemade White Bread Completion
- Related posts:
- High Protein Chicken Salad
- Bacon Cheddar Salad
- Crispy Chicken Caesar Sandwich
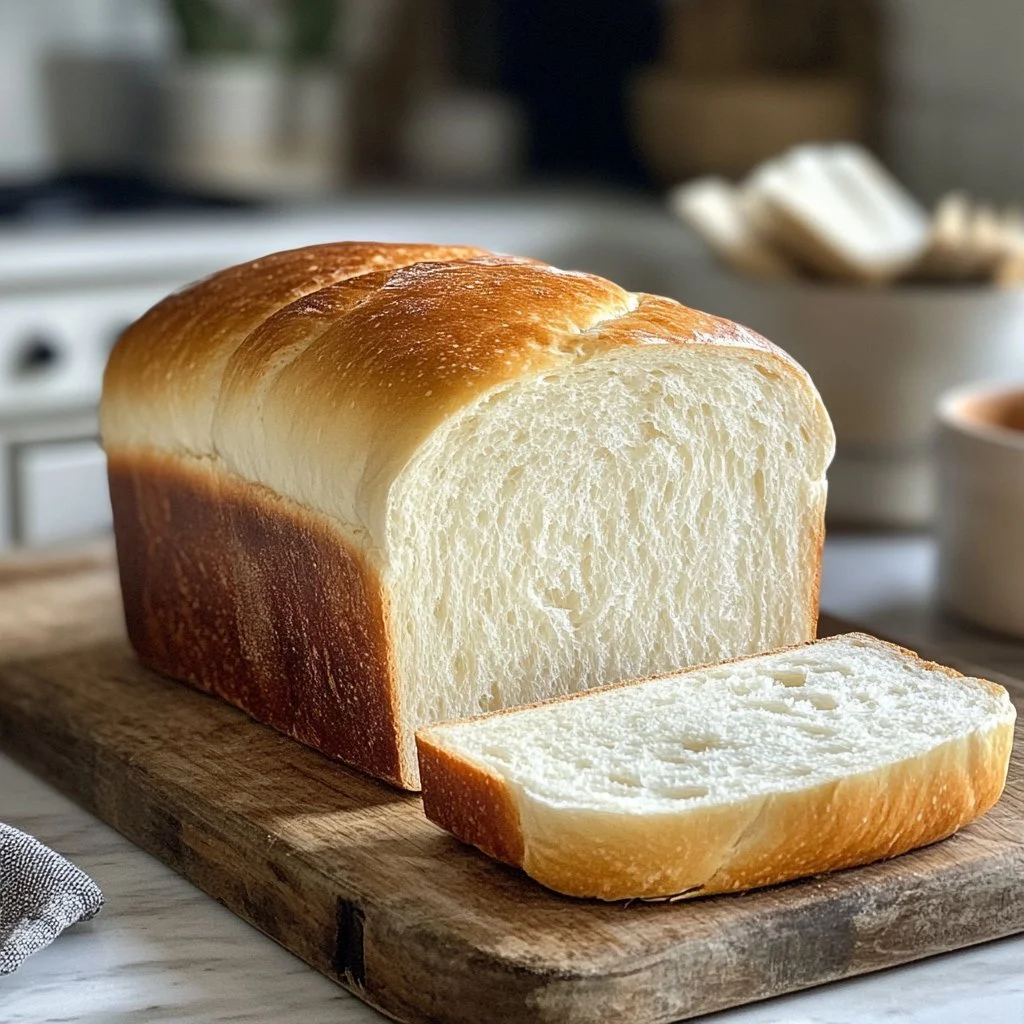
Easy Homemade White Bread
Baking homemade white bread holds a special place in many hearts. Imagine the aroma of freshly baked bread wafting through your home, inviting and comforting. As a child, my fondest memories include watching my grandmother knead dough while I eagerly anticipated that first slice, slathered in butter. Bread-making was more than just a task; it was an act of love, bringing family together around the dinner table.
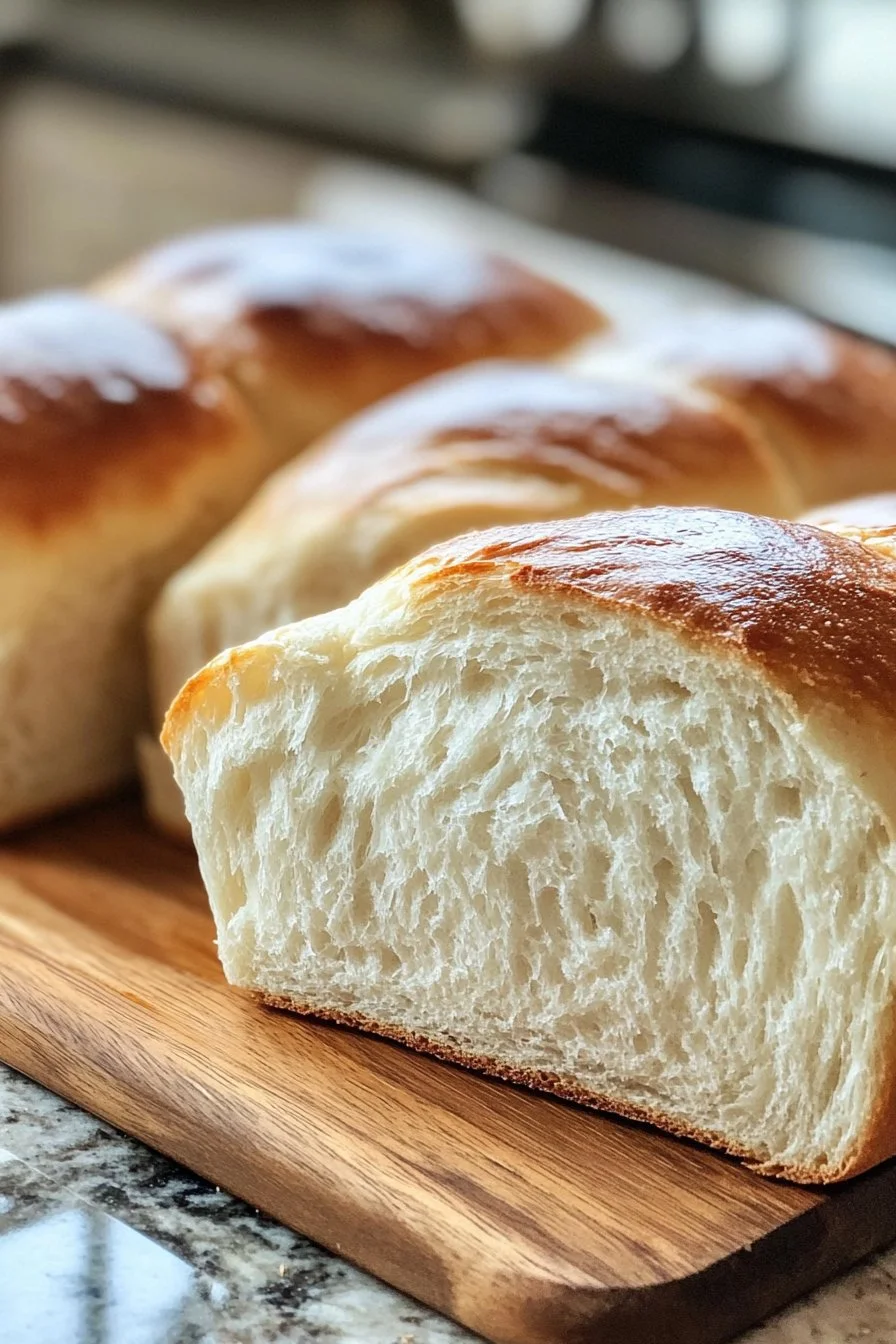
The process of making easy homemade white bread brings joy and satisfaction. Watching the dough rise is akin to anticipation; it signals that something wonderful is about to happen. Each step allows for creativity and connection, transforming basic ingredients into a warm, delicious loaf that brings smiles. This classic recipe delivers on flavor and simplicity, making it a fantastic choice for both novice and experienced bakers.
This easy homemade white bread recipe will soon become a staple in your kitchen. The quick activation of the yeast and the kneading process create an ideal texture, perfect for sandwiches or enjoying with soup. Let’s dive into the art of bread-making and discover the joy of creating something delicious from scratch.
Easy Homemade White Bread
Fundamentals
Making easy homemade white bread involves understanding the essential components. Most noteworthy are the ingredients you’ll need: all-purpose flour, active dry yeast, warm water, sugar, salt, and unsalted butter. Each plays a critical role in the bread-making process.
The all-purpose flour contributes structure and chewiness. Active dry yeast is your magic ingredient, responsible for fermentation, which makes the dough rise. Warm water hydrates the flour and activates the yeast. Sugar serves as food for the yeast and adds a touch of sweetness. Salt enhances flavor and controls yeast activity, while softened butter enriches the dough, making it tender.
Understanding these fundamentals will empower you as you embark on your baking journey. You’ll feel confident knowing how each ingredient influences the final product, allowing you to make adjustments if desired.
Preparation/setup
Preparation creates a solid foundation for your easy homemade white bread. Start by gathering all your ingredients and tools. You’ll need measuring cups, a mixing bowl, and a clean, floured surface for kneading. Also, have a greased bowl ready for the dough to rise in.
Begin by activating the yeast. Combine the warm water and sugar in a mixing bowl and sprinkle the yeast on top. Allow it to sit for about five minutes until frothy. This step is vital, as it ensures the yeast is alive and ready to go.
Meanwhile, whisk the flour and salt in a separate large bowl. Once the yeast mixture is frothy, add it to the flour mixture along with the softened butter. Stir these ingredients until fully combined. The blend of flavors will create a tender, airy loaf.
Ingredients
To make easy homemade white bread, gather the following ingredients:
- 3 ½ cups all-purpose flour
- 2 ¼ teaspoons active dry yeast
- 1 cup warm water (between 100°F and 110°F)
- 2 tablespoons sugar
- 1 teaspoon salt
- 2 tablespoons unsalted butter (softened)
These simple ingredients provide a straightforward approach to baking that yields delicious results.
Directions
- Activate the yeast by mixing warm water with sugar and sprinkling yeast on top. Let sit for 5 minutes until frothy.
- In a large bowl, whisk together the flour and salt.
- Add melted butter and the activated yeast mixture to the dry ingredients; stir until combined.
- Knead the dough on a floured surface for about 8 minutes until smooth and elastic.
- Place the dough in a greased bowl, cover it, and let it rise in a warm area for about one hour or until doubled in size.
- Punch down the dough gently, shape it into a loaf, place it in a greased pan, cover again, and let rise for an additional 30 minutes.
- Preheat the oven to 375°F (190°C) and bake for 25-30 minutes or until golden brown.
Mastering Easy Homemade White Bread
Technique
Baking easy homemade white bread requires mastering a few key techniques. The kneading process is particularly important. Kneading develops gluten, which gives the bread its structure and chewiness. Aim for a smooth, elastic dough that springs back when you poke it.
Once the dough has risen, gently punch it down. This action redistributes the yeast and expels excess air, ensuring an even crumb throughout the loaf. Shaping the dough into a loaf is an art. Roll it tightly, pinching the seams to seal. This step will support a uniform rise during the second proof.
Tips/tricks
Here are a few tips to ensure your easy homemade white bread turns out perfectly every time. Use a kitchen thermometer to check the water temperature; it should be between 100°F and 110°F. Too hot water could kill the yeast, and too cool might not activate it correctly.
If your kitchen is chilly, you can create a warm environment by placing the dough in a turned-off oven with a bowl of hot water. Lastly, remember to test the bread for doneness by tapping the bottom; it should sound hollow when fully baked.
Perfecting Easy Homemade White Bread
Perfecting results
Perfecting easy homemade white bread revolves around timing and technique. Watch for visual cues during rising. The dough should double in size during the first rise, indicating plenty of yeast activity. Baking time can vary; ovens may differ, so keep an eye on the bread near the end of the baking cycle.
For a beautiful crust, let the bread cool on a wire rack after baking. This prevents moisture buildup on the bottom and ensures a crisp texture. Each loaf you bake will refine your technique, allowing for personal touches that make it uniquely yours.
Troubleshooting/variations
Troubleshooting common baking issues will enhance your bread-making skills. If your bread volume is low, check yeast freshness. Ensure your water temperature is warm enough to activate it. Dense bread can result from not kneading enough, so focus on creating that smooth, elastic dough.
Consider variations to the basic recipe. You can incorporate herbs for added flavor or substitute a portion of the all-purpose flour with whole wheat flour for a heartier loaf. Each variation lets you explore new dimensions of flavor.
Serving Easy Homemade White Bread
Serving/presentation
Serving your easy homemade white bread is all about presentation. Slice it into thick pieces to serve warm, allowing your guests to appreciate the soft, fluffy interior. Consider serving it with a selection of spreads, like butter or jam, to enhance the experience.
An attractive bread basket lined with a clean cloth elevates the aesthetic. Placing it fresh out of the oven encourages everyone to indulge immediately. You can also create engaging serving moments, such as a make-your-own sandwich station, where everyone crafts their ideal bite.
Pairings/storage
While this bread shines on its own, it pairs excellently with various toppings and accompaniments. Consider savory options, such as soups or stews, for a comforting meal. The bread also complements cheeses, salads, and grilled vegetables, making it a versatile choice.
For storage, keep your bread in a cool, dry place, ideally wrapped in a kitchen towel. This method maintains moisture without making the crust soggy. If stored correctly, it can last for up to three days, but be prepared for it to disappear faster than expected!
Easy Homemade White Bread Completion
Creating easy homemade white bread delivers joy and satisfaction. With simple ingredients and straightforward techniques, anyone can find success in their kitchen. Over time, your confidence will grow, and you’ll create loaves that bring warmth and happiness to your meals. This recipe is a gateway to bread-making, where the journey is as delightful as the destination.
