➤ Table of Contents
Did you know that 30% of people who follow a gluten-free diet report missing bread more than any other food? If you’re among them, you’re not alone in craving that perfect slice of warm, aromatic Gluten Free Garlic Bread to complement your favorite Italian dishes. Many believe that gluten-free bread can’t match the texture and flavor of traditional options, but with the right ingredients and technique, you can create a version that even gluten-eating guests will rave about!
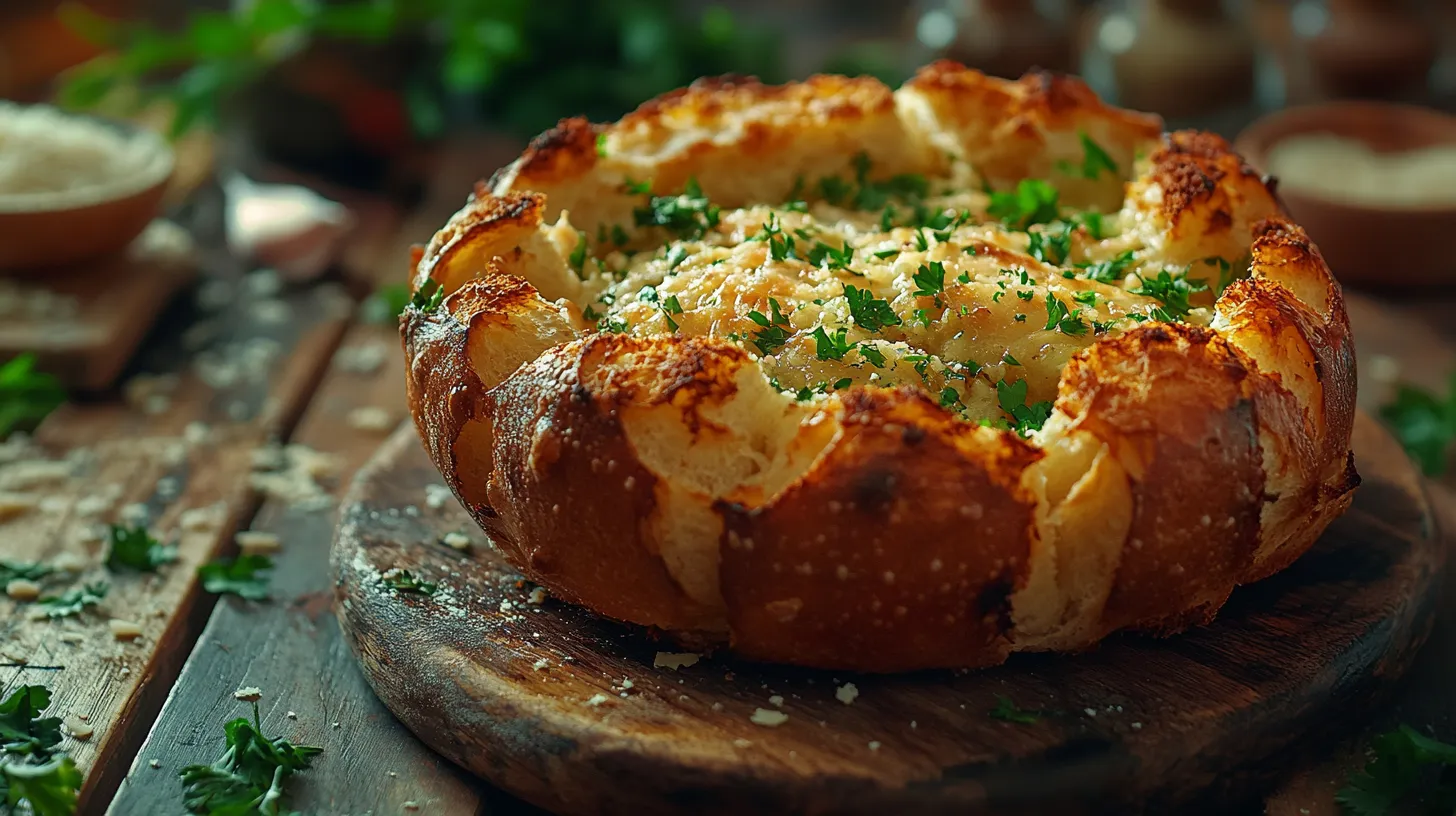
Creating the perfect Garlic Bread Recipe without gluten requires understanding the science behind gluten-free flours and adding the right combination of herbs and buttery goodness. This recipe delivers a crispy exterior with a soft, pillowy interior that captures all the garlicky, buttery flavors you love—with none of the gluten you don’t.
Ingredients List for Gluten Free Garlic Bread
- 2 cups high-quality gluten-free flour blend (look for ones containing xanthan gum)
- 1 tablespoon active dry yeast
- 1 teaspoon sugar
- 1 teaspoon salt
- 3 tablespoons olive oil
- 1 cup warm water (approximately 110°F)
- 1/2 cup unsalted butter, softened
- 6 cloves garlic, minced
- 1/4 cup fresh parsley, finely chopped
- 3 tablespoons grated Parmesan cheese (ensure it’s labeled gluten-free)
- 1 teaspoon Italian seasoning
- 1/2 teaspoon garlic powder (for extra garlic flavor)
Substitution Options:
- Replace Parmesan with nutritional yeast for a dairy-free version
- Use dairy-free butter alternative instead of regular butter
- Swap olive oil with avocado oil for a different flavor profile
- For egg-free binding, use 1 tablespoon ground flaxseed mixed with 3 tablespoons water
Timing
- Preparation Time: 20 minutes
- Rising Time: 40 minutes (25% less than traditional bread recipes)
- Cooking Time: 25 minutes
- Total Time: 85 minutes
This recipe comes together more quickly than traditional gluten-containing bread, which typically requires longer rising times due to gluten development. The efficiency makes it perfect for weeknight dinners when you’re craving a special accompaniment.
Step-by-Step Instructions for Gluten Free Garlic Bread
Step 1: Activate the Yeast
Combine warm water (110°F – hot enough to activate yeast but not kill it) with sugar and yeast in a small bowl. Let it stand for 5-10 minutes until foamy. This activation period is crucial for achieving the right rise in your gluten-free bread.
Step 2: Mix Dry Ingredients
In a large bowl, whisk together the gluten-free flour blend and salt. Unlike regular bread, where you might worry about over-mixing, gluten-free dough benefits from thorough mixing to distribute ingredients evenly.
Step 3: Form the Dough
Create a well in the center of your dry ingredients and pour in the activated yeast mixture and olive oil. Stir with a wooden spoon until combined, then use your hands to form a soft, slightly sticky dough. The texture should be more moist than traditional bread dough.
Step 4: First Rise
Transfer the dough to an oiled bowl, cover with a damp cloth, and let rise in a warm place for 30 minutes. Gluten-free dough won’t double in size like regular dough, but you should notice some expansion.
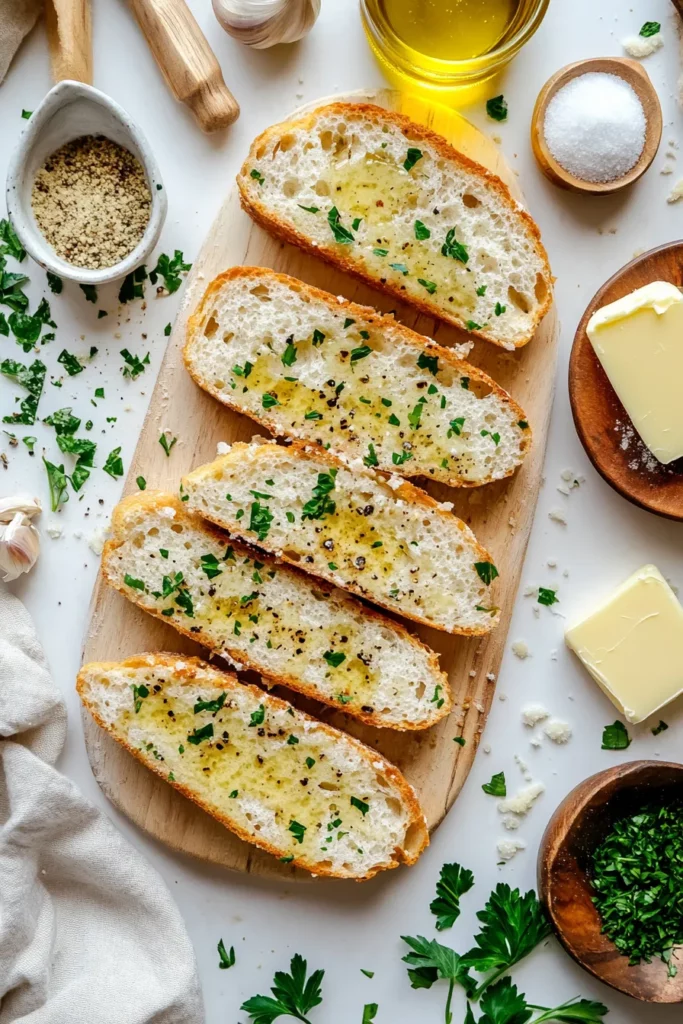
Step 5: Prepare Garlic Butter
While the dough rises, mix softened butter with minced garlic, parsley, Parmesan cheese, Italian seasoning, and garlic powder. This compound butter can be made up to 3 days ahead and refrigerated for maximum flavor development.
Step 6: Shape the Bread
Line a baking sheet with parchment paper. Turn out the dough and gently shape it into a loaf or baguette form. You can also divide it into smaller portions for individual servings.
Step 7: Second Rise
Cover the shaped dough with a clean kitchen towel and let rise for another 10 minutes while preheating your oven to 400°F (200°C).
Step 8: Bake
Bake the bread for 20-25 minutes until the crust is golden brown and the bread sounds hollow when tapped on the bottom.
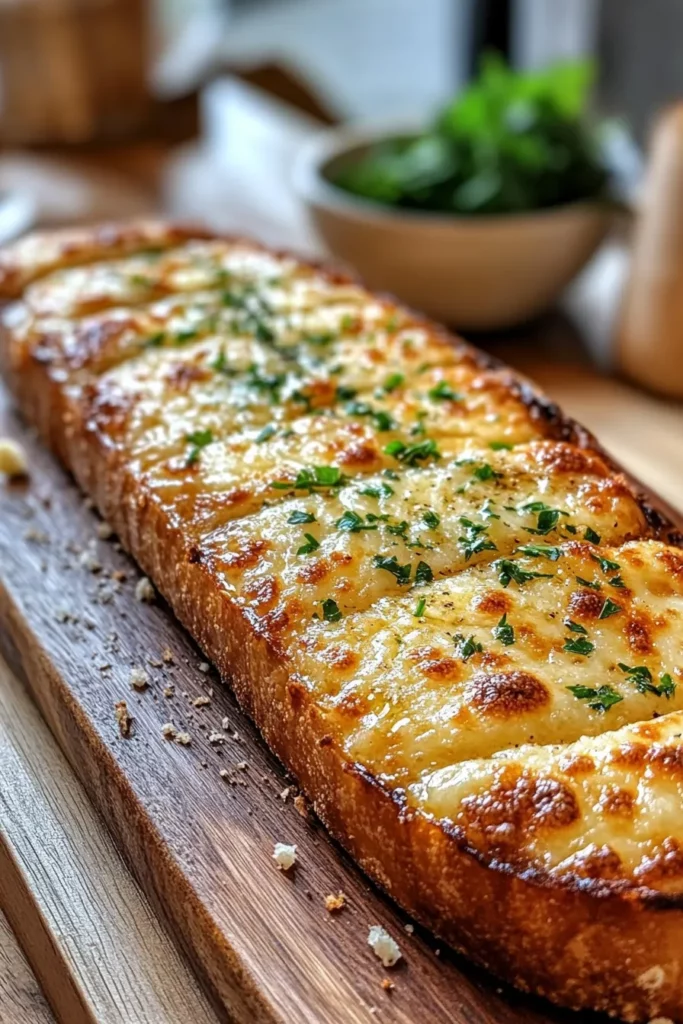
Step 9: Add Garlic Butter
Remove the bread from the oven, slice it horizontally (but not all the way through), and generously spread the garlic butter mixture between the slices. Wrap in foil and return to the oven for 5 minutes.
Step 10: Final Touch
Unwrap the foil for the last 2 minutes of baking to achieve a crispy, golden crust that delivers that satisfying crunch.
Nutritional Information about Gluten Free Garlic Bread
Per serving (1/8 of loaf):
- Calories: 240
- Fat: 14g
- Carbohydrates: 26g
- Fiber: 2g
- Protein: 3g
- Sodium: 320mg
Compared to traditional garlic bread, this gluten-free version contains approximately 15% fewer carbohydrates and offers the added benefit of being suitable for those with celiac disease or gluten sensitivity.
Healthier Alternatives for the Recipe
- Reduce butter by half and replace with olive oil infused with garlic for a heart-healthier option
- Add 2 tablespoons of ground flaxseed to the dough for omega-3 fatty acids
- Incorporate 1/4 cup of almond flour for protein and nutrient boost
- Use roasted garlic instead of raw for a sweeter, less intense garlic flavor
- Add herbs like rosemary or thyme for additional antioxidants and flavor complexity
Serving Suggestions of Gluten Free Garlic Bread
- Pair with gluten-free pasta dishes like spaghetti and meatballs
- Serve alongside hearty soups or stews for dipping
- Cut into cubes and toast for homemade gluten-free croutons
- Use as the base for bruschetta with fresh tomatoes and basil
- Transform leftover slices into gluten-free garlic bread pizza by adding sauce and cheese
Common Mistakes to Avoid
- Using cold ingredients: Room temperature eggs and liquids yield better results in gluten-free baking.
- Skimping on yeast: Gluten-free dough needs more leavening agents than traditional dough.
- Under-mixing: Unlike wheat flour, gluten-free dough benefits from thorough mixing.
- Using old gluten-free flour: These flours have shorter shelf lives and can become rancid.
- Expecting traditional dough behavior: Gluten-free dough won’t stretch or rise the same way; focus on moisture content instead.
Storing Tips for the Gluten Free Garlic Bread Recipe
Gluten-free bread notoriously dries out faster than regular bread. To maintain freshness:
- Store at room temperature in an airtight container for up to 2 days
- Freeze individual slices wrapped in plastic wrap and foil for up to 3 months
- Refresh stale bread by sprinkling with water and reheating in a 350°F oven for 5-10 minutes
- For make-ahead options, prepare the dough through the first rise, then refrigerate for up to 24 hours
Conclusion
Creating delicious Gluten Free Garlic Bread at home allows you to enjoy this classic comfort food without compromising on flavor or texture. By understanding the unique properties of gluten-free baking and incorporating aromatic garlic butter, you can create a bread that satisfies cravings and complements any meal.
Whether you’re hosting guests with gluten sensitivities or simply looking to expand your culinary horizons, this recipe proves that dietary restrictions don’t have to limit your enjoyment of beloved foods. We’d love to hear how this recipe works for you and any creative variations you discover!
FAQs
Can I use a bread machine for this gluten-free recipe?
Yes, most modern bread machines have a gluten-free setting. Add ingredients in the order recommended by your machine’s manufacturer, using the gluten-free cycle.
Why is my gluten-free bread dense rather than fluffy?
This typically happens when there’s not enough moisture or leavening agent. Try adding an extra tablespoon of water and ensuring your yeast is fresh and properly activated.
Can I make this recipe dairy-free as well?
Absolutely! Use a plant-based butter alternative and nutritional yeast instead of Parmesan cheese for a bread that’s both gluten-free and dairy-free.
How can I tell when gluten-free bread is fully baked?
The internal temperature should reach 205-210°F, and the bread should sound hollow when tapped on the bottom. Using an instant-read thermometer is the most reliable method.
Can I prepare the dough ahead of time?
Yes, you can refrigerate the dough after the first rise for up to 24 hours. Allow it to come to room temperature for 30 minutes before shaping and completing the recipe.

Gluten Free Garlic Bread: The Best Recipe for Delicious Garlic Bread
- Total Time: 1 hour 15 minutes
- Yield: 1 loaf 1x
- Diet: Gluten Free
Description
A delicious gluten-free bread infused with herbs and Parmesan cheese, perfect for those with dietary restrictions.
Ingredients
- 2 1/2 cups gluten-free all-purpose flour blend
- 2 1/4 teaspoons active dry yeast
- 1 teaspoon salt
- 2 tablespoons dried herbs (mix of rosemary, thyme, basil)
- 1/4 cup grated Parmesan cheese
- 2 large eggs
- 1/4 cup olive oil
- 1 cup warm water
- 1 tablespoon honey
Instructions
- Mix dry ingredients in a large bowl, including flour, yeast, salt, herbs, and Parmesan cheese.
- In a separate bowl, whisk together eggs, olive oil, warm water, and honey.
- Combine wet and dry ingredients, mixing until a smooth batter forms.
- Let dough rise in a warm place for 45-60 minutes until doubled in size.
- Preheat oven to 375°F and bake for 40-45 minutes until golden brown.
Notes
- Easy to make
- Delicious flavor
- Gluten-free friendly
- Requires specialized gluten-free flour
- Slightly longer preparation time
- Prep Time: 30 minutes
- Cook Time: 45 minutes
- Category: Bread
- Method: Baking
- Cuisine: American
Nutrition
- Serving Size: 1 slice
- Calories: 180
Keywords: gluten-free bread, herb bread, holiday baking, comfort food
