📑 Table of Contents ▶
- The Magic of Homemade Rainbow Sherbet
- Fundamentals
- Preparation/Setup
- Directions
- Techniques for Success with Homemade Rainbow Sherbet
- Technique
- Tips and Tricks
- Perfecting Your Homemade Rainbow Sherbet
- Perfecting Results
- Troubleshooting and Variations
- Serving and Storing Homemade Rainbow Sherbet
- Serving and Presentation
- Pairings and Storage
- Related posts:
- Moist Blueberry Zucchini Bread With Lemon Glaze: Heavenly Citrus Infusion
- Ghostly White Chocolate Strawberries: Hauntingly Delicious Halloween Treats
- Crispy Mini Donuts In Minutes: Easy and Delicious Treat
Homemade Rainbow Sherbet
Creating a delightful treat like homemade rainbow sherbet brings joy and excitement that transcends generations. Memories of summers spent outdoors always come rushing back whenever there’s a scoop of colorful, fruity sherbet. It’s the perfect indulgence for warm days, family gatherings, or just a cozy night in. Each vibrant layer of flavor tells a story, transforming simple ingredients into a sweet masterpiece.
Homemade rainbow sherbet invokes nostalgia, bringing back carefree moments. It’s wonderful how a simple dessert can evoke laughter and connection. The mingling flavors of raspberry, lime, and orange come together to create a symphony of taste that dances on your tongue. Making this dessert at home allows for creativity and personalization, ensuring that it perfectly fits your family’s taste preferences.
By embracing the art of homemade rainbow sherbet, you not only create a delicious treat but also craft a moment to share with loved ones. This vibrant dessert brings coloring to everyday life. Why not dive in and explore a fun journey to making your own homemade rainbow sherbet filled with flavor, color, and love?
The Magic of Homemade Rainbow Sherbet
Fundamentals
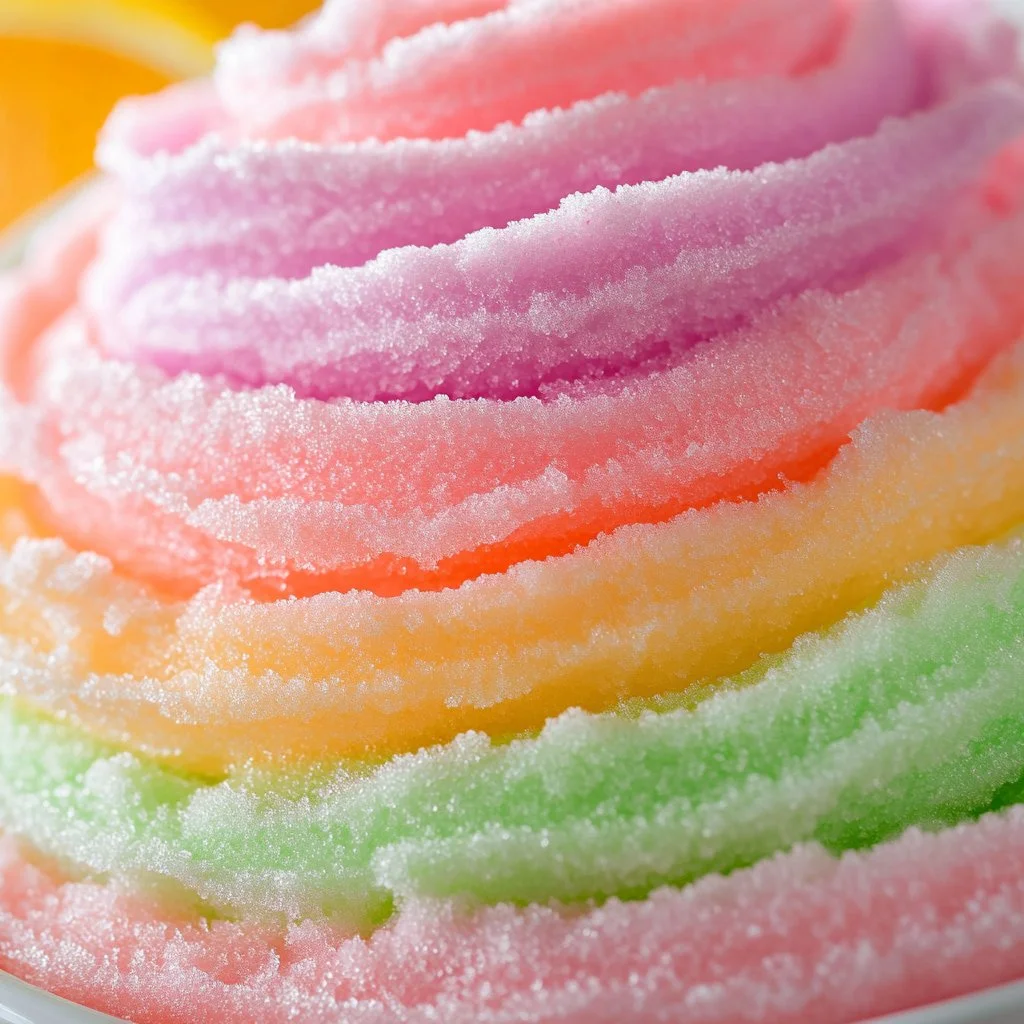
Homemade rainbow sherbet begins with understanding the basic components that create the silky, creamy texture everyone loves. This dessert uses a delicious balance of heavy cream and whole milk, which provide the rich mouthfeel essential to a good sherbet. The use of fresh fruit juices gives each layer its signature brightness and flavor, while sugar sweetens the mix to perfection.
Homemade sherbet differs from regular ice cream due to its incorporation of fruit juices and flavors. The fruity essence takes center stage while still maintaining a creamy texture, making it a refreshing treat. This dessert stands out during gatherings, kids’ parties, or simply as a family favorite.
Preparation/Setup
Before diving into making this homemade rainbow sherbet, ensure you have all the necessary tools and ingredients available. Gather an ice cream maker, fine mesh sieve, and basic kitchen supplies like saucepans and mixing bowls. Setting up your workspace will help streamline the process, preventing any last-minute scrambling.
Start by preparing the base that brings the sherbet together. Heating the heavy cream, whole milk, and sugar creates a balanced foundation. Let this mixture cool completely to avoid any unwanted melting when adding the fruit flavors. Make sure to have your oranges and limes squeezed and ready for juicing; the fresher, the better!
Ingredients
To make this irresistible homemade rainbow sherbet, you will need:
- 1 1/2 cups heavy cream
- 1 1/2 cups whole milk
- 1 3/4 cups granulated sugar (divided)
- 1 teaspoon vanilla extract
- 3/4 cup orange juice
- 1/2 cup lime juice
- 8 ounces raspberries
Directions
-
In a saucepan, combine the heavy cream, whole milk, and 1 cup of sugar over medium heat. Stir until dissolved (5-7 minutes).
-
Remove from heat and stir in the vanilla extract. Allow the mixture to cool completely.
-
Blend the raspberries with 2 tablespoons of sugar and strain the mixture through a fine mesh sieve to remove the seeds, creating a smooth raspberry puree.
-
Pour the cooled base into an ice cream maker and churn until it reaches a soft serve consistency.
-
Divide the churned base into two parts: mix one part with the fresh orange juice and food coloring; stir the other part with lime juice and green food coloring.
-
Layer the mixtures in a container, alternating between the raspberry, lime, and orange flavors.
-
Freeze the layered sherbet for 4-6 hours until firm.
Techniques for Success with Homemade Rainbow Sherbet
Technique
Mastering the art of homemade rainbow sherbet requires perfecting a few techniques. When heating the cream and milk, be careful not to allow the mixture to boil, as this can change the texture and flavor. Stir continuously to dissolve the sugar completely, creating a smooth foundation for your sherbet.
When layering the flavors, consider using an offset spatula or a spoon to create defined layers in your container. This technique will help achieve a beautiful layered presentation once the sherbet freezes.
Tips and Tricks
To enhance your homemade rainbow sherbet, consider the following tips. Use freshly squeezed citrus juice for the best flavor. Avoid bottled juices, as they can include preservatives that alter the taste. Having a good quality ice cream maker can also make a significant difference; it helps incorporate air into the mixture, creating a light, fluffy texture.
If you want to take your sherbet to the next level, add a splash of zest from the oranges or limes, amplifying the citrus flavor. For a plant-based version, switch out the heavy cream and whole milk for coconut cream and almond milk, creating a tropical paradise.
Perfecting Your Homemade Rainbow Sherbet
Perfecting Results
To achieve the perfect texture in your homemade rainbow sherbet, freezing the mixture is key. Ensure that your container is airtight to prevent ice crystals from forming, which can negatively impact the texture. For optimal freezing, use a metal container if possible, as it conducts cold better than plastic.
Having all layers frozen to a consistent firmness ensures that your sherbet maintains its delightful texture when served. If your sherbet turns out too hard, let it sit out at room temperature for about 5-10 minutes to soften before scooping.
Troubleshooting and Variations
If you face any issues while making your homemade rainbow sherbet, don’t worry; they are easily solvable. If the mixture is too icy, it could be due to not mixing enough during the churning process. Make sure to churn until soft-serve consistency before freezing.
Variations are endless when it comes to homemade sherbet. For a tropical twist, substitute pineapple juice for part of the orange juice. If you are a fan of mixed berries, consider blending strawberries or blueberries to create a deliciously vibrant sherbet.
Serving and Storing Homemade Rainbow Sherbet
Serving and Presentation
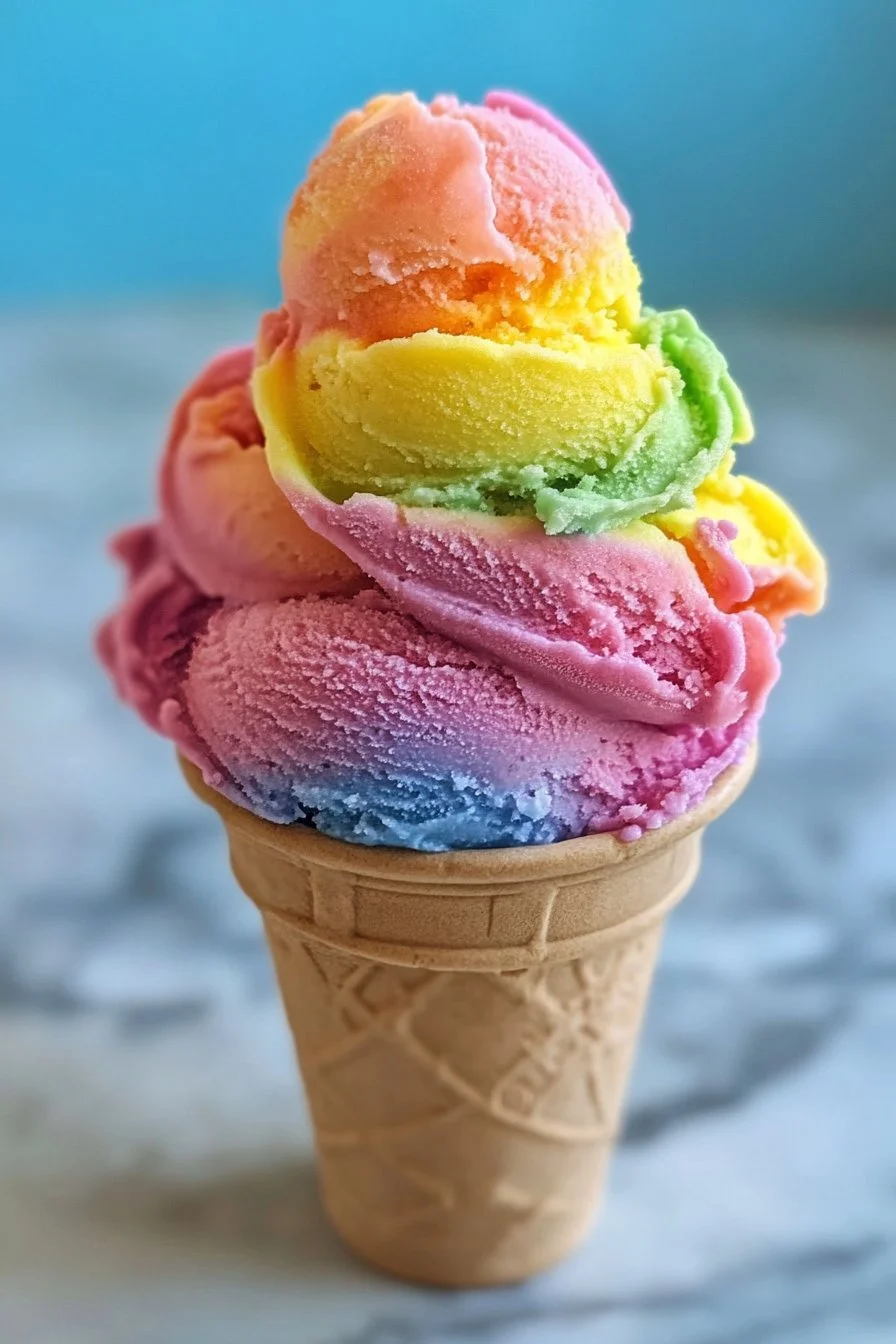
Serve your homemade rainbow sherbet in colorful bowls or cups to celebrate its bright layers. A fun way to add flair is by garnishing with fresh fruit or a sprig of mint. An ice cream scoop adds to the experience, presenting the sherbet beautifully.
Consider serving the sherbet as a festive dessert, especially during birthday parties or summer barbecues. Pair the colorful portions on a platter or in individual cups for a colorful and inviting display.
Pairings and Storage
Homemade rainbow sherbet pairs beautifully with fresh fruit, like berries or citrus slices, adding a fruity side. For those who enjoy a crunch, serve with graham crackers or waffle cones.
When storing, keep the leftover sherbet in an airtight container. It should stay fresh in the freezer for up to two weeks. If you have any leftover layers, consider mixing them together for a fun surprise blend for a future treat.
Homemade rainbow sherbet combines creativity, flavors, and memories. Whether you’re making it for a special occasion or simply to satisfy a sweet tooth, it promises smiles all around.
