📑 Table of Contents ▶
- The Essential Elements of Lemon Bars
- Fundamentals
- Preparation/Setup
- Directions
- Mastering The Technique for Lemon Bars
- Technique
- Tips/Tricks
- Perfecting The Results of Lemon Bars
- Perfecting Results
- Troubleshooting/Variations
- Serving and Storing Lemon Bars
- Serving/Presentation
- Pairings/Storage
- Ina Garten’s Lemon Bars
- Related posts:
- Chocolate Zucchini Cake: Ultimate Moist Delight
- Crispy Zucchini Fritters: How to Make Them Perfect Every Time
- Princess Cake Rolled Slice With Raspberry Custard: The Ultimate Decadent Delight
Ina Garten’s Lemon Bars
Baking always brings back cherished memories, especially when making Ina Garten’s lemon bars. The bright citrus aroma fills the kitchen, captivating everyone nearby. As a child, I remember standing on a stool, eager to help my grandmother mix the buttery crust and zesty filling. Those moments shaped my love for baking and creating desserts that bring joy.
Lemon bars hold a special place in my heart. Their perfect balance of tartness and sweetness provides a refreshing treat that seems ideal for any occasion. With just a few simple ingredients, you can transform your kitchen into a comforting space filled with sunshine and warmth.
These bars have become a family favorite, destined to impress every time I bake them. Whenever someone asks for a dessert that’s light, flavorful, and homemade, I don’t hesitate to share this classic recipe. Ina Garten’s lemon bars never fail to delight, connecting family and friends through the universal language of delicious food.
Crafting these lemon bars brings back those fond memories of laughter and love. Let’s delve into the process of making this delectable treat!
The Essential Elements of Lemon Bars
Fundamentals
Creating Ina Garten’s lemon bars starts with understanding their foundational elements. The beauty of these bars lies in their simple ingredients, which combine marvelously to form a delightful treat. The buttery crust provides a rich base, while the smooth, tangy filling captures the essence of lemon in every bite.
The balancing act of sweet and tart makes the flavor profile extraordinary. This recipe utilizes a generous amount of lemon juice and zest, enhancing each taste experience. The use of extra-large eggs ensures a rich texture that melds beautifully with the tartness of the lemon.
Preparation/Setup
Before diving into the baking process, ensure you have all your ingredients ready. Preheat your oven to 350°F, allowing it to reach the ideal temperature before placing your lemon bars inside.
Lining a 9×13 inch pan with foil or parchment creates ease when removing the bars later. Lightly spray the lining with non-stick cooking spray for extra assurance against sticking. Taking these preliminary steps saves time and frustration during the baking process.
Ingredients
Gather the following ingredients for Ina Garten’s lemon bars:
- 2 sticks butter, softened
- 1/2 cup granulated sugar
- 2 cups flour
- 1/8 teaspoon salt
- 6 extra-large eggs
- 3 cups granulated sugar
- 2 tablespoons grated lemon zest
- 1 cup lemon juice
- 1 cup flour
- Powdered sugar, for dusting
With everything assembled, you can seamlessly transition to the baking process.
Directions
-
Start by creaming together the softened butter and 1/2 cup of granulated sugar in a large mixing bowl until the mixture turns light and fluffy. This process helps to incorporate air, leading to a lighter crust.
-
Gradually mix in 2 cups of flour and 1/8 teaspoon of salt until the dough forms. Your dough should be soft but manageable.
-
Next, press the dough into the prepared pan, ensuring to build up a 1/2 inch crust along all sides. This creates a barrier for the tart lemon filling.
-
Bake the crust for 15-20 minutes or until it turns lightly golden brown. Once baked, remove the crust from the oven and allow it to chill.
-
While the crust cools, whisk together the remaining ingredients: the 6 extra-large eggs, 3 cups of granulated sugar, 2 tablespoons of grated lemon zest, and 1 cup of lemon juice. Blend until smooth and well combined.
-
Pour the lemon filling into the cooled crust, then return it to the oven. Bake for 30-35 minutes, or until the filling is set and slightly firm.
-
Let the baked lemon bars cool to room temperature. For an even firmer texture, chill them overnight in the refrigerator.
-
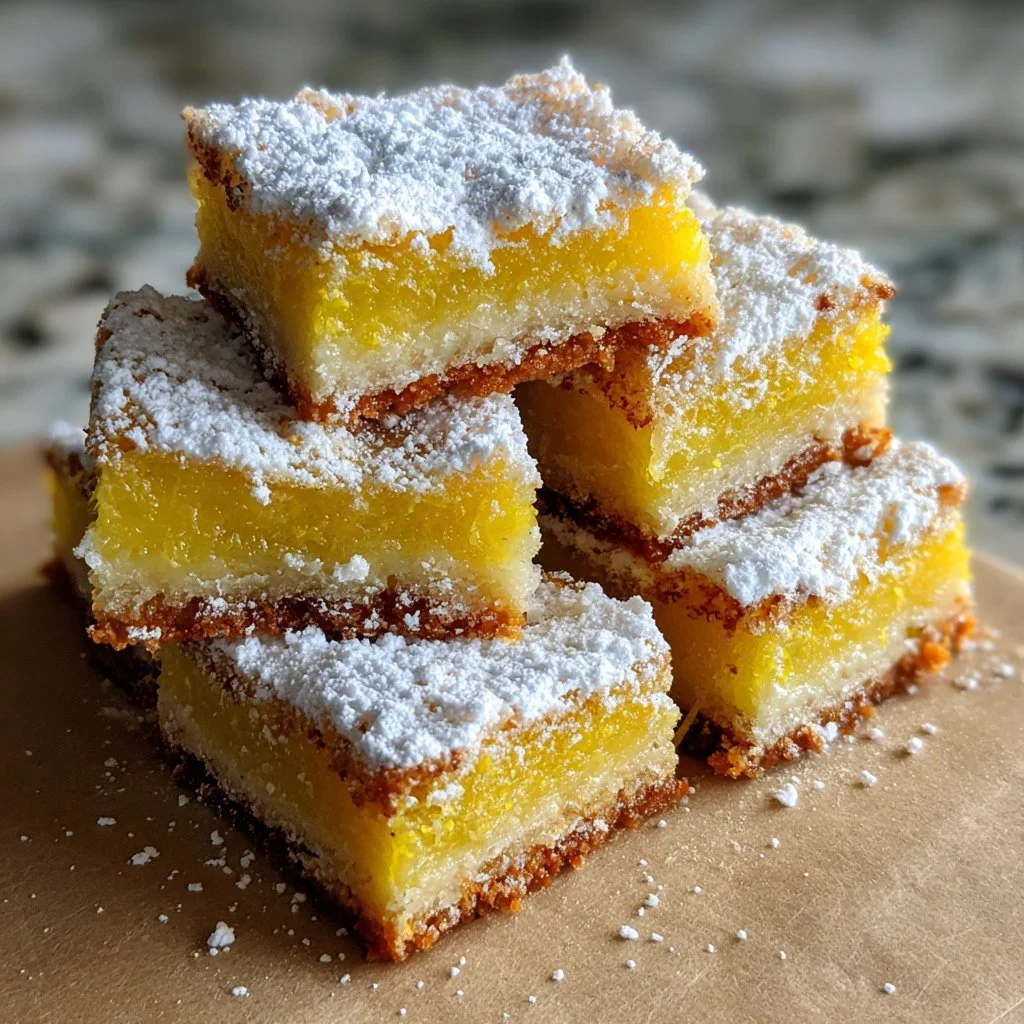
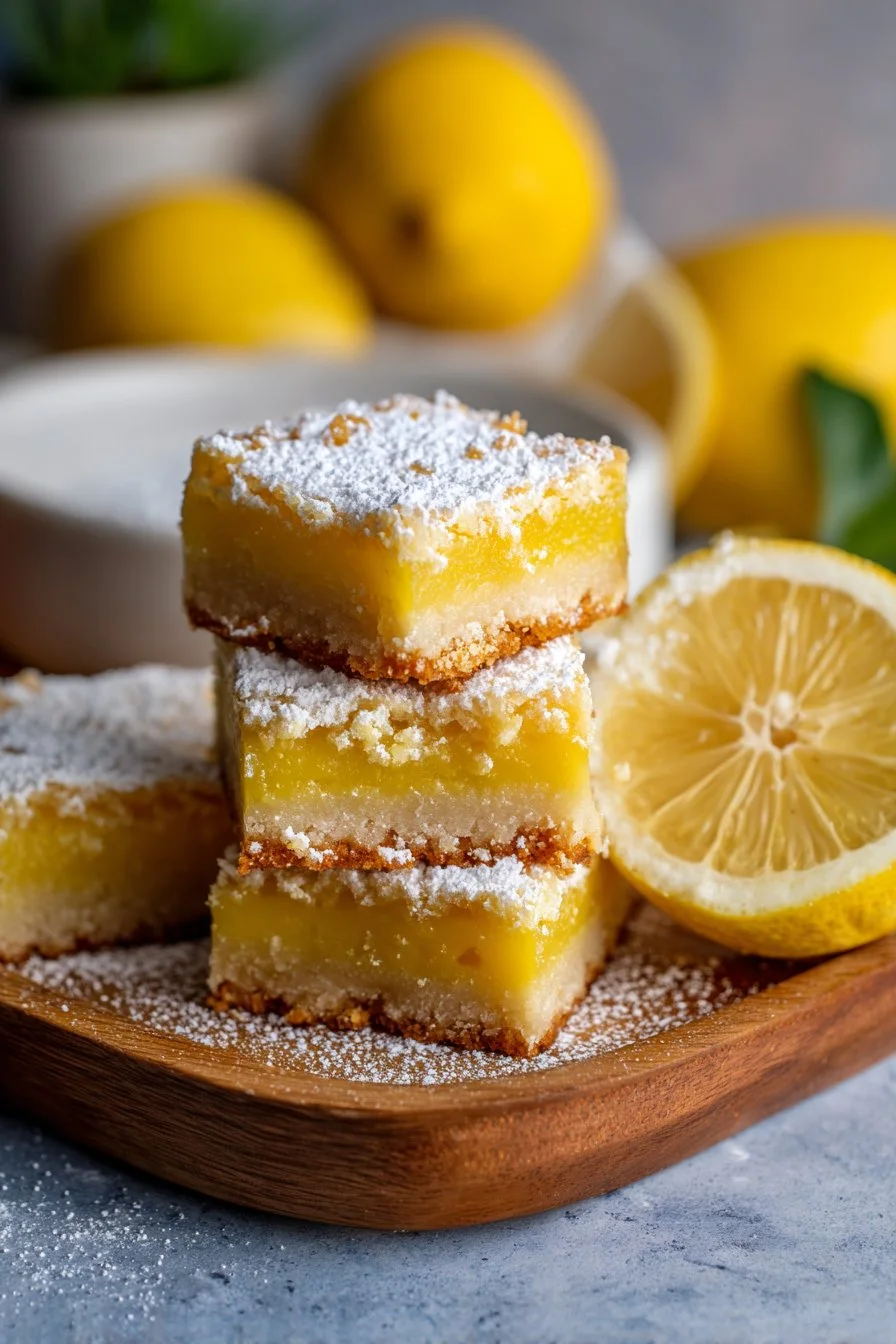
Before cutting into squares, dust the top with powdered sugar for that perfect finishing touch.
Mastering The Technique for Lemon Bars
Technique
Perfecting the technique of making lemon bars can elevate the overall experience. One key aspect is ensuring that the filling bakes thoroughly. Underbaked lemon filling can become too runny and affect the final presentation and taste.
When whisking, make sure everything blends seamlessly. This ensures a smooth texture that allows the tangy lemon flavors to shine. Additionally, using fresh lemons for zest and juice will significantly enhance the flavor Profile, outperforming bottled alternatives.
Tips/Tricks
Several tips can make the process smoother and yield excellent results. For starters, consider chilling your butter before initially blending. Chilled butter offers a sturdier crust that won’t crumble as easily.
Experiment with the lemon juice quantity for a more intense flavor. If you enjoy a strong tartness, slightly increase the amount, but keep the other ingredient ratios consistent.
Finally, cut your lemon bars into smaller pieces. They tend to be quite rich, so smaller portions prevent overwhelming sweetness, letting each layer shine through.
Perfecting The Results of Lemon Bars
Perfecting Results
Achieving the perfect lemon bars requires attention to detail. Keep a close eye on your baking times; every oven behaves differently. Rely on visual indicators for doneness, like a slightly firm filling and a golden crust.
Taste-testing is also an option; you may even choose to sample the filling if you can manage not to devour the entire mixture before baking. The flavor should be a beautiful balance of sweetness and tartness, making each bite both refreshing and satisfying.
Troubleshooting/Variations
If your lemon bars don’t set correctly, you may have removed them from the oven too soon. If this happens, you can always return the pan to the oven for a few additional minutes. For an alternative flavor twist, consider adding a hint of lavender or fresh mint to the filling for a unique touch.
Sometimes, the crust can be too crumbly. Ensure your butter is well-creamed, and that you don’t overmix the flour. A light hand while mixing will lead to the desired texture.
Serving and Storing Lemon Bars
Serving/Presentation
When it’s time to serve your lemon bars, presentation elevates the experience. Cut the bars into uniform squares for a polished look, dust each piece with powdered sugar just before serving to add an aesthetic touch.
For a refreshing twist, consider garnishing with thin lemon slices or a sprig of mint on each plate. The visual appeal can heighten anticipation and enhance the tasting experience.
Pairings/Storage
These delectable lemon bars pair wonderfully with fresh berries or whipped cream. Serve them with a scoop of vanilla ice cream for a heavenly combination.
Store any leftover bars in an airtight container in the refrigerator. They will keep well for up to a week, although they rarely last that long! The flavors often deepen after a day or two, making them even more delightful.
Lemon bars serve as a sweet reminder of sunny days and joyful gatherings. Enjoy these treats with loved ones as they bring smiles and brighten any occasion.
Print
Ina Garten’s Lemon Bars
- Total Time: 65 minutes
- Yield: 12 servings 1x
- Diet: Vegetarian
Description
A classic dessert with a perfect balance of tartness and sweetness, these lemon bars are sure to impress at any occasion.
Ingredients
- 2 sticks butter, softened
- 1/2 cup granulated sugar
- 2 cups flour
- 1/8 teaspoon salt
- 6 extra-large eggs
- 3 cups granulated sugar
- 2 tablespoons grated lemon zest
- 1 cup lemon juice
- 1 cup flour
- Powdered sugar, for dusting
Instructions
- Cream together the softened butter and 1/2 cup of granulated sugar in a large mixing bowl until light and fluffy.
- Mix in 2 cups of flour and 1/8 teaspoon of salt until the dough forms.
- Press the dough into a prepared 9×13 inch pan, building up a 1/2 inch crust along the sides.
- Bake the crust for 15-20 minutes or until lightly golden brown.
- Whisk together the remaining ingredients: 6 extra-large eggs, 3 cups of granulated sugar, 2 tablespoons of grated lemon zest, and 1 cup of lemon juice until smooth.
- Pour the lemon filling into the cooled crust and return to the oven.
- Bake for 30-35 minutes, or until the filling is set and slightly firm.
- Let the baked lemon bars cool to room temperature and chill them for an even firmer texture.
- Dust the top with powdered sugar before cutting into squares.
Notes
Experiment with lemon juice for a more intense flavor. Serve with a garnish for an added touch.
- Prep Time: 15 minutes
- Cook Time: 50 minutes
- Category: Dessert
- Method: Baking
- Cuisine: American
Nutrition
- Serving Size: 1 square
- Calories: 320
- Sugar: 26g
- Sodium: 250mg
- Fat: 15g
- Saturated Fat: 9g
- Unsaturated Fat: 4g
- Trans Fat: 0g
- Carbohydrates: 45g
- Fiber: 1g
- Protein: 6g
- Cholesterol: 90mg
Keywords: lemon bars, dessert, Ina Garten, baking, sweet and tart
