📑 Table of Contents ▶
- Kataifi Pastries
- Discovering Kataifi Pastries
- Fundamentals
- Preparation/setup
- Crafting the Perfect Kataifi Pastries
- Technique
- Tips/tricks
- Mastering Kataifi Pastries
- Perfecting results
- Troubleshooting/variations
- Serving and Enjoying Kataifi Pastries
- Serving/presentation
- Pairings/storage
- Conclusion
- FAQs – Kataifi Pastries
- Related posts:
- Healthy No Bake Peanut Butter Chocolate Protein Bars: Ultimate Energy Boost
- Salted Caramel Rice Krispie Treats: How to Make the Best Ever!
- Irresistible Chewy Coconut Bars
I’m Emma, the heart and hands behind GrandMmaDelights. Growing up, I remember spending countless afternoons in the kitchen with my grandmother, her hands deftly working magic with seemingly simple ingredients. One of my fondest memories is the aroma of freshly baked kataifi pastries wafting through the house, a scent that promised a delicious treat and the warmth of family gathered together.
Whenever I make kataifi pastries now, I’m instantly transported back to those cherished moments. The process of unrolling the delicate strands of kataifi dough, carefully mixing the nutty filling, and drizzling the sweet syrup over the freshly baked logs is an experience that fills my heart with joy and nostalgia. It’s a tradition I love to share with my own family, bringing us together around the table as we savor each bite.
Creating these delightful pastries isn’t just about the end result; it’s about the journey of crafting something special with love and intention. I hope to inspire you to try your hand at making kataifi pastries, discovering the joy and connection that comes from sharing homemade treats with loved ones. Let’s dive into the process and explore the beauty of this timeless dessert.

Kataifi Pastries
- Total Time: 50-55 minutes
- Yield: 12 servings 1x
Description
Discover how to make delicious Kataifi pastries with our easy-to-follow recipe. Learn the secrets to creating this sweet and crunchy dessert at home.
Ingredients
- 1 pound (454 g) (450 grams) kataifi dough
- 1 cup (240 ml) (230 grams) unsalted butter, melted
- 1 cup (240 ml) (200 grams) granulated sugar
- 1 cup (240 ml) (240 milliliters) water
- 1/2 cup (120 ml) (120 milliliters) honey
- 1 tablespoon (15 ml) (15 milliliters) lemon juice
- 1 teaspoon (5 ml) (5 milliliters) vanilla extract
- 1 cup (240 ml) (100 grams) walnuts, chopped
- 1 cup (240 ml) (100 grams) almonds, chopped
- 1 teaspoon (5 ml) (2 grams) ground cinnamon
Instructions
- Preheat the oven to 350°F (175°C).
- Unroll the kataifi dough and gently separate the strands.
- In a bowl, combine chopped walnuts, chopped almonds, and ground cinnamon.
- Spread a small handful of nut mixture along one edge of the kataifi dough.
- Roll the dough tightly over the nut mixture to form a log.
- Place the rolled log on a baking sheet.
- Repeat the process with the remaining dough and nut mixture.
- Brush each log generously with melted butter.
- Bake in the preheated oven for 30-35 minutes until golden brown.
- While baking, combine sugar, water, and honey in a saucepan.
- Heat the mixture over medium heat until the sugar dissolves completely.
- Stir in the lemon juice and vanilla extract, then remove from heat.
- Once the pastries are baked, remove them from the oven.
- Immediately pour the syrup evenly over the hot pastries.
- Allow the pastries to cool and absorb the syrup completely.
- Serve the kataifi pastries once they are at room temperature.
Notes
- Thaw the kataifi dough completely to prevent clumping.
- Evenly spread the nut mixture for a well-balanced flavor.
- Brush generously with melted butter for a golden brown, crispy texture.
- Prep Time: 20 minutes
- Cook Time: 30-35 minutes
- Category: Dessert
- Method: Baking
- Cuisine: Greek
Nutrition
- Calories: 300
- Fat: 15g
- Protein: 5g
Keywords: kataifi pastry recipe, middle eastern dessert, shredded phyllo dough, sweet pastry, homemade dessert, crispy filo pastry
Discovering Kataifi Pastries
Fundamentals
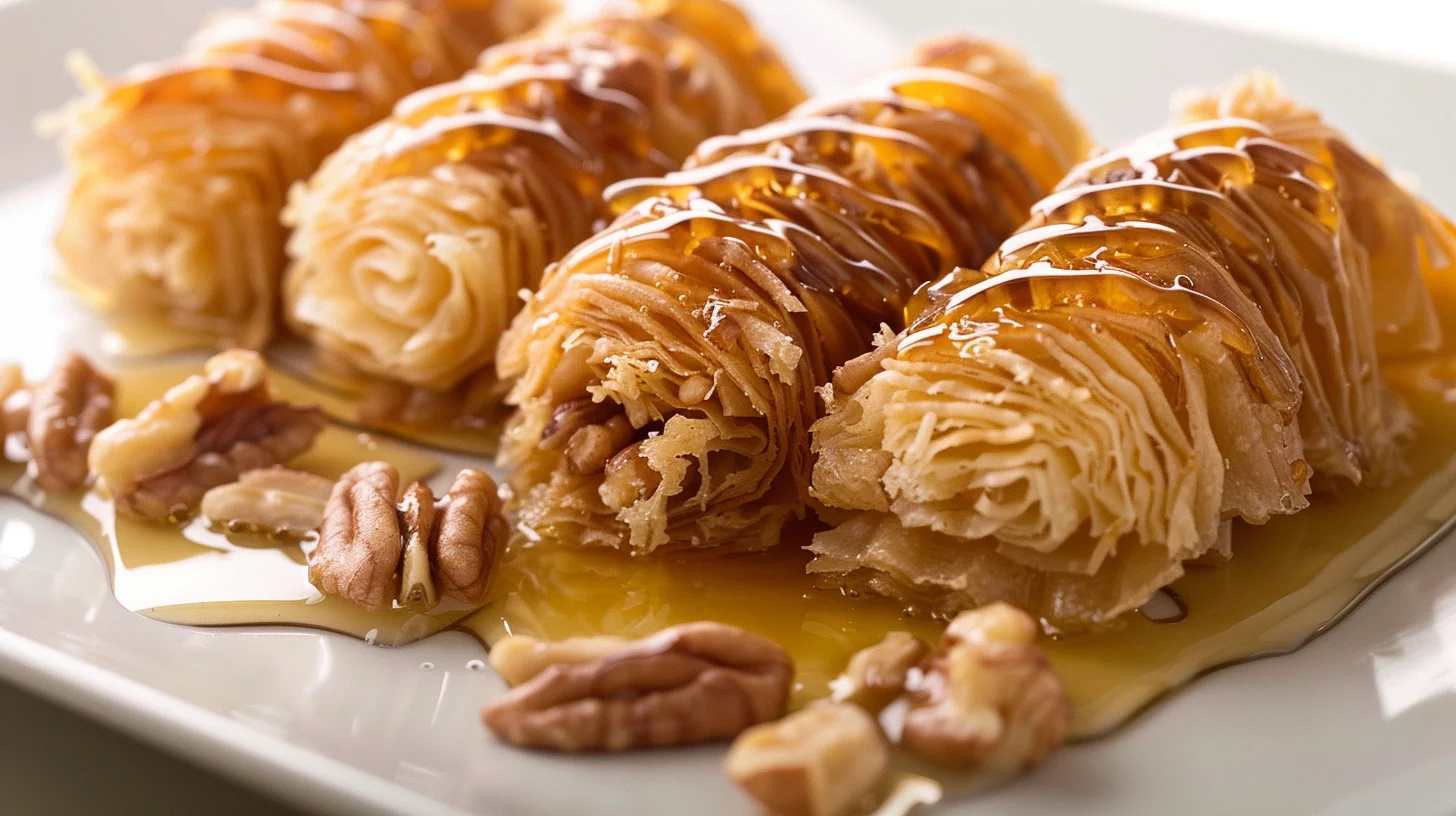
Kataifi pastries are a traditional dessert that hails from the Mediterranean and Middle Eastern regions. They are renowned for their unique texture, combining crispy, golden strands of dough with a rich, nutty filling. The magic of kataifi pastries lies in the delicate balance of flavors and textures, making them a beloved choice for celebrations and gatherings.
Preparation/setup
To begin your journey into making kataifi pastries, gather all the necessary ingredients: kataifi dough, unsalted butter, granulated sugar, water, honey, lemon juice, vanilla extract, walnuts, almonds, and ground cinnamon. Preheat your oven to 350°F (175°C) and prepare a baking sheet for your pastry logs.
The setup involves unrolling the kataifi dough and gently separating the strands. This step requires a gentle touch, as the dough can be delicate. Once your dough is ready, mix the chopped walnuts and almonds with ground cinnamon to create the flavorful filling that will encase each pastry.
Crafting the Perfect Kataifi Pastries
Technique
With your dough and filling prepared, you’re ready to start forming the pastries. Spread a small handful of the nut mixture along one edge of the kataifi dough, then roll the dough tightly over the filling to form a neat log. Repeat this process with the remaining dough and nut mixture, ensuring each log is uniform in size.
Kataifi Pastries
Tips/tricks
For the best results, brush each log generously with melted butter before baking. This step is crucial for achieving the signature golden color and crispy texture of kataifi pastries. Baking them in a preheated oven for 30-35 minutes will ensure they are beautifully browned and ready to receive the sweet syrup.
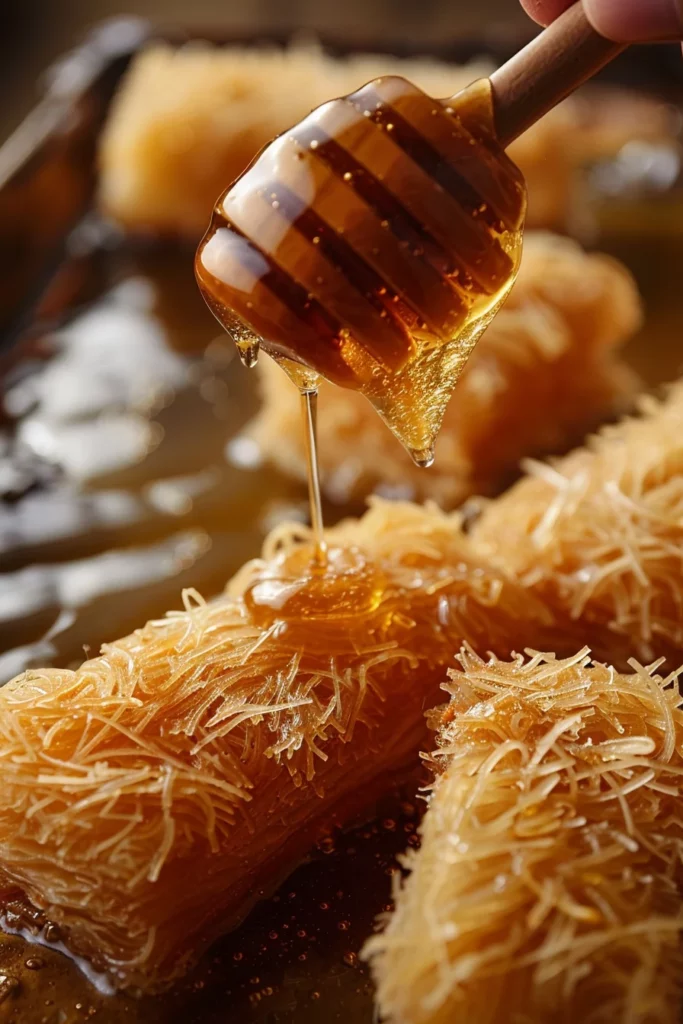
While your pastries bake, prepare the syrup by combining sugar, water, and honey in a saucepan. Heat until the sugar dissolves, then stir in lemon juice and vanilla extract. Pouring this fragrant syrup over the hot pastries allows them to absorb the sweetness, enhancing their flavor and texture.
Mastering Kataifi Pastries
Perfecting results
Achieving the perfect kataifi pastries involves a few key considerations. First, ensure your nut mixture is evenly distributed along the dough to maintain consistency in flavor and texture. Additionally, when rolling the dough, keep it tight enough to hold the filling but not so tight that the dough breaks.
Troubleshooting/variations
If you encounter any issues, such as the dough breaking, try gently moistening it with a bit of water to increase pliability. For variations, consider adding a hint of orange zest to the nut mixture for a citrusy twist or experimenting with different nut combinations to suit your taste preferences.
Serving and Enjoying Kataifi Pastries
Serving/presentation
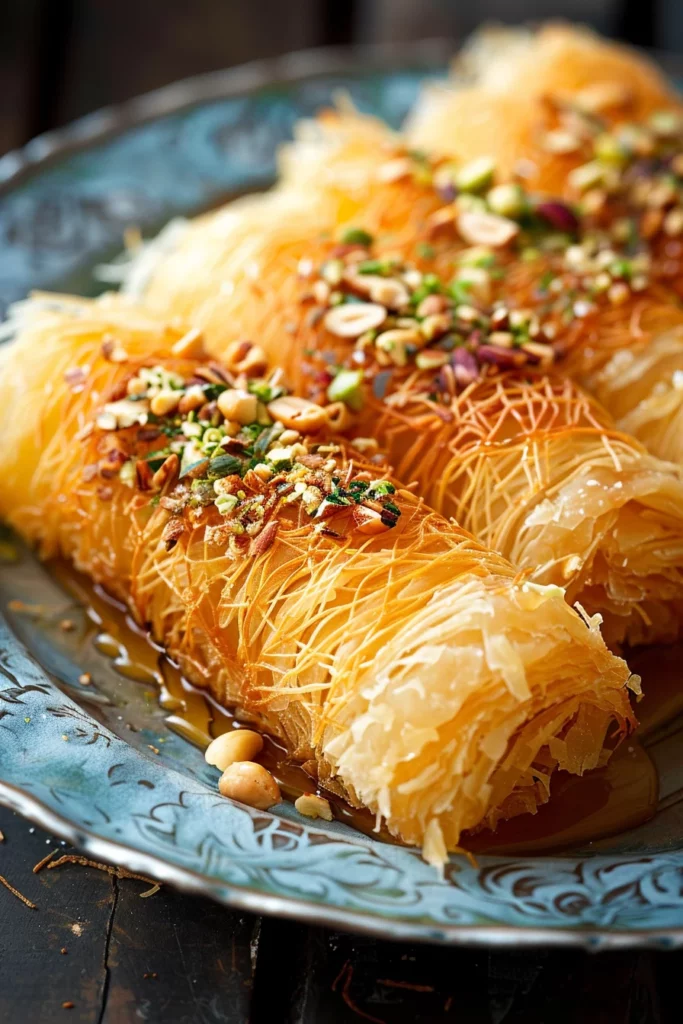
Once your kataifi pastries have cooled and absorbed the syrup, they are ready to serve. Arrange them on a beautiful platter to highlight their golden, crispy texture. They make a stunning centerpiece for any dessert table, inviting guests to indulge in their delightful flavors.
Pairings/storage
While kataifi pastries are delicious on their own, they pair wonderfully with a cup of strong coffee or tea, enhancing the overall experience. For storage, keep any leftovers in an airtight container at room temperature, where they will remain fresh for several days.
Kataifi Pastries
Conclusion
Kataifi pastries are a testament to the beauty of home cooking, offering a delightful blend of textures and flavors that captivate the senses. The process of making them is a rewarding journey, allowing you to connect with culinary traditions and share the joy of homemade treats with loved ones.
By mastering the art of kataifi pastries, you unlock the potential to create memorable moments centered around the table. Their versatility and charm make them a perfect choice for any occasion, from intimate family gatherings to festive celebrations. Embrace this delicious adventure and discover the magic of kataifi pastries today.
