📑 Table of Contents ▶
- The Magic of Easter Bunny Button Cookies
- Fundamentals
- Preparation/Setup
- Directions
- Baking Techniques for Easter Bunny Button Cookies
- Technique
- Tips/Tricks
- Perfecting Your Easter Bunny Button Cookies
- Perfecting Results
- Troubleshooting/Variations
- Serving and Storing Your Easter Bunny Button Cookies
- Serving/Presentation
- Pairings/Storage
- Related posts:
- Pumpkin Bread With Cream Cheese Frosting: Indulge in Heavenly Fall Bliss
- Dark Chocolate Bread Pudding
- Easter Egg Oreo Balls
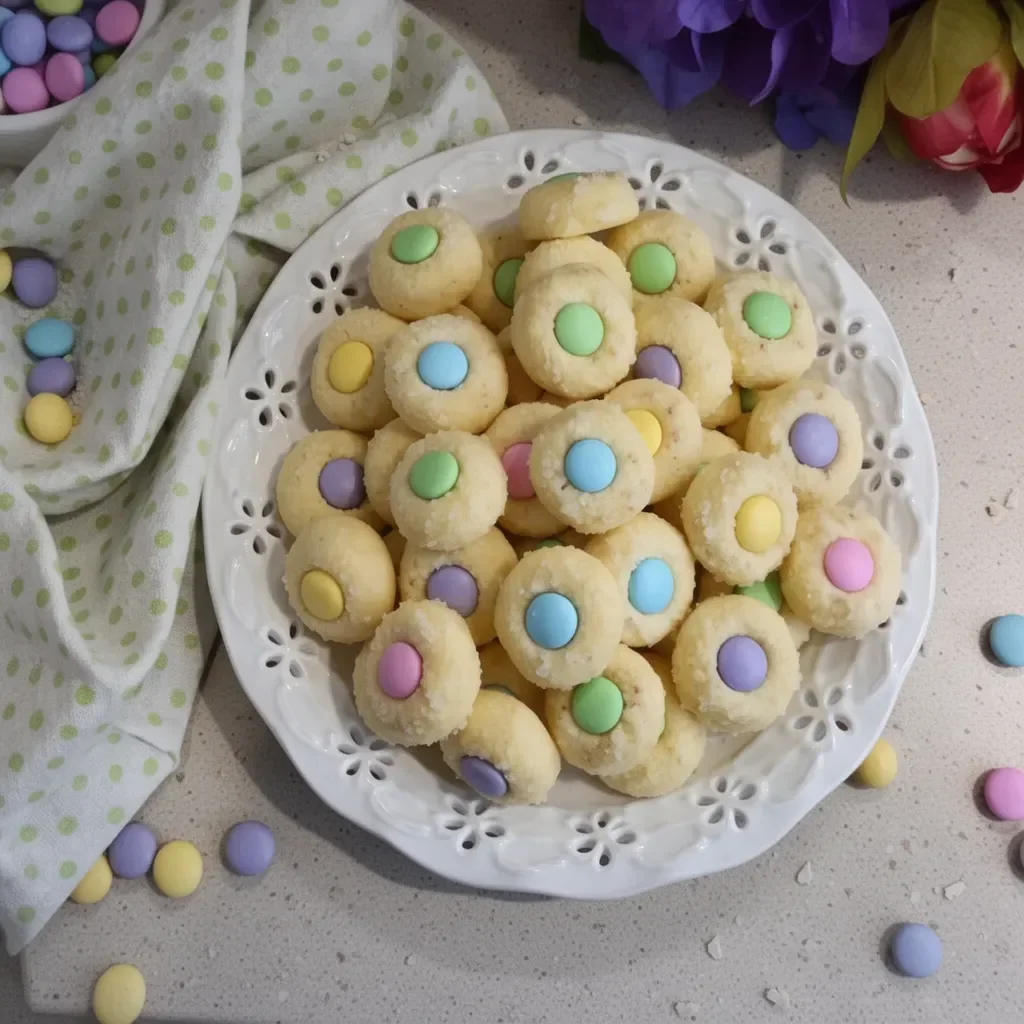
Easter Bunny Button Cookies: Magic Easter Treat
The joy of Easter brings back memories of family gatherings filled with laughter, vibrant decorations, and delicious treats. One of the most memorable parts of these celebrations was the delightful cookies that seemed to jump right out of a storybook. Specifically, the Easter Bunny Button Cookies stole the show with their colorful charm and sweet flavors. The magic lies in how simple ingredients come together to create something extraordinary.
Baking these cookies transforms ordinary moments into special memories. Picture the children racing to find the hidden treats, their faces lighting up at the sight of these enchanting little delights. This experience not only fills the plates but also fills hearts with joy and warmth. Easter Bunny Button Cookies incorporate vibrant colors, making them perfect for festive gatherings. Each time I prepare them, I relive those joyous childhood days, and I can’t wait to share that joy with you.
These cookies are an invitation to embrace the creativity of baking while celebrating the spirit of Easter. With every bite, you taste a little slice of nostalgia wrapped in buttery sweetness and colors as lively as the springtime bloom.
The Magic of Easter Bunny Button Cookies
Fundamentals
Easter Bunny Button Cookies are deceptively simple yet indulgently delicious. The base of these cookies combines key ingredients that provide rich flavor and texture. Softened butter and granulated sugar serve as the foundation, creating a delightful balance of sweetness and structure. When you cream them together, you invite the sugar to dissolve and integrate, setting the stage for a soft, pliable dough.
The addition of egg yolks contributes to the cookies’ richness while helping create that tender crumb we all love. Balancing this is vanilla extract, which infuses each cookie with a warm, inviting aroma. The flour, which you mix in carefully, gives these cookies just enough body without making them dense. With these fundamental elements in mind, let’s dive into the preparation and enjoy the baking adventure.
Preparation/Setup
Prepping for Easter Bunny Button Cookies is straightforward and enjoyable. First, preheat your oven to 350°F, ensuring that it reaches the ideal baking temperature. This ensures even baking, resulting in cookies that are golden on the bottom and perfectly set on top.
Next, prepare your baking surface by lining a baking sheet with parchment paper or a silicone mat. This step helps in easy cookie removal and cleanup after baking. When all essentials are ready, the fun really begins! You’ll soon mix and knead your way toward a colorful and delicious holiday treat.
Ingredients
Creating these delightful cookies starts with gathering a few simple ingredients, each playing an essential role in building flavor and texture. Here’s what you need:
- 1 cup of butter, softened to room temperature
- 2/3 cup of granulated sugar
- 2 large egg yolks
- 1 teaspoon of vanilla extract
- 2 1/3 cups of all-purpose flour
- 1/2 cup of coarse sanding sugar
- 1/2 cup of pastel candy-coated chocolate pieces
Having everything measured out will make the baking process smoother and more enjoyable. You’re one step closer to creating a piece of holiday magic!
Directions
Start this exciting journey by creaming the softened butter and granulated sugar together. Mix until the mixture is light and fluffy, almost like a cloud of sugary goodness. This aeration helps create a light texture in the baked cookies. Next, incorporate the egg yolks and vanilla extract, mixing until everything combines seamlessly.
Add the flour gradually, and mix just until a soft dough forms. Be careful not to overmix; you want that perfect chewy texture! Once your dough is ready, scoop out teaspoon-sized portions and roll them into small balls. The next step is where the magic really begins. Roll each ball in coarse sanding sugar, coating them completely in sparkly sweetness.
Place these adorably coated dough balls on your prepared baking sheet. To add the charming touch synonymous with Easter, gently press a pastel candy-coated chocolate piece into the center of each cookie. The vibrant colors of the candies will pop against the pale base, creating eye-catching treats.
Lastly, bake your cookies in the preheated oven for 8 to 10 minutes. Keep an eye on them, as the bottoms should turn lightly golden while the tops just set. Once they’re done, allow them to cool on the baking sheet for a few minutes before transferring them to a wire rack to cool completely. The aroma wafting through your kitchen will reach the hearts of everyone in your home!
Baking Techniques for Easter Bunny Button Cookies
Technique
Baking these cookies does not require any advanced techniques, but a few tips can enhance your process. Start with room-temperature butter, which leads to easier creaming with the sugar, ensuring a fluffier texture in your cookies. Measuring the flour accurately is crucial. Too much flour can make cookies dry, so scoop it into your measuring cup and level it off without packing it.
When mixing the dough, use a spatula or a wooden spoon. This gentle approach helps to avoid overmixing, which can toughen your cookies. Finally, make sure to space the cookies out on the baking sheet to allow for proper spreading during baking.
Tips/Tricks
Every expert baker has tricks up their sleeves. Here are a couple that can help make your Easter Bunny Button Cookies even more fabulous. If your dough feels too soft to handle, chill it for about 30 minutes in the fridge. This allows the butter to firm up, making it easier to roll into balls.
Experiment with flavor by adding a pinch of salt or a hint of almond extract for a different twist. You can also explore variations with different chocolate candies. The options are limitless, and each variation can bring a new level of creativity for your Easter celebrations!
Perfecting Your Easter Bunny Button Cookies
Perfecting Results
Baking cookies is often more of an art than a science, but a few consistent practices can yield perfect results every time. To ensure your cookies are uniformly sized, consider using a cookie scoop. This ensures evenly baked cookies that look great together on your serving platter.
Baking in batches allows you to observe how each set bakes in your oven. If your first batch comes out slightly underdone, adjust the time or temperature for subsequent ones until you find what works perfectly in your kitchen.
Troubleshooting/Variations
Sometimes baking may not go as planned. If your cookies spread too much, consider adding a little more flour to the dough or chilling it longer before baking. On the other hand, if they turn out too thick, try reducing the flour slightly next time.
For a unique touch, sprinkle some extra coarse sanding sugar on top just before baking. You can even substitute some of the flour with cocoa powder for a chocolaty twist, transforming them into delightful chocolate-flavored Easter Bunny Button Cookies.
Serving and Storing Your Easter Bunny Button Cookies
Serving/Presentation
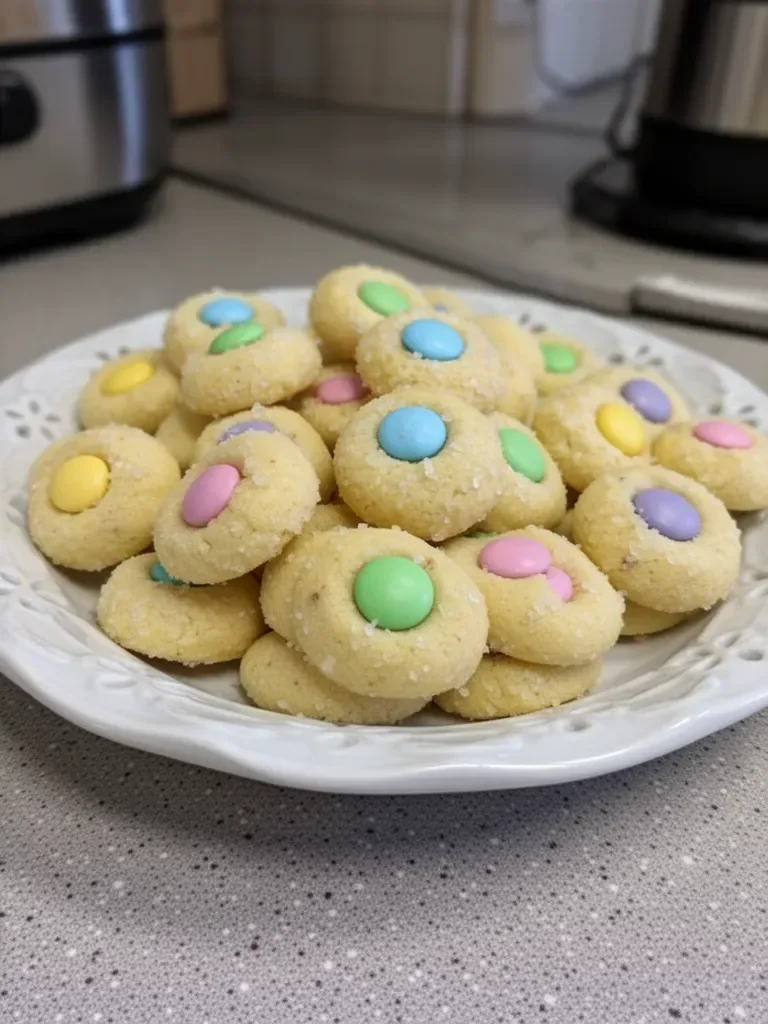
These colorful cookies are perfect for any Easter celebration or as a fun treat throughout the spring season. Arrange them on a decorative platter, tying in the festive spirit with colorful napkins or Easter-themed decorations. Displaying them alongside traditional Easter eggs will surely catch the eye of any guest!
To elevate the presentation, consider stacking them in a mason jar or a basket lined with a festive cloth. The vibrant colors of the pastel candies will add a cheerful pop against the backdrop of pastel hues so synonymous with the holiday.
Pairings/Storage
Easter Bunny Button Cookies pair perfectly with a cup of milk, tea, or even a fun fruity punch. Their sweetness complements both savory dishes and lighter fare served during the holiday.
Store these cookies in an airtight container at room temperature. They will maintain their delightful texture for up to a week. For longer storage, consider freezing them. Just place them in a freezer-safe container or bag, and they can last for up to three months. When you’re ready to enjoy them, simply thaw at room temperature.
Creating Easter Bunny Button Cookies is not just about the deliciousness but also about crafting cherished memories. The colorful treats will brighten up your table and the hearts of those you love, making your Easter celebration magical and memorable. Embrace the joy they bring, and enjoy every baking moment!
Print
Easter Bunny Button Cookies
- Total Time: 25 minutes
- Yield: 24 servings 1x
- Diet: Vegetarian
Description
Delightful and colorful cookies perfect for Easter celebrations, filled with nostalgia and sweetness.
Ingredients
- 1 cup of butter, softened to room temperature
- 2/3 cup of granulated sugar
- 2 large egg yolks
- 1 teaspoon of vanilla extract
- 2 1/3 cups of all-purpose flour
- 1/2 cup of coarse sanding sugar
- 1/2 cup of pastel candy-coated chocolate pieces
Instructions
- Start by creaming the softened butter and granulated sugar together until light and fluffy.
- Incorporate the egg yolks and vanilla extract, mixing until combined.
- Add the flour gradually, mixing just until a soft dough forms.
- Scoop out teaspoon-sized portions and roll them into small balls.
- Roll each ball in coarse sanding sugar to coat completely.
- Place the balls on a prepared baking sheet and gently press a pastel candy piece into the center of each.
- Bake in the preheated oven for 8 to 10 minutes until lightly golden on the bottom.
- Allow to cool on the baking sheet for a few minutes before transferring to a wire rack.
Notes
Use room-temperature butter for best results. Consider chilling the dough if it feels too soft.
- Prep Time: 15 minutes
- Cook Time: 10 minutes
- Category: Dessert
- Method: Baking
- Cuisine: American
Nutrition
- Serving Size: 1 cookie
- Calories: 150
- Sugar: 10g
- Sodium: 50mg
- Fat: 7g
- Saturated Fat: 4g
- Unsaturated Fat: 2g
- Trans Fat: 0g
- Carbohydrates: 20g
- Fiber: 0g
- Protein: 2g
- Cholesterol: 30mg
Keywords: Easter cookies, festive cookies, bunny cookies, spring treats, colorful cookies