📑 Table of Contents ▶
- Saltrising Bread
- Mastering Salt-Rising Bread
- Fundamentals
- Preparation/Setup
- Crafting the Perfect Loaf
- Technique
- Tips/Tricks
- Elevating Your Salt-Rising Bread
- Perfecting Results
- Troubleshooting/Variations
- Enjoying Salt-Rising Bread
- Serving/Presentation
- Pairings/Storage
- Conclusion
- FAQs – Saltrising Bread
- Related posts:
- Club Sandwich Pasta Salad: The Ultimate Recipe You Need!
- Chicken Noodle Soup: The Ultimate Comfort Food Fix
- Chicken Bacon Ranch Pasta Salad
Growing up, I always found myself captivated by the stories my grandmother told about the art of making salt-rising bread. It was a tradition passed down through generations, each loaf a testament to patience and skill. The magical transformation of simple ingredients into a warm, comforting embrace of flavor fascinated me. This unique bread, with its distinct aroma and taste, was more than just food; it was a connection to my roots and a celebration of culinary heritage.
Salt-rising bread has always been a culinary enigma, known for its one-of-a-kind fermentation process. The bread’s rich history and the dedication required to craft it makes the end result even more satisfying. Every time I bake it, I feel a part of something greater, a tradition that binds us to the past while nourishing our present. Like many of you, I have come to appreciate the nuances of salt-rising bread, from the first bubbling starter to the final golden crust.
In this journey of crafting salt-rising bread, I aim to demystify the process, sharing insights and tips that make this time-honored recipe approachable for everyone. As we delve into the specifics, the focus on the essentials of salt-rising bread will guide us through each step, ensuring that your baking experience is as rewarding as the bread itself. Let’s explore the fascinating world of salt-rising bread together, embracing the aromas, textures, and flavors that have brought joy to many kitchens over the years.
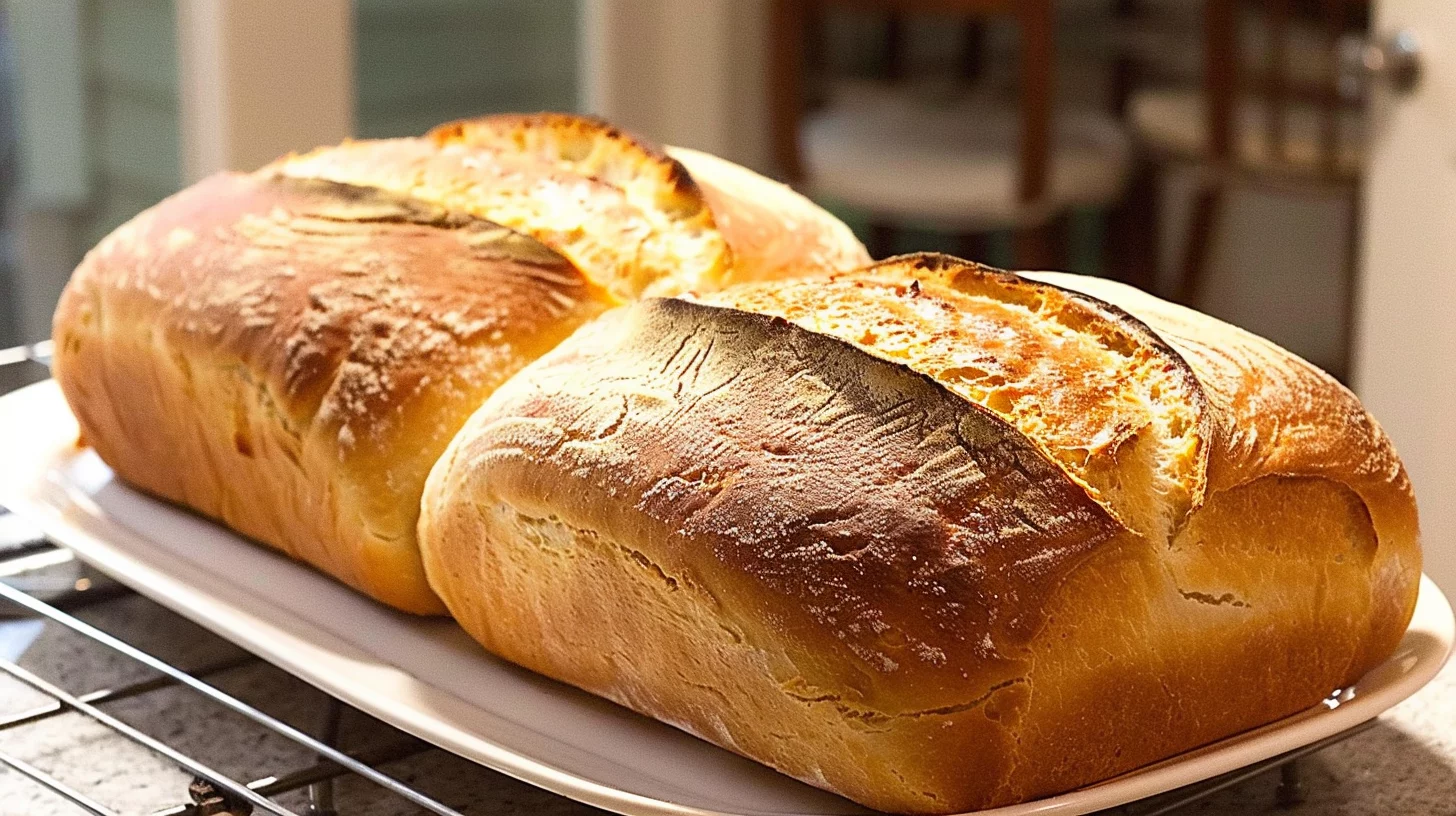
Saltrising Bread
- Total Time: 1500 minutes
- Yield: 6–8 servings 1x
Description
Discover the unique taste of Saltrising Bread with our detailed recipe guide. Learn its fascinating history, preparation secrets, and tips for perfecting this traditional bread.
Ingredients
- 1 cup (240 ml) milk
- 5 cup (120 ml) cornmeal
- 1 tablespoon (15 ml) white sugar
- 1 teaspoon (5 ml) salt
- 2 cup (480 ml) s warm water (110 degrees F/45 degrees C)
- 2 cup (480 ml) s all-purpose flour
- 2 tablespoon (30 ml) s white sugar
- 3 tablespoon (45 ml) s vegetable oil
- 5 teaspoon (3 ml) baking soda
- 1 tablespoon (15 ml) warm water (110 degrees F/45 degrees C)
- 6 cup (1440 ml) s all-purpose flour
Instructions
- To Prepare the Starter: Warm up the milk and mix in 1 tablespoon of sugar, the cornmeal, and 1 teaspoon of salt. Place this blend in a jar within an electric skillet or crock pot, surrounded by warm water. Keep the temperature steady between 105 to 115 degrees F (40 to 47 degrees C) for 7-12 hours, or until it starts to ferment. You’ll hear gas escaping when fermentation is complete. The foamy bubbles forming on top can take up to 24 hours. Do not proceed with making the bread until the starter shows activity. As it ferments, the distinctive salt-rising scent will develop.
- Once the starter is active and bubbly, it’s time to prepare the sponge. Transfer the starter into a medium-sized bowl. Add 2 cups of warm water, 2 tablespoons of sugar, the vegetable oil, and 2 cups of all-purpose flour. Mix the sponge thoroughly. Place the bowl back in the water to maintain a consistent temperature of 105 to 115 degrees F (40 to 47 degrees C). Cover the bowl and let the mixture rise until it becomes light and bubbly, which will take about 2 1/2 to 3 hours.
- Dissolve the baking soda in 1 tablespoon of warm water, then mix it into the sponge. Gradually incorporate 5 1/4 cups of flour into the sponge; add more flour if needed. Knead the dough for 10 minutes until it becomes smooth and easy to handle. Divide the dough into three portions. Shape each portion and place them into three greased 9x5x3 inch pans. Set the covered pans in warm water, or place them uncovered in a warm oven alongside a bowl of hot water, maintaining a temperature of 85 degrees F (30 degrees C). Allow approximately 5 hours for the bread to expand 2 1/2 times its original size, rising to the top of the pans.
- Preheat the oven to 375 degrees F (190 degrees C).
- Bake the loaves at 375 degrees F (190 degrees C) for 10 minutes. Then, reduce the oven temperature to 350 degrees F (175 degrees C) and continue to bake for another 20 minutes or until the bread turns a light golden brown.
- For Future Use, you can preserve the salt-rising culture! Reserve 1/4 cup of a successful sponge and spread it onto a saucer, cover with cheesecloth, and let it dry. Store the dried flakes in plastic in a cool, dry place or freeze them until needed for salt-rising bread. When ready to make bread again, dissolve the flakes in a new warm starter and proceed with the recipe, enhancing the flavor of your bread.
Notes
- Ensure milk is lukewarm before mixing to protect beneficial bacteria
- Use a thermometer to maintain proper starter and sponge temperatures
- Gradually add flour to sponge for a smooth dough consistency
- Prep Time: 20 minutes
- Cook Time: 30 minutes
- Category: Side Dish
- Method: Baking
- Cuisine: Mexican
Nutrition
- Calories: 124 kcal
- Fat: 2 g
- Protein: 3 g
Keywords: salt rising bread, fermentation process bread, homemade bread starter, cornmeal bread recipe, baking bread instructions, warm water dough
Mastering Salt-Rising Bread
Fundamentals
Salt-rising bread is a marvel of culinary science, relying on a starter made from basic ingredients like milk, cornmeal, sugar, and salt. The starter’s fermentation is critical, as it replaces the more common yeast with naturally occurring bacteria to leaven the bread. This process bestows salt-rising bread with its unique flavor and aroma. Understanding these fundamentals is key to mastering the art of salt-rising bread.
The starter requires a warm environment to thrive, typically maintained at a temperature between 105 to 115 degrees F (40 to 47 degrees C). This warmth encourages the fermentation process, allowing the natural bacteria to flourish. The development of the starter is a slow, patient endeavor, often taking up to 24 hours to become active and bubbly. This deliberate pace is a hallmark of salt-rising bread, requiring keen attention and care.
Preparation/Setup
To begin your salt-rising bread journey, gather the ingredients and ensure your kitchen is ready for the process. You will need milk, cornmeal, sugar, salt, warm water, all-purpose flour, vegetable oil, and baking soda. Start by warming the milk and mixing in the cornmeal, sugar, and salt. This mixture serves as the foundation for the starter, placed in a jar within a warm water bath to maintain the necessary temperature for fermentation.
As the starter ferments, you’ll notice changes in texture and aroma, signaling that it’s ready to be transformed into a sponge. Transfer the starter to a bowl, mix in warm water, sugar, vegetable oil, and flour, and allow it to rise until light and bubbly. This phase is crucial and will take a few hours, so patience is essential. Once the sponge is ready, it’s time to advance to the next stage of making salt-rising bread.
Crafting the Perfect Loaf
Technique
The technique of making salt-rising bread hinges on the careful handling of the sponge and dough. After the sponge becomes bubbly, dissolve baking soda in warm water and mix it into the sponge. Gradually incorporate flour until the dough is smooth and manageable. This step is crucial for achieving the desired texture and structure of the bread.
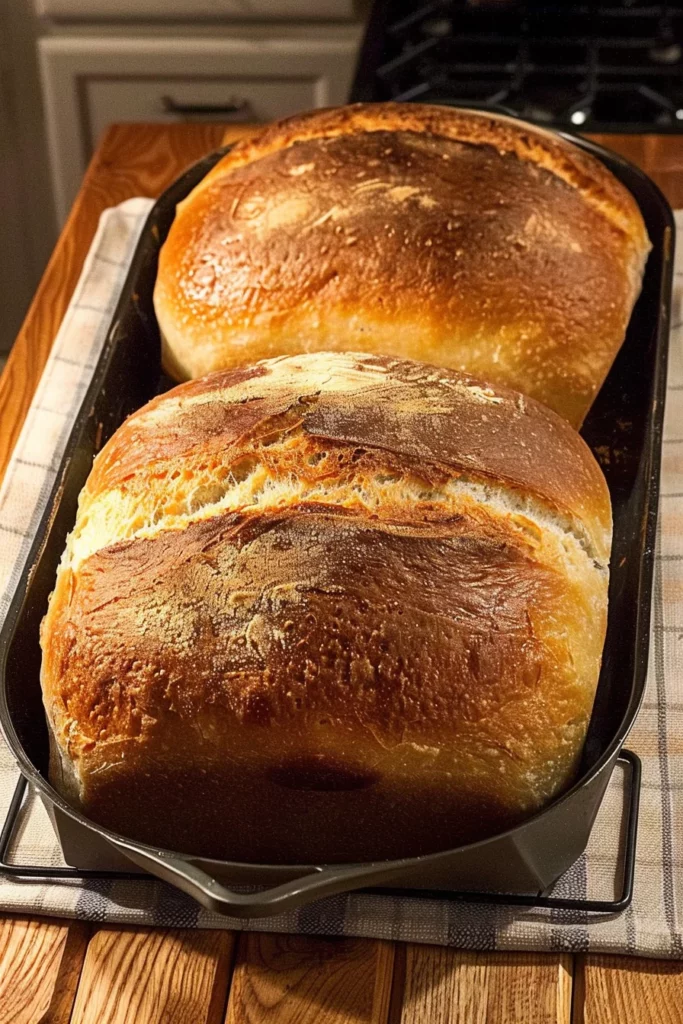
Once the dough is ready, divide it into portions and shape them into loaves. Place each loaf into a greased pan, setting them in a warm environment to rise. Maintaining a steady temperature encourages the dough to expand, creating the soft, airy texture that characterizes salt-rising bread. This stage can take several hours, so patience and consistency are key.
Saltrising Bread
Tips/Tricks
Achieving the perfect salt-rising bread requires attention to detail and a few handy tips. First, be sure to maintain a consistent temperature throughout the fermentation and rising processes. Using a thermometer can help ensure accuracy. Additionally, practice makes perfect; don’t be discouraged by initial attempts, as mastering salt-rising bread takes time and experience.
Consider experimenting with different flour types to see how they affect the texture and flavor of the bread. While all-purpose flour is a staple, introducing variations like whole wheat can add a unique twist. For more inspiration, check out these delightful Cauliflower Cloud Bread Delight and Flourless Oat Chia Bread recipes for creative bread-making ideas.
Elevating Your Salt-Rising Bread
Perfecting Results
To perfect your salt-rising bread, focus on the details that enhance its flavor and texture. The fermentation process is integral, so ensure your starter is active before proceeding. The dough should be kneaded until smooth and elastic, which helps develop the bread’s structure. Baking at the right temperature is equally crucial, starting at 375 degrees F (190 degrees C) and then reducing to 350 degrees F (175 degrees C) to achieve a light golden brown crust.
Patience is your ally when making salt-rising bread. Allowing the dough to rise sufficiently ensures a soft, airy interior. The final loaf should have a balanced flavor, with a subtle tang from the fermentation process. For more baking inspiration, explore this Dollywood Cinnamon Bread recipe that combines tradition with a touch of sweetness.
Troubleshooting/Variations
If your salt-rising bread isn’t turning out as expected, consider common troubleshooting tips. If the starter isn’t fermenting, check the temperature and adjust as needed. Ensure all ingredients are fresh, especially the cornmeal and flour. If the bread’s texture is too dense, it may need more time to rise or require adjustments in the amount of flour used.
For those looking to experiment, consider adding herbs or spices to the dough for a unique flavor profile. You can also vary the shape of your loaves, creating rolls or braids for different presentations. For a savory twist, explore this Garlic Parmesan Sheet Pan Breadsticks recipe to inspire your culinary creativity.
Enjoying Salt-Rising Bread
Serving/Presentation
Salt-rising bread is a versatile addition to any meal, perfect for breakfast, lunch, or dinner. Serve slices warm with butter, or use them as a base for sandwiches. The bread’s unique flavor complements a variety of spreads, from sweet jams to savory cheeses, making it a delightful centerpiece at any gathering.
The visual appeal of salt-rising bread can enhance your table setting. Present the loaves whole or sliced on a rustic wooden board, paired with an assortment of accompaniments. For more serving ideas, explore this Moist Buttermilk Banana Bread recipe that offers a sweet contrast to the savory notes of salt-rising bread.
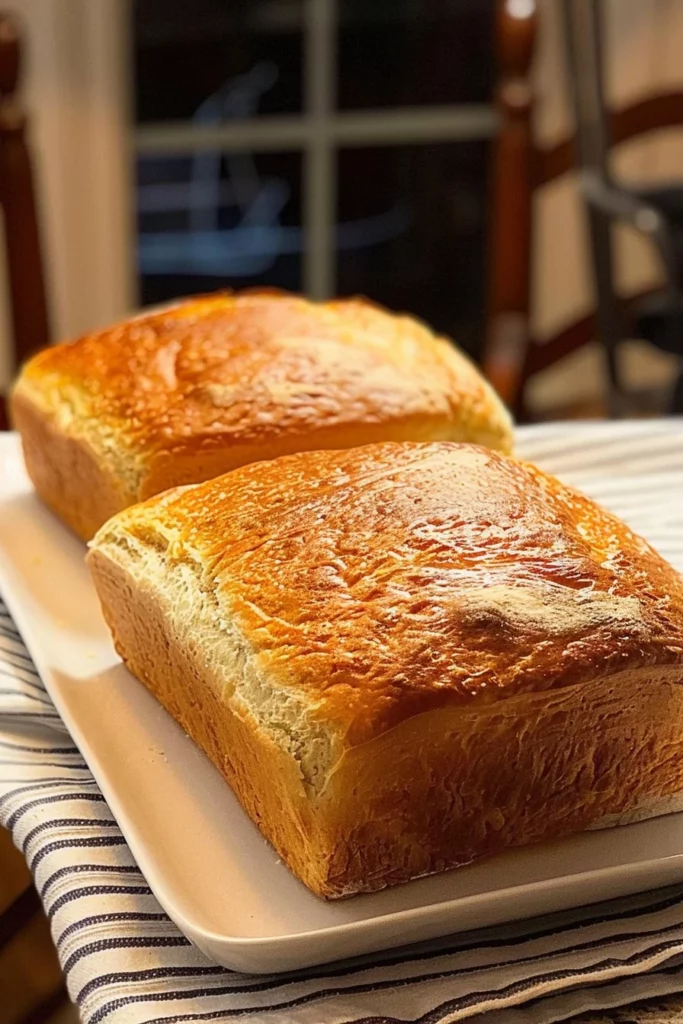
Saltrising Bread
Pairings/Storage
Salt-rising bread pairs well with a variety of dishes, from hearty stews to fresh salads. Its rich flavor complements both sweet and savory elements, making it a versatile choice for any meal. When storing, keep the bread in an airtight container at room temperature for up to three days, or freeze it for longer preservation. Proper storage ensures that the bread retains its delightful texture and taste.
If you’re curious about other quick bread options, this Pineapple Quick Bread offers a sweet, tropical alternative. Incorporating diverse bread recipes into your repertoire can add variety and excitement to your baking adventures.
Conclusion
Salt-rising bread stands as a testament to the beauty of traditional baking, where patience and precision yield a loaf rich in history and flavor. Mastering this bread involves understanding the fermentation process, perfecting the dough, and embracing the unique characteristics that set it apart. The journey from starter to finished loaf is rewarding, offering a connection to culinary heritage and a delicious addition to any meal.
The strengths of salt-rising bread lie in its distinctive taste and the satisfaction of crafting something with your own hands. Whether you enjoy it warm with butter or as part of a hearty sandwich, this bread brings warmth and comfort to the table. As you continue your baking journey, let the nuances of salt-rising bread inspire you to explore new flavors and techniques, enriching your culinary repertoire.