📑 Table of Contents ▶
- Haunted Graveyard Pudding Cups
- Creating the Perfect Haunted Graveyard Pudding Cups
- Fundamentals
- Preparation/Setup
- Mastering the Haunted Graveyard Aesthetic
- Technique
- Tips/Tricks
- Perfecting Your Haunted Graveyard Pudding Cups
- Perfecting Results
- Troubleshooting/Variations
- Presenting and Storing Your Spooky Treats
- Serving/Presentation
- Pairings/Storage
- Conclusion
- FAQs – Haunted Graveyard Pudding Cups
- Related posts:
- Patriotic Sugar Cookie Bars: The Best 4th of July Treat!
- Pumpkin Cheesecake Mousse: Luxurious Fall Dessert Extravaganza
- Mini Vanilla Pound Cakes: The Best Recipe for a Quick Treat
Haunted Graveyard Pudding Cups hold a special place in my heart, especially around this time of year. Growing up, my family would always gather in the kitchen to create themed desserts for Halloween. The anticipation of seeing the final spooky masterpiece was as thrilling as the flavors themselves.
As a child, I was always fascinated by the creativity involved in making these treats. The process of transforming simple ingredients into a deliciously eerie dessert was nothing short of magical. Haunted Graveyard Pudding Cups became more than just a dessert; they were a canvas for creativity and an opportunity for family bonding.
Each year, we would try to outdo our previous attempts, experimenting with different decorations and flavors. The chocolatey richness combined with the playful presentation made these pudding cups an instant hit at every gathering. It’s a tradition I’ve proudly carried on, hoping to inspire others to create their own spooky culinary memories.

Haunted Graveyard Pudding Cups
- Total Time: 15 minutes
- Yield: 4 servings
Description
Discover how to make spooky and delicious Haunted Graveyard Pudding Cups that are perfect for Halloween parties. Learn the step-by-step recipe here!
Ingredients
- Chocolate pudding mix, 3.9 oz (110 g)
- Cold milk, 2 cups (480 ml)
- Chocolate sandwich cookies, 15 cookies
- Whipped topping, 1 cup (240 ml)
- Beef gelatin worms, 1 package
- Chocolate graham crackers, 4 sheets
- Fruit candies, 1 package
- Green decorating gel, as needed
- Brown decorating gel, as needed
Instructions
- In a mixing bowl, combine the chocolate pudding mix with the cold milk.
- Whisk the mixture for 2 minutes until thickened.
- Let the pudding set in the refrigerator for 5 minutes.
- Place the chocolate sandwich cookies in a resealable plastic bag.
- Crush the cookies into fine crumbs using a rolling pin.
- Spoon the pudding evenly into individual cups, filling each halfway.
- Add a layer of crushed cookies on top of the pudding in each cup.
- Spoon whipped topping over the cookie layer in each cup.
- Sprinkle more crushed cookies over the whipped topping.
- Insert a few gummy worms into the cookie layer of each cup.
- Break the chocolate graham crackers into tombstone shapes.
- Use green decorating gel to write spooky words on the graham crackers.
- Press the decorated graham crackers upright into the pudding cups.
- Place candy pumpkins around the tombstones in each cup.
- Use brown decorating gel to add details as desired.
- Chill the pudding cups in the refrigerator for 10 minutes before serving.
Notes
- Try using chocolate milk instead of regular milk for a richer flavor in the pudding mix.
- Experiment with various flavors of sandwich cookies to add variety to the layers.
- Enhance texture by adding chopped nuts or chocolate shavings between the cookie and whipped topping layers.
- Prep Time: 15 minutes
- Cook Time: 0 minutes
- Category: Dessert
- Method: Chilling
- Cuisine: American
Nutrition
- Calories: Unknown
- Fat: Unknown
- Protein: Unknown
Keywords: 1. Halloween dessert, 2. Spooky pudding, 3. Graveyard cups, 4. Easy Halloween treat, 5. Chocolate pudding cups, 6. Ghostly dessert
Creating the Perfect Haunted Graveyard Pudding Cups
Fundamentals
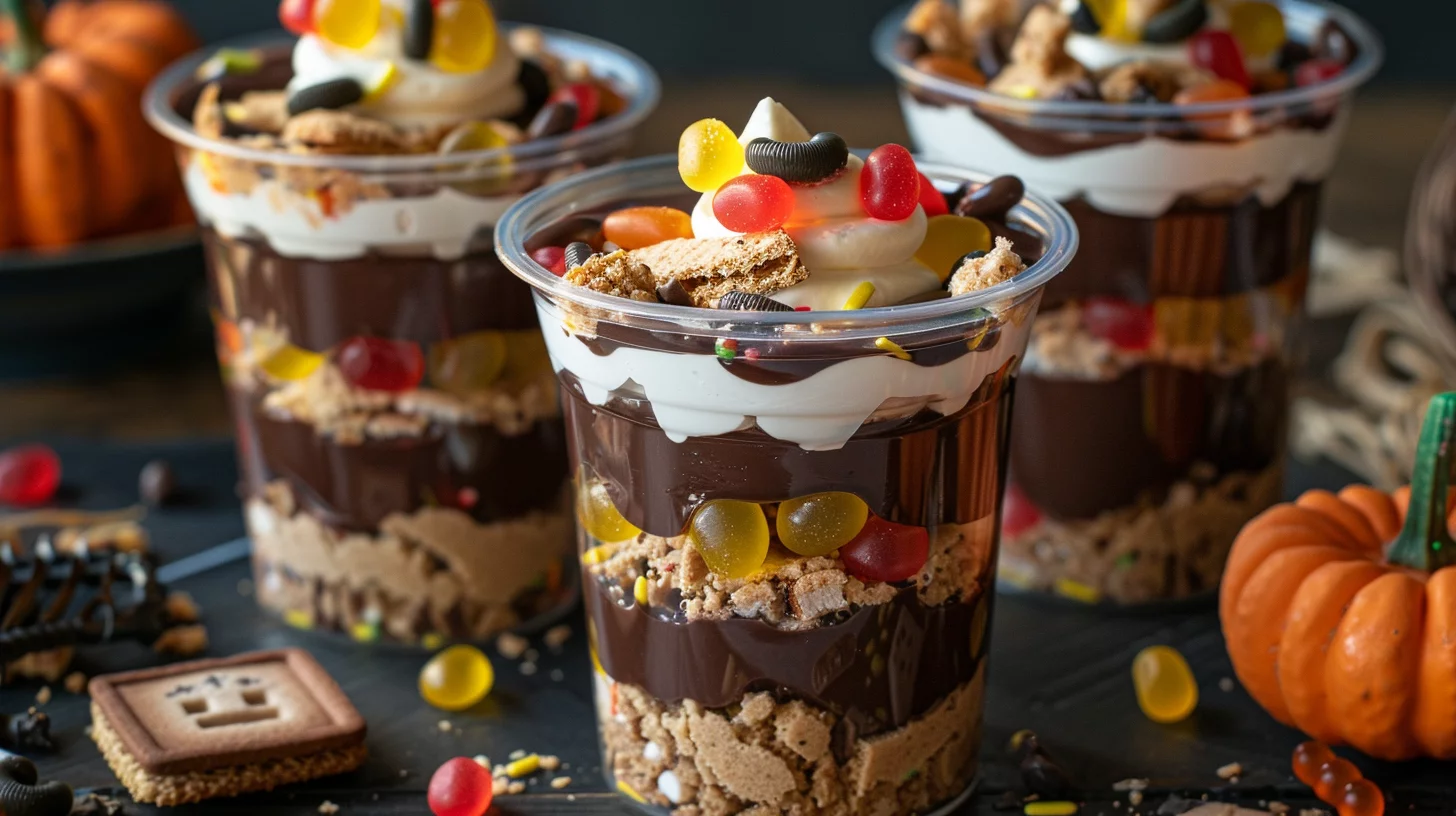
Haunted Graveyard Pudding Cups are a delightful blend of flavors and textures, making them a crowd favorite during Halloween. The base of this treat is the chocolate pudding, which provides a creamy and rich foundation. To achieve the right consistency, whisk together a 3.9 oz package of chocolate pudding mix with 2 cups of cold milk. This creates a smooth, thick pudding in just a few minutes.
The crushed chocolate sandwich cookies mimic the appearance of soil, adding a playful yet delicious layer to the dessert. These cookies provide a contrasting crunch to the creamy pudding, enhancing the overall experience. The whipped topping offers a light and airy texture, balancing the richness of the chocolate layers.
Preparation/Setup
Once the pudding thickens, allow it to set in the refrigerator for five minutes. Meanwhile, crush 15 chocolate sandwich cookies in a resealable bag using a rolling pin, ensuring they become fine crumbs. These crumbs will serve as the “dirt” in your graveyard cups.
Prepare individual cups by filling each halfway with the chilled pudding. Add a layer of crushed cookies on top, followed by a generous spoonful of whipped topping. Sprinkle more cookie crumbs over the whipped topping for added texture and visual appeal.
Mastering the Haunted Graveyard Aesthetic
Technique
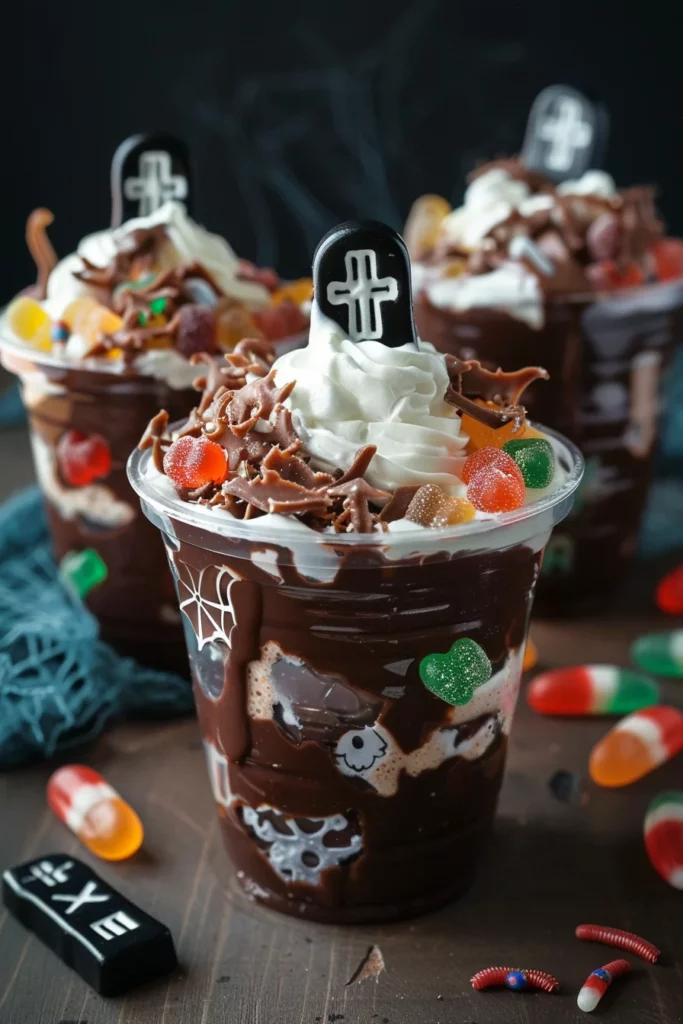
To bring the Haunted Graveyard Pudding Cups to life, it’s crucial to focus on the decorative elements. Insert beef gelatin worms into the cookie layer, allowing them to peek out like creepy crawlers. These gummy worms add a fun and chewy element to the dessert, making it even more enjoyable for kids and adults alike.
Breaking chocolate graham crackers into tombstone shapes adds a spooky charm. Use green decorating gel to write eerie words like “RIP” on each tombstone, then press them upright into the pudding cups. This step transforms the dessert into a themed centerpiece that captures the essence of Halloween.
Haunted Graveyard Pudding Cups
Tips/Tricks
For the best results, ensure the pudding is well-chilled before assembling the layers. This helps maintain the structure of the dessert and prevents the whipped topping from melting too quickly. When crushing the cookies, aim for a mix of fine crumbs and slightly larger pieces to mimic real soil.
Enhance the spooky vibe by adding fruit candies, such as candy pumpkins, around the tombstones. A touch of brown decorating gel can be used to add fine details or shadows, creating depth and dimension within your graveyard scene.
Perfecting Your Haunted Graveyard Pudding Cups
Perfecting Results
Achieving the perfect Haunted Graveyard Pudding Cups requires a balance of flavors and textures. The rich chocolate pudding pairs beautifully with the crunchy cookie crumbs and light whipped topping. Each bite offers a delightful contrast, ensuring that the dessert is as enjoyable to eat as it is to look at.
Consistency is key when preparing the pudding. Whisking the mixture for a full two minutes ensures a smooth, thick texture. Allowing the pudding to set in the refrigerator for the recommended time helps it hold its shape when layered with other ingredients.
Troubleshooting/Variations
If your pudding seems too runny, try refrigerating it for a bit longer to thicken. Alternatively, you can whisk in a small amount of additional pudding mix to reach the desired consistency. For those seeking a twist, consider adding a layer of crushed https://grandmmadelights.com/no-bake-peanut-butter-cheesecake-cups-with-chocolate-shell/ in between the pudding and cookie layers.
Experiment with different candies and decorating gels to customize your graveyard scene. If you prefer a less sweet option, opt for https://grandmmadelights.com/high-protein-greek-yogurt-peanut-butter-brownie-cups/ to add a protein boost to your dessert. The possibilities are endless, allowing you to tailor the recipe to your taste and the occasion.
Presenting and Storing Your Spooky Treats
Serving/Presentation
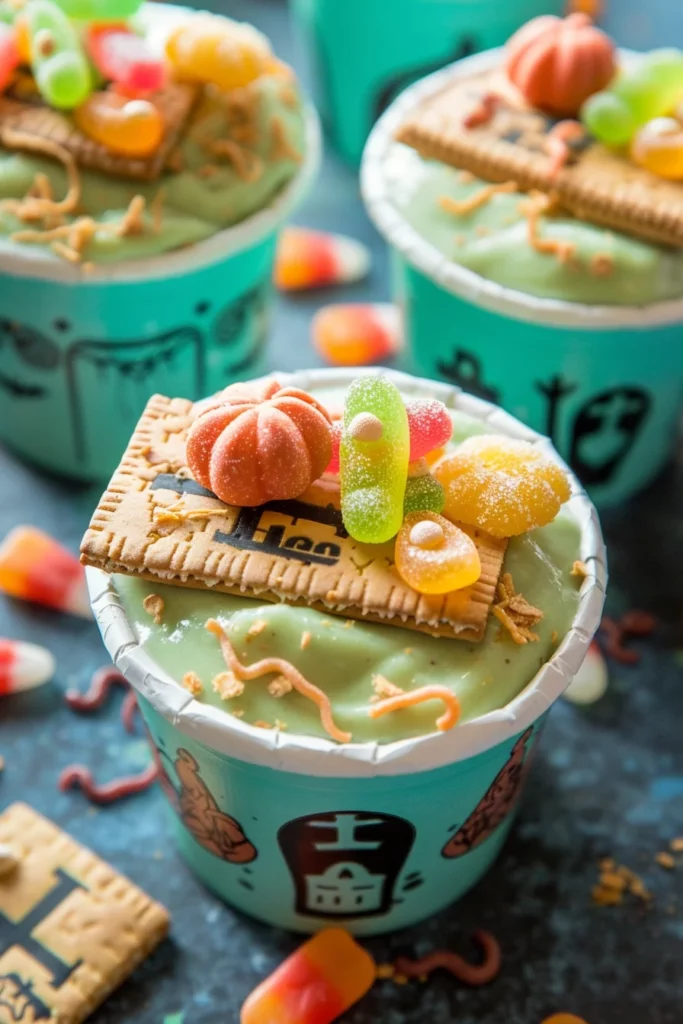
Presentation plays a vital role in the appeal of Haunted Graveyard Pudding Cups. Arrange the cups on a platter or serving tray to create a cohesive display. Use additional decorations, such as mini pumpkins or themed napkins, to enhance the festive atmosphere.
These pudding cups are perfect for Halloween parties or family gatherings. Their individual portions make them easy to serve and enjoy. Guests will love the creativity and flavor packed into each cup, making them a memorable addition to any spooky celebration.
Haunted Graveyard Pudding Cups
Pairings/Storage
Store any leftover pudding cups in the refrigerator to maintain their freshness. They can be kept for up to two days, allowing you to prepare them in advance for convenience. If you love experimenting with desserts, try pairing these cups with https://grandmmadelights.com/healthy-frozen-peanut-butter-greek-yogurt-cups-with-chocolate-top/ for a delightful contrast in flavors.
For a balanced snack option, consider serving https://grandmmadelights.com/fluffy-egg-cups/ alongside your haunted treats. This combination offers a mix of savory and sweet, ensuring there’s something for everyone to enjoy. Proper storage and pairing can elevate your dessert experience, making your Halloween celebration even more special.
Conclusion
Haunted Graveyard Pudding Cups are a delightful way to celebrate Halloween, combining creativity with delicious flavors. The process of crafting these spooky desserts is as rewarding as the final product, offering an opportunity for fun and family bonding.
The utility of this recipe lies in its versatility and simplicity. Whether you’re a seasoned baker or new to the kitchen, these pudding cups are approachable and sure to impress. Their playful presentation and rich taste make them a standout choice for any festive gathering.
