📑 Table of Contents ▶
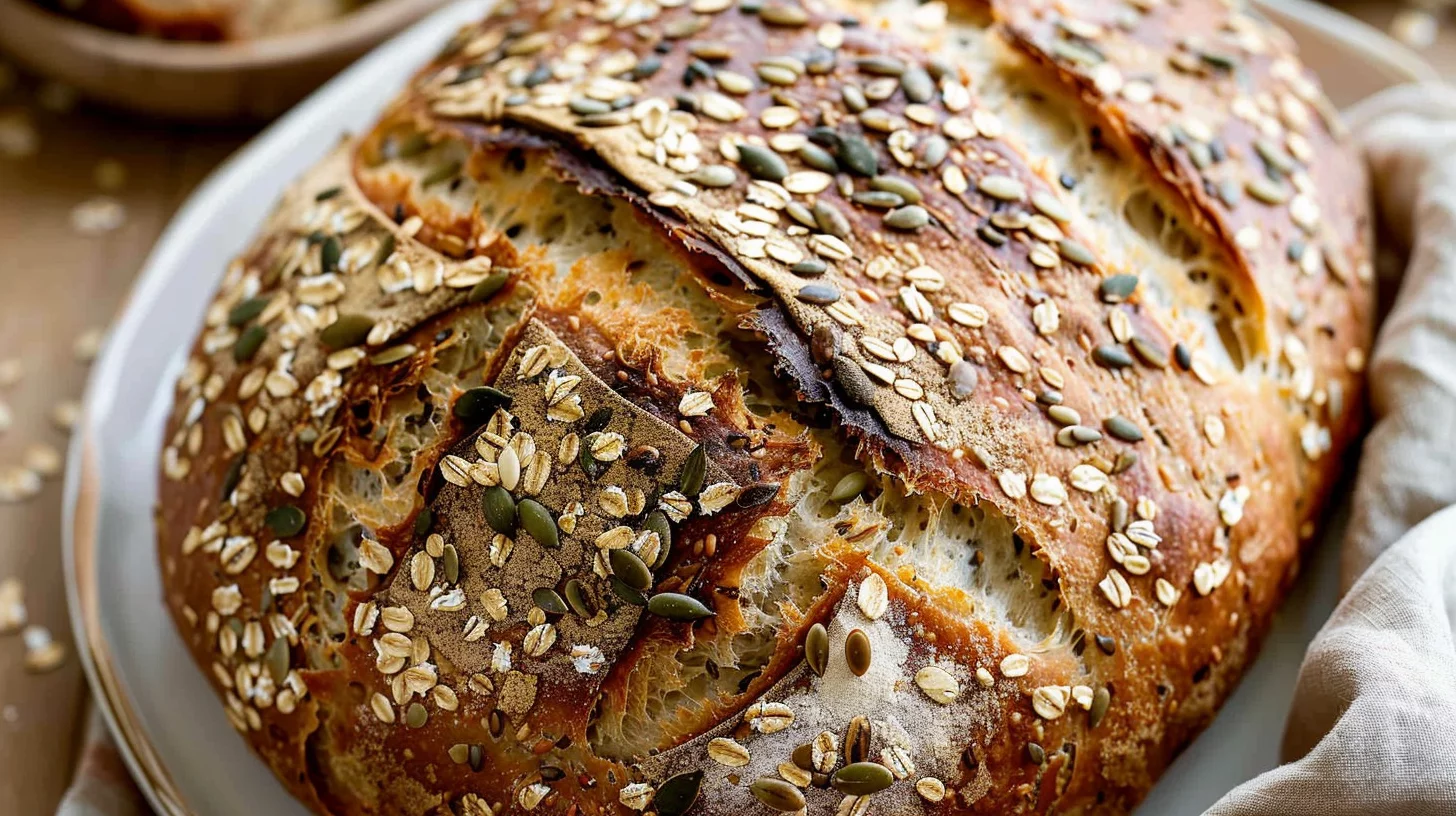
- No Knead Seeded Oat Bread
- No Knead Seeded Oat Bread: Getting Started
- Fundamentals
- Preparation/setup
- Crafting the Perfect Loaf
- Technique
- Tips/tricks
- Achieving Bakery-Quality Bread at Home
- Perfecting results
- Troubleshooting/variations
- Presenting Your Homemade Bread
- Serving/presentation
- Pairings/storage
- Conclusion
- FAQs – No Knead Seeded Oat Bread
- Related posts:
- Mashed Potato Pancakes With Meat Filling: How to Create Perfect Fluffy Pancake
- Honey Garlic Shrimp Sausage with Broccoli: The Best Recipe You'll Ever Try
- Easy Homemade Soft Pretzels
Bread baking has always been a cherished tradition in my family, and there’s something magical about watching simple ingredients transform into a warm, fragrant loaf. One of my favorites to make is the No Knead Seeded Oat Bread. The beauty of this bread lies in its simplicity and the hearty texture it brings to the table, making it a staple in my kitchen.
My journey with No Knead Seeded Oat Bread began on a crisp autumn morning when I first attempted to make a loaf without the fuss of kneading. I was skeptical at first, but the result was beyond rewarding. It was during a family gathering that I realized just how much this bread resonated with everyone. The combination of oats and seeds not only added a delightful crunch but also a depth of flavor that everyone loved.
In our home, this bread accompanies many meals, from savory stews to sweet jams. Its rustic charm and nourishing ingredients make it a versatile addition to any table. Over time, I’ve perfected the recipe, ensuring that each loaf is as delightful as the last. Join me as I share the secrets behind this No Knead Seeded Oat Bread, a recipe that has truly become a family favorite.
No Knead Seeded Oat Bread
- Total Time: 55 minutes
- Yield: 6–8 servings 1x
Description
Discover how to make No Knead Seeded Oat Bread with ease. This recipe guides you through creating a delicious, wholesome loaf packed with nutritious seeds.
Ingredients
- 3 cups (390 g) bread flour (spooned & leveled), plus more as needed for shaping and pan
- 2 teaspoon s (about 6g) Platinum Yeast from Red Star instant yeast
- 1 cup (85 g) old-fashioned whole rolled oats
- 1/4 cup (30 g) unsalted pumpkin seeds (pepitas)
- 1/4 cup (30 g) salted or unsalted sunflower seeds
- 2 Tablespoon s (18 g) flax seeds or sesame seeds
- 2 teaspoon (10 ml) s coarse salt
- 2 Tablespoon s (43 g) honey
- 1 and 1/2 cups (360 ml) warm water (about 95°F (35°C))
- Optional : cornmeal for dusting pan
- 1 Tablespoon (5 g) old-fashioned whole rolled oats
- 1 Tablespoon (8 g) pumpkin seeds (pepitas)
- 1 Tablespoon (8 g) sunflower seeds
- 1 teaspoon (5 ml) flax seeds or sesame seeds
Instructions
- Watch the video below before starting and use it as a visual reference for this recipe.
- In a large mixing bowl, combine the yeast and flour with a whisk. Add the oats, pumpkin seeds, sunflower seeds, flax seeds, and salt, then mix together. Blend the honey and warm water, then pour over the dry mix. Using a silicone spatula or a wooden spoon, gently stir the mixture. It will look dry and rough, but keep mixing until all the flour is wet. If necessary, use your hands to incorporate the ingredients. The dough will be sticky. Form it into a ball as best as you can in the bowl. (Note: This dough is too sticky for a mixer, so stir by hand.)
- Keep the dough in the bowl, cover it tightly with plastic wrap or foil, and leave it at room temperature. Let it rise for 3 hours. The dough will almost double in size, cling to the bowl’s sides, and develop many air bubbles.
- You can proceed with the next step immediately, but for optimal flavor and texture, it’s highly recommended to let the dough rest in the fridge for at least 12 hours and up to 3 days. (Even a couple of hours is beneficial!) Store the covered dough in the refrigerator for up to 3 days. The dough will rise during this period but may start to deflate after 2 days, which is normal.
- Lightly sprinkle a large nonstick baking sheet with flour and/or cornmeal. With well-floured hands, gently form the risen dough into a ball without deflating it too much. (This can be done in the bowl or on a floured surface.) The dough remains sticky.
- Move the shaped dough to the prepared baking sheet. Combine the topping ingredients, then sprinkle them over the dough. If the seeds don’t adhere, press them lightly into the dough. Cover loosely and let the dough rest for 45 minutes. You will bake it on this sheet. Refer to the recipe note if you prefer using a pizza stone or Dutch oven.
- During the 45-minute rest, preheat your oven to 425°F (218°C).
- When ready to bake, use a sharp knife, bread lame, or kitchen shears to make a shallow cut or X about 1/2 inch deep on the dough. If the loaf flattens during the rest, reshape it with floured hands.
- Place the shaped and scored dough on the prepared baking sheet into the preheated oven on the center rack.
- For a slightly crisper crust: Position a shallow metal or cast iron pan on the bottom oven rack. Carefully pour 3–4 cups of boiling water into the shallow pan and quickly close the oven door to trap the steam, which aids in creating a crispier crust.
- Bake for about 40 minutes until the crust is golden brown. If it darkens too quickly, cover with aluminum foil. To check for doneness, tap the warm bread lightly. A hollow sound indicates it’s done. For precision, the bread is done when an instant-read thermometer measures the center at 195°F (90°C).
- Take the bread out of the oven and let it cool for at least 10–20 minutes before slicing and serving.
- Store any leftovers loosely covered at room temperature for up to 3 days or in the refrigerator for up to 10 days.
Notes
- Ensure warm water is at 95°F (35°C) to properly activate yeast for rising. Mix honey-water gradually for even blending with dry ingredients. Lightly flour hands and surface if dough is too sticky for easier shaping.
- Prep Time: 10 minutes
- Cook Time: 45 minutes
- Category: Side Dish
- Method: Baking
- Cuisine: Italienne
Nutrition
- Calories: 300
- Fat: 12g
- Protein: 8g
Keywords: bread flour recipe, homemade seed bread, crispy bread crust, oat and seed loaf, yeast bread baking, pumpkin seed bread
No Knead Seeded Oat Bread: Getting Started
Fundamentals
The foundation of No Knead Seeded Oat Bread lies in its simple, wholesome ingredients. We start with bread flour, a reliable choice for achieving the desired gluten structure. The oats bring a chewy texture, while the seeds add both crunch and nutrition. Platinum Yeast from Red Star ensures a good rise, and the honey offers a hint of sweetness that complements the nuttiness of the seeds.
Understanding the role of each ingredient is key. The bread flour provides the necessary gluten, while the oats and seeds enhance the bread’s texture and flavor. Using warm water activates the yeast, allowing the dough to rise beautifully. This method eliminates the need for kneading, making it accessible for everyone.
Preparation/setup
To begin, gather all your ingredients: 3 cups of bread flour, 1 cup of rolled oats, 1/4 cup each of pumpkin and sunflower seeds, and 2 tablespoons of flax or sesame seeds. Mix these dry ingredients with 2 teaspoons of coarse salt and 2 teaspoons of yeast in a large bowl. In a separate container, combine 1 and 1/2 cups of warm water with 2 tablespoons of honey, then pour this mixture over the dry ingredients.
Stir the mixture gently with a spatula until the flour is fully incorporated. The dough will be sticky, but that’s the hallmark of a no-knead bread. Cover the bowl with plastic wrap and let it rise at room temperature for about three hours. For optimal flavor, refrigerate the dough for at least 12 hours, allowing the flavors to develop and the dough to firm up.
Crafting the Perfect Loaf
Technique
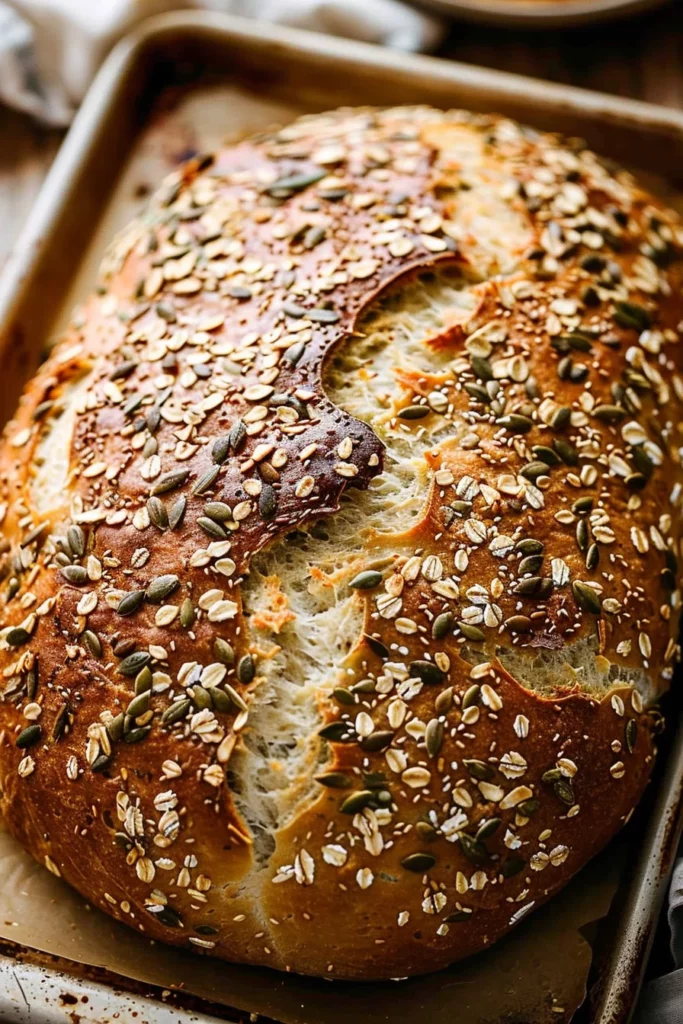
Once your dough has rested and developed flavor, it’s time to shape it. Lightly dust a baking sheet with flour or cornmeal. With floured hands, gently shape the dough into a ball. The dough is sticky, so handle it carefully to maintain its airy structure. Place the shaped dough onto the prepared sheet.
Creating a topping of oats, pumpkin seeds, sunflower seeds, and flax or sesame seeds adds visual appeal and flavor. Sprinkle this mixture over the dough, pressing gently to adhere. Allow the dough to rest for another 45 minutes, giving it a chance to rise slightly before baking.
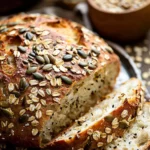
No Knead Seeded Oat Bread
Tips/tricks
For a crispier crust, position a shallow pan of boiling water in the oven during baking. This steam creates a bakery-style crust that is both crisp and chewy. If you notice the crust browning too quickly, tent the bread with aluminum foil to prevent over-browning.
Using a sharp knife, score the top of the dough with a shallow cut. This step is crucial as it allows the bread to expand and rise evenly in the oven. Ensure your oven is preheated to 425°F before placing the dough inside for a consistent bake.
Achieving Bakery-Quality Bread at Home
Perfecting results
The beauty of No Knead Seeded Oat Bread is its forgiving nature. Even if the dough flattens slightly during resting, it can be reshaped before baking. The key to achieving a perfect loaf is ensuring the internal temperature reaches 195°F, confirming that it is fully baked.
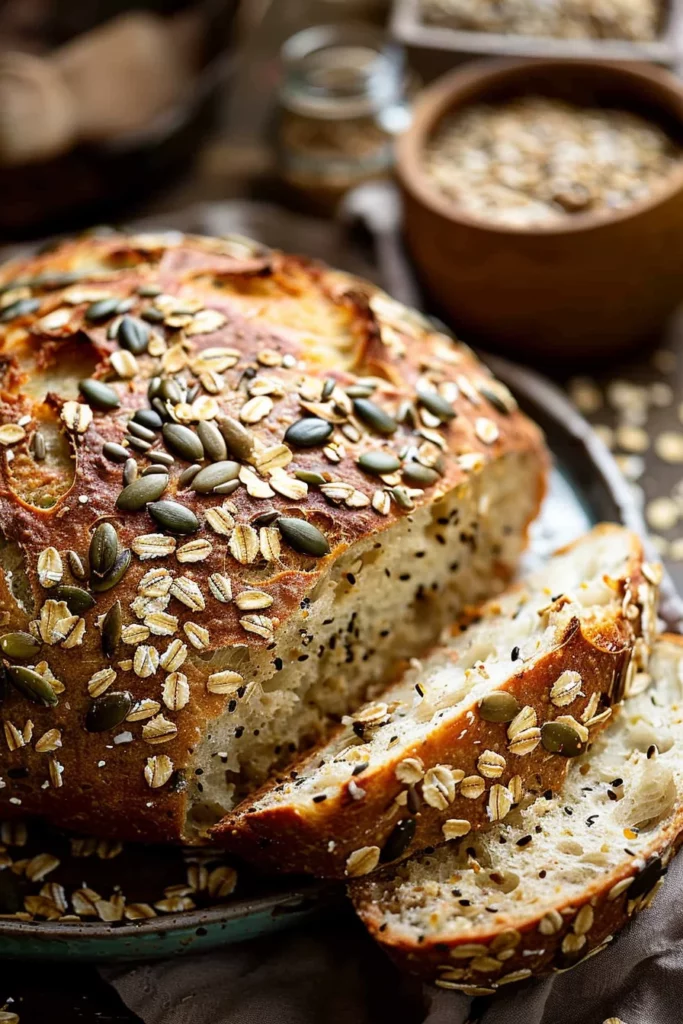
Let the bread cool for at least 10 minutes before slicing. This waiting period allows the crumb to set, making slicing easier and preventing the bread from becoming gummy. The result is a loaf that is both flavorful and satisfying in texture.
Troubleshooting/variations
If your bread turns out denser than desired, ensure that the yeast is fresh and the water temperature is accurate. Experimenting with different seed combinations can also offer new flavors and textures.
For those interested in exploring more bread recipes, consider our No Knead Cheesy Bread or the Rustic Artisan Loaf. Each offers unique flavors and techniques, expanding your home-baking repertoire.
Presenting Your Homemade Bread
Serving/presentation
Presentation enhances the enjoyment of any meal. Slice the No Knead Seeded Oat Bread and display it in a basket lined with a cloth, offering a rustic touch. Pair this bread with hearty stews or spread it with butter and homemade jam for a delightful breakfast.
For a creative appetizer, serve slices with a selection of artisanal cheeses and fresh fruits. The bread’s texture and flavor complement a variety of toppings, making it a versatile choice for any occasion.
No Knead Seeded Oat Bread
Pairings/storage
This bread pairs wonderfully with savory dishes. Store any leftovers in a breathable container at room temperature for up to three days. For longer storage, refrigerate the bread, which will keep it fresh for up to ten days.
For more bread inspiration, check out our Quick and Healthy Oatmeal Bread or explore indulgent treats like our No Sugar Chocolate Banana Oatmeal Treat. Each recipe brings a unique twist to classic flavors.
Conclusion
The No Knead Seeded Oat Bread embodies simplicity and flavor, making it a staple in any home baker’s repertoire. Its ease of preparation, combined with the satisfying texture and taste, highlights the strengths of no-knead baking methods.
Embrace the versatility and convenience of this recipe, transforming ordinary ingredients into an extraordinary loaf. Whether you’re new to bread baking or a seasoned pro, this recipe offers a rewarding experience that brings the warmth of freshly baked bread to your table.
