📑 Table of Contents ▶
- Old Fashioned Chocolate Pie
- Mastering the Old Fashioned Chocolate Pie
- Fundamentals
- Preparation/Setup
- Perfecting the Chocolate Filling
- Technique
- Tips/Tricks
- Ensuring a Flawless Finish
- Perfecting Results
- Troubleshooting/Variations
- Serving and Storing Your Pie
- Serving/Presentation
- Pairings/Storage
- Conclusion
- FAQs – Old Fashioned Chocolate Pie
- Related posts:
- Pumpkin Cream Cheese Danish: Irresistible Fall Delight
- Mini Cherrypomegranate Tartlets With Tangy Glaze: Exquisite Bite-Sized Delight
- Pin on Plant-Powered Recipes
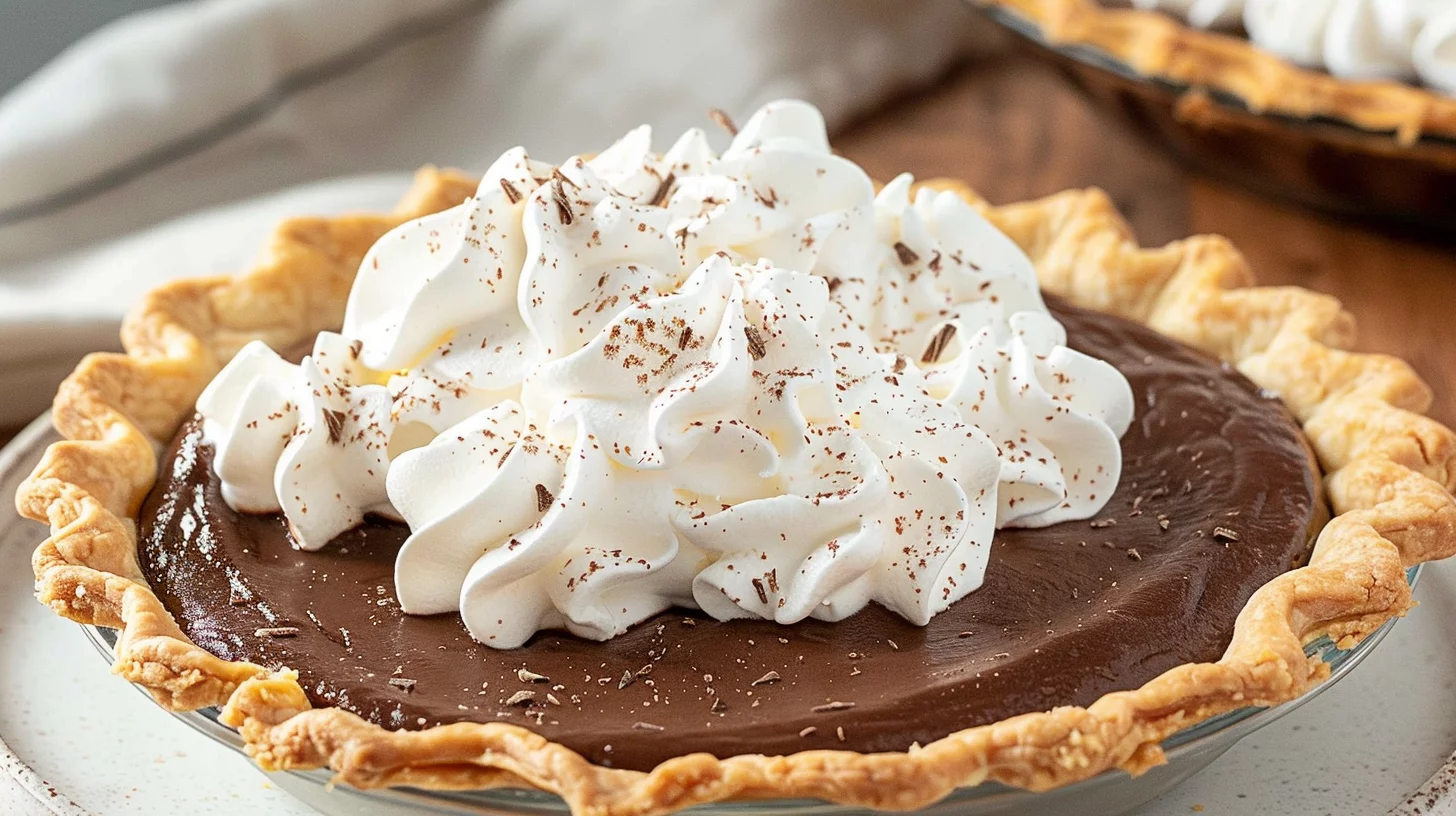
The aroma of chocolate wafting through the house is one of my earliest culinary memories. As a child, I remember standing on tiptoes to peek over the counter while my grandmother prepared her signature Old Fashioned Chocolate Pie. The anticipation of the first bite was as rich as the dessert itself. Her pie was more than just a treat; it was a staple at family gatherings, a delicious reminder of love shared around the table.
One of the things I cherish most about this Old Fashioned Chocolate Pie is its simplicity. With a handful of ingredients, it transforms into a dessert that is both nostalgic and satisfying. It’s a recipe that has been passed down through generations, each one adding their touch while preserving the heart of the dish. The combination of cocoa, sugar, and butter creates a smooth and velvety filling that’s nestled in a perfectly baked pie shell.
As I recreate this cherished dessert, I’m reminded of the warmth and comfort it brings. It’s a testament to the joy of home cooking, where simple ingredients become something extraordinary. The Old Fashioned Chocolate Pie is not just a dessert; it’s an experience — one that I’m thrilled to share with you. Let’s dive into the process of making this delightful pie and explore the magic behind its timeless appeal.
Old Fashioned Chocolate Pie
- Total Time: 55 minutes
- Yield: 4–6 servings 1x
Description
Discover the secret to making a rich and creamy Old Fashioned Chocolate Pie. Follow our expert tips for a classic dessert that will impress with its timeless flavor.
Ingredients
- 1 cup (240 ml) (200 grams) granulated sugar
- 1/4 cup (60 ml) (32 grams) cornstarch
- ½ cup (43 g) unsweetened cocoa powder
- 2 cups (475 ml) whole milk
- 3 (3) egg yolks
- 5 tablespoon s (71 g) butter
- 1/4 teaspoon (1 ml) (0.25 teaspoon (1 ml)) salt
- 2 teaspoon s (10 ml) vanilla extract
- 1 (1) pie shell fully baked
Instructions
- In a medium saucepan, combine the sugar, cocoa powder, and cornstarch by stirring them together thoroughly.
- Separate the egg yolks from the whites, setting the whites aside for another recipe. In a large measuring cup, blend the egg yolks with the milk, then add this mixture to the saucepan along with the butter.
- Cook the mixture over medium heat, stirring often, until it reaches a thick, pudding-like consistency.
- Take the saucepan off the heat and mix in the salt and vanilla extract. If there are any lumps, use an electric mixer to smooth them out.
- Transfer the chocolate mixture into a pre-baked pie crust and place it in the refrigerator for a minimum of 3 hours to set.
- If desired, finish with a topping of whipped cream or meringue.
Notes
- Ensure cornstarch dissolves completely in the milk and yolk mixture to prevent lumps.
- Add butter in small pieces for even melting and smooth integration into the hot mixture.
- Refrigerate pie for at least 3 hours to achieve firm consistency before slicing.
- Prep Time: 10 minutes
- Cook Time: 45 minutes
- Category: Dessert
- Method: Baking
- Cuisine: Mexican
Nutrition
- Calories: 200
- Fat: 12g
- Protein: 20g
Keywords: chocolate pudding pie, creamy chocolate filling, cocoa powder dessert, homemade chocolate pie, vanilla extract chocolate, chilled chocolate pie
Mastering the Old Fashioned Chocolate Pie
Fundamentals
Creating an Old Fashioned Chocolate Pie starts with understanding its core ingredients. Granulated sugar, unsweetened cocoa powder, and cornstarch form the base of the filling. These dry ingredients work together to create the pie’s characteristic sweetness and thick, pudding-like texture. The addition of whole milk ensures a creamy consistency, while egg yolks add richness and depth.
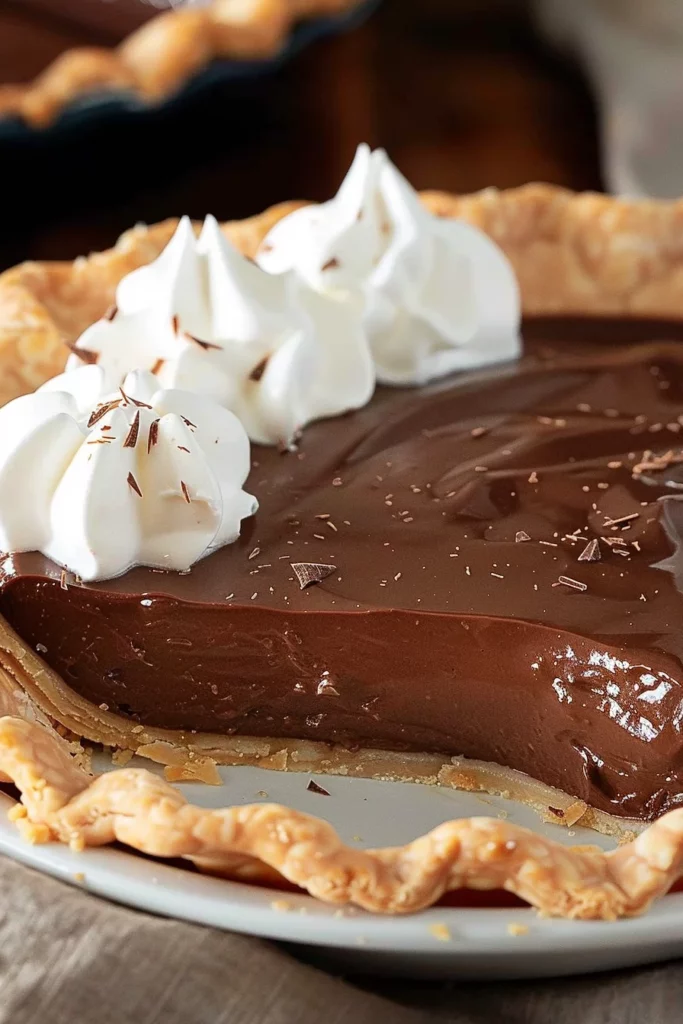
Butter is a crucial component, providing the pie with its silky texture. Salt and vanilla extract enhance the flavors, bringing out the chocolate’s natural notes. The fully baked pie shell serves as a perfect vessel for the chocolate filling, offering a crispy contrast to the smooth interior. Each ingredient plays a vital role, harmonizing to create a dessert that is simple yet deeply satisfying.
Preparation/Setup
Before diving into the cooking process, gather all your ingredients and tools. A medium saucepan is essential for combining and cooking the filling. A large measuring cup will help blend the egg yolks with the milk before adding them to the dry ingredients. Make sure your pie shell is fully baked and ready to receive the filling.
Begin by thoroughly mixing the sugar, cocoa powder, and cornstarch in the saucepan. This ensures even distribution and prevents clumping. Separating the egg yolks from the whites is a critical step, as the yolks provide a rich texture, while the whites can be saved for another recipe. Consider exploring our Classic Old Fashioned Drop Butter Cookies for a delightful way to use those egg whites.
Perfecting the Chocolate Filling
Technique
The technique of cooking the chocolate filling is all about patience and attention. Once the egg yolk and milk mixture is added to the saucepan, along with the butter, constant stirring is key. Cook over medium heat, allowing the mixture to thicken gradually. You’re aiming for a pudding-like consistency, which takes about 10 to 15 minutes.
Remove the saucepan from heat and stir in the salt and vanilla extract. These final additions elevate the chocolate flavor, adding a touch of complexity. If you notice any lumps, use an electric mixer to achieve a smooth, velvety texture. The filling should be glossy and thick, ready to be poured into the pie shell.
Old Fashioned Chocolate Pie
Tips/Tricks
To ensure your Old Fashioned Chocolate Pie reaches perfection, consider these tips. Always use room temperature ingredients; they blend more seamlessly and promote even cooking. Stir consistently to prevent the mixture from sticking to the bottom of the saucepan. If you want a deeper chocolate flavor, try adding an extra teaspoon of cocoa powder.
For a twist, incorporate flavored extracts like almond or mint for a subtle variation. If you enjoy experimenting with chocolate desserts, you might also love our Golden Chocolate Chip Zucchini Bread. These small adjustments allow you to personalize the pie while maintaining its classic charm.
Ensuring a Flawless Finish
Perfecting Results
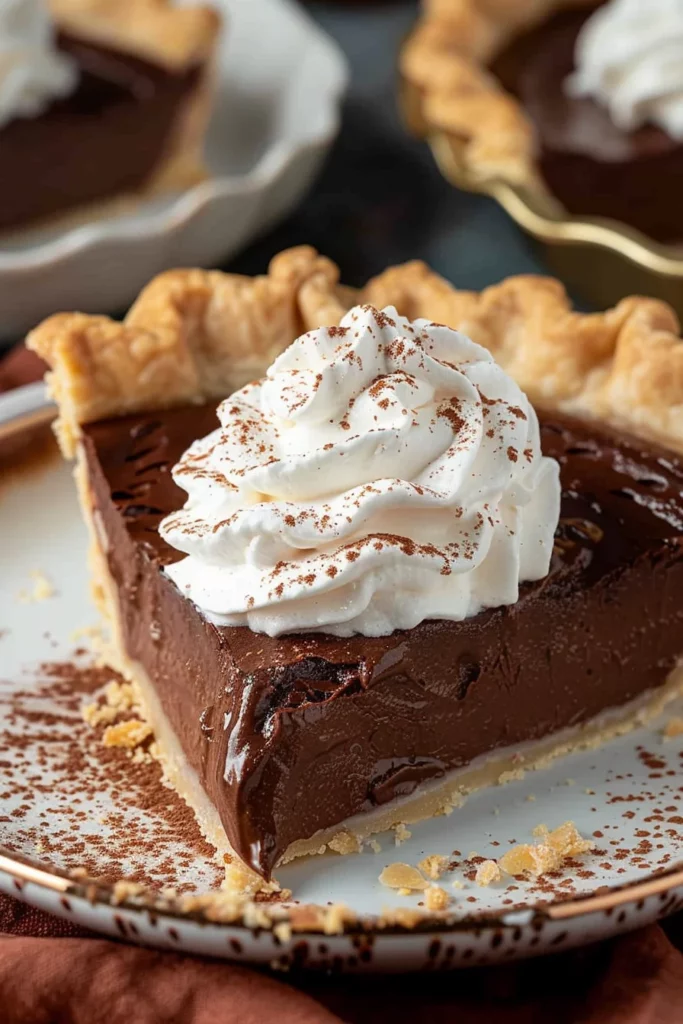
Achieving the perfect Old Fashioned Chocolate Pie involves attention from start to finish. After pouring the chocolate filling into the pie shell, smooth the surface with a spatula. This creates an even layer, ensuring each slice looks as inviting as it tastes. Allow the pie to cool at room temperature before transferring it to the refrigerator.
Chilling the pie is essential for setting the filling. A minimum of three hours in the refrigerator allows the flavors to meld and the texture to firm up. For the best results, prepare the pie a day in advance, giving it ample time to develop its full richness. This patience pays off, resulting in a dessert that feels both indulgent and rewarding.
Troubleshooting/Variations
If your filling seems too thick or lumpy, don’t worry. An electric mixer can quickly smooth out any inconsistencies. Should the filling be too thin, return it to the heat and continue cooking until it thickens. This flexibility makes the pie forgiving and adaptable to different preferences.
For those seeking a lighter option, consider using low-fat milk. While it may alter the richness slightly, the pie will still deliver delightful chocolatey goodness. Our Old Fashioned Pancakes Recipe offers another way to enjoy classic flavors with a twist, perfect for breakfast or dessert.
Serving and Storing Your Pie
Serving/Presentation
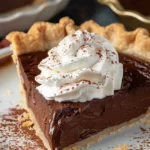
Presentation is the final touch that elevates your Old Fashioned Chocolate Pie. Before serving, consider topping it with fresh whipped cream or a delicate meringue to complement the rich filling. A sprinkle of cocoa powder or chocolate shavings adds a sophisticated finish.
Cutting the pie can be an art in itself. Use a sharp knife, dipping it in hot water between slices for clean cuts. Each slice should reveal the creamy interior, tempting guests with its rich aroma and inviting appearance. For additional dessert inspiration, our Old Fashioned Cinnamon Donut Bread is a must-try.
Old Fashioned Chocolate Pie
Pairings/Storage
Pair your Old Fashioned Chocolate Pie with a cup of freshly brewed coffee or a glass of cold milk, enhancing its flavors with each sip. Store any leftovers in an airtight container in the refrigerator. The pie maintains its texture and taste for up to four days, making it a delightful treat to enjoy over time.
If you’re looking to share this dessert at gatherings, consider making multiple pies. They’re sure to be a hit, just like our Rice Krispie Chocolate Chip Cookies, which offer a unique twist on classic treats. Both options showcase the joy of homemade desserts, perfect for any occasion.
Conclusion
The Old Fashioned Chocolate Pie is a testament to the timeless appeal of simple ingredients crafted with care. From its rich, velvety filling to its crisp pie shell, every element works together to create a dessert that’s both comforting and indulgent. Its straightforward preparation makes it accessible to all, whether you’re a seasoned baker or a novice in the kitchen.
Through this delectable pie, we celebrate the beauty of home cooking and the joy it brings to those around us. It’s a dessert that invites you to savor each bite, enjoy every moment, and share in the warmth of tradition. With a few pantry staples, you can create a pie that becomes a cherished part of your culinary repertoire, much like the beloved recipes at Old Fashioned Soft and Buttery Yeast Rolls.
