📑 Table of Contents ▶
- Mini Lemon Tarts
- Creating Mini Lemon Tarts
- Fundamentals
- Preparation/Setup
- Crafting the Perfect Lemon Filling
- Technique
- Tips/Tricks
- Perfecting Your Mini Lemon Tarts
- Perfecting Results
- Troubleshooting/Variations
- Serving and Storing Mini Lemon Tarts
- Serving/Presentation
- Pairings/Storage
- Conclusion
- FAQs – Mini Lemon Tarts
- Related posts:
- Peppermint Mocha Truffles: Decadent Joy in Every Bite
- Double Chocolate Zucchini Muffins: Decadent Indulgence in Every Bite
- High Protein No-bake Peanut Butter Oat Cookie Dough Bars Recipe
I’m Emma, and today I want to share something truly special: Mini Lemon Tarts. These delightful treats always remind me of sunny afternoons spent in my grandmother’s kitchen. She had a magical way of turning everyday ingredients into extraordinary desserts. The bright, tangy flavor of lemon zest, combined with the buttery pastry shells, created a treat that seemed to capture the essence of sunshine in every bite.
As a child, I watched with fascination as she carefully measured each ingredient, her hands moving with practiced ease. It was there, amidst the clatter of bowls and the sweet aroma of baking, that I learned the joy of cooking from scratch. Now, these Mini Lemon Tarts have become a beloved tradition in my own kitchen, a way to connect with the past while creating something new and delicious.
In this bustling world, food has a unique power to bring us together. These Mini Lemon Tarts do just that—offering a perfect balance of sweet and tart that delights the senses. Whether you’re gathering with family or hosting friends, these tarts are a wonderful way to celebrate the simple joys of home cooking.
Join me as we explore the art of making Mini Lemon Tarts, a recipe that combines tradition with a touch of modern flair. From the crisp, flaky shells to the luscious lemon filling, every step is an opportunity to create memories and savor the moment. Let’s dive into this delicious adventure together!
Print
Mini Lemon Tarts
- Total Time: 1 hour 30 minutes
- Yield: 24 tarts 1x
Description
Learn how to make delectable mini lemon tarts with our easy-to-follow recipe. Perfect for any occasion, these tangy treats will have you coming back for more.
Ingredients
- 3/4 cup (180 ml) unsalted butter at room temperature
- 1/2 cup (120 ml) granulated sugar
- 1/2 teaspoon (3 ml) pure vanilla extract
- 1 3/4 cup (420 ml) s all-purpose flour
- Pinch salt
- 2 teaspoon (10 ml) s finely grated lemon zest (I use a microplane to zest the lemons)
- 3/4 cup (180 ml) granulated sugar
- 1/4 cup (60 ml) fresh lemon juice
- 2 large eggs
- 4 tablespoon (60 ml) s cold unsalted butter, cut into small pieces
- 1/8 teaspoon (1 ml) kosher salt
- 1 cup (240 ml) heavy whipping cream
- 1/4 cup (60 ml) powdered sugar
Instructions
- Combine the ingredients for the dough. In a stand mixer equipped with a paddle, blend the softened butter with sugar until just mixed. Incorporate the vanilla extract. In another bowl, sift together the flour and a pinch of salt. Gradually add this mixture to the butter and sugar on low speed until the dough begins to form.
- Let the dough rest. Shape the dough into a ball and wrap it in plastic wrap. Flatten it into a disk about 1/2 inch thick, place it in the refrigerator, and let it chill until it becomes firm, approximately 45 minutes.
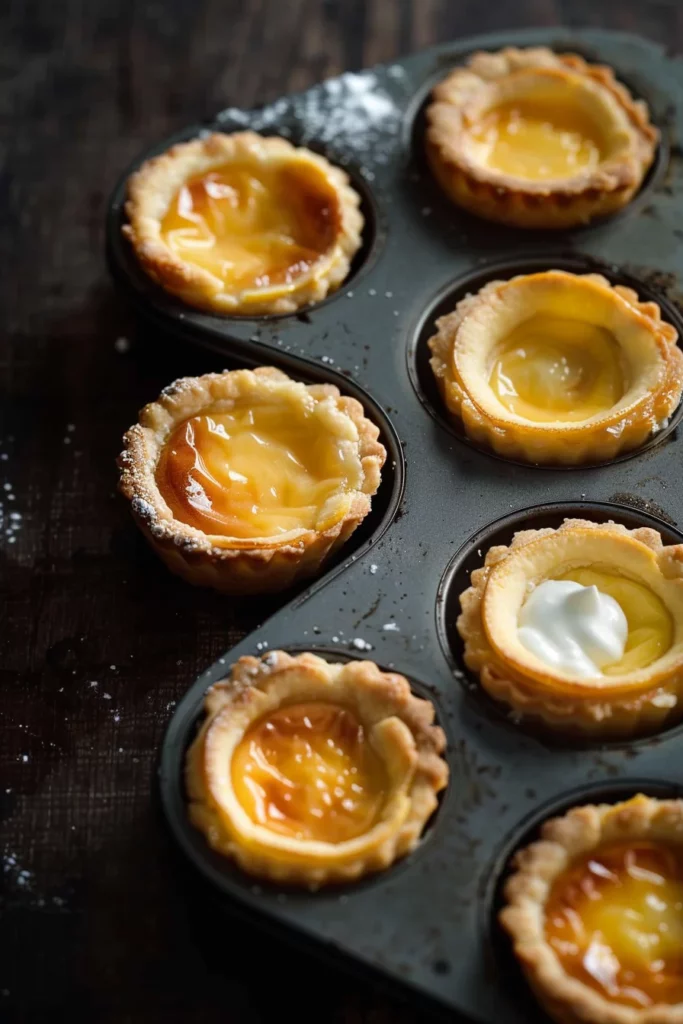
- Prepare the oven and baking tin. Preheat your oven to 350 degrees Fahrenheit. Coat a 24-cup mini muffin tray with baking spray thoroughly.
- Shape the dough. On a surface dusted with flour, roll the dough out to a thickness of 1/8 inch. Use a cutter to punch out 24 circles, re-rolling any leftover dough as needed. Fit each dough circle into the muffin pan, pressing with your fingers to shape. If the dough becomes too pliable, briefly chill it in the freezer. A small spatula can assist in transporting the dough rounds.
- Bake the shells. Place the muffin tin in the freezer for 10 minutes to firm up the dough. Place a small cupcake liner in each shell and fill with rice or beans. Bake for 20 minutes, turning halfway through. Remove liners and weights, then bake for an additional 4-5 minutes until they are lightly golden. Cool in the tin for 5 minutes, then carefully lift them out using a small knife and cool on a rack.
- Prepare the filling. Pulse the lemon zest and sugar in a food processor until the zest is finely mixed with the sugar. Add in lemon juice, eggs, butter pieces, and a pinch of salt. Blend until smooth, even if it appears curdled.
- Cook the lemon curd. Transfer the mixture to a saucepan and heat over medium-low, stirring continuously with a rubber spatula, until it thickens and the temperature reaches 175 degrees Fahrenheit, about 10 minutes.
- Let the curd cool. Remove from heat and allow it to cool to room temperature, stirring occasionally. Store in the fridge until needed.
- Whip the cream. Beat the cream with powdered sugar until soft peaks form, then set aside.
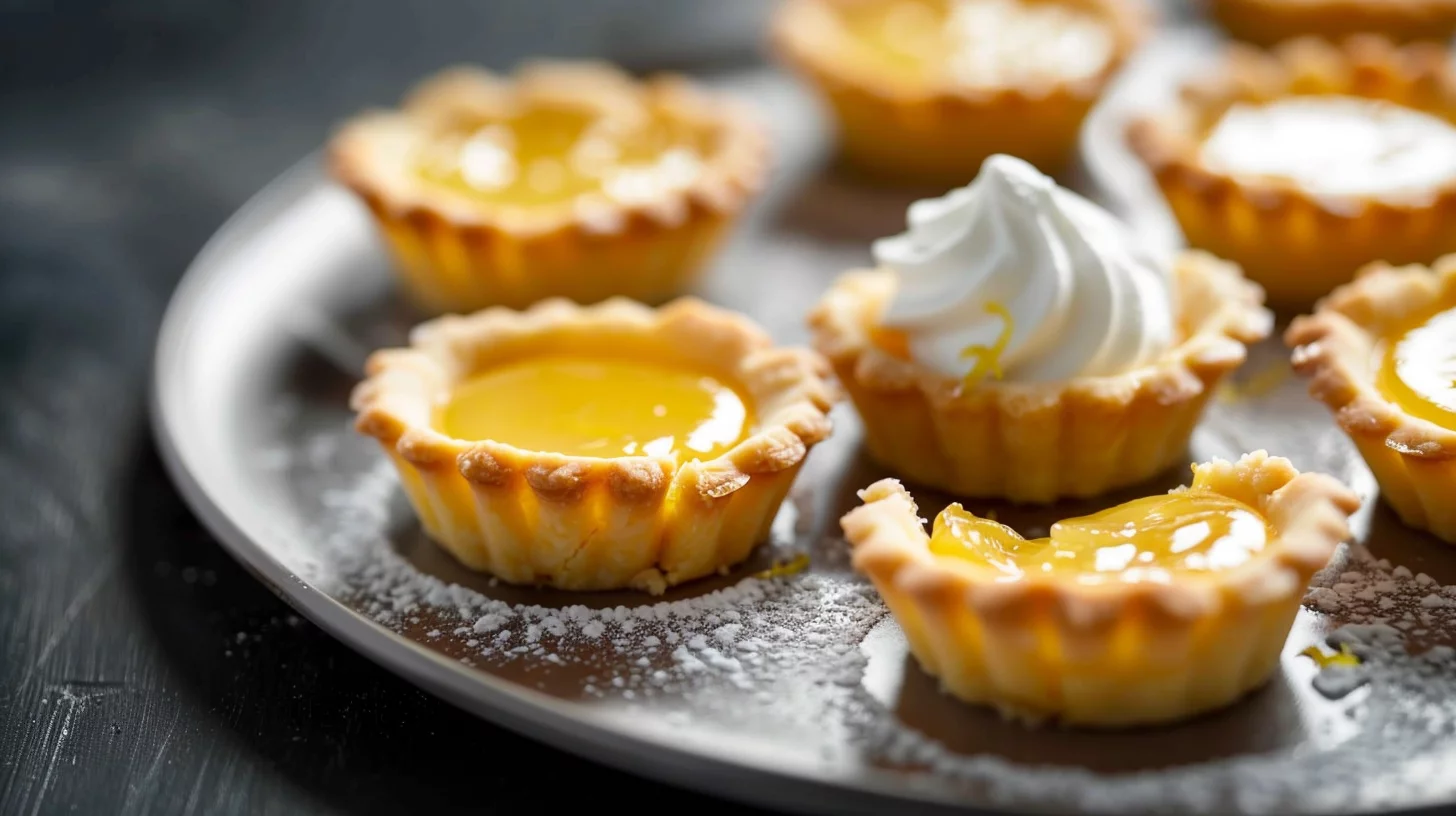
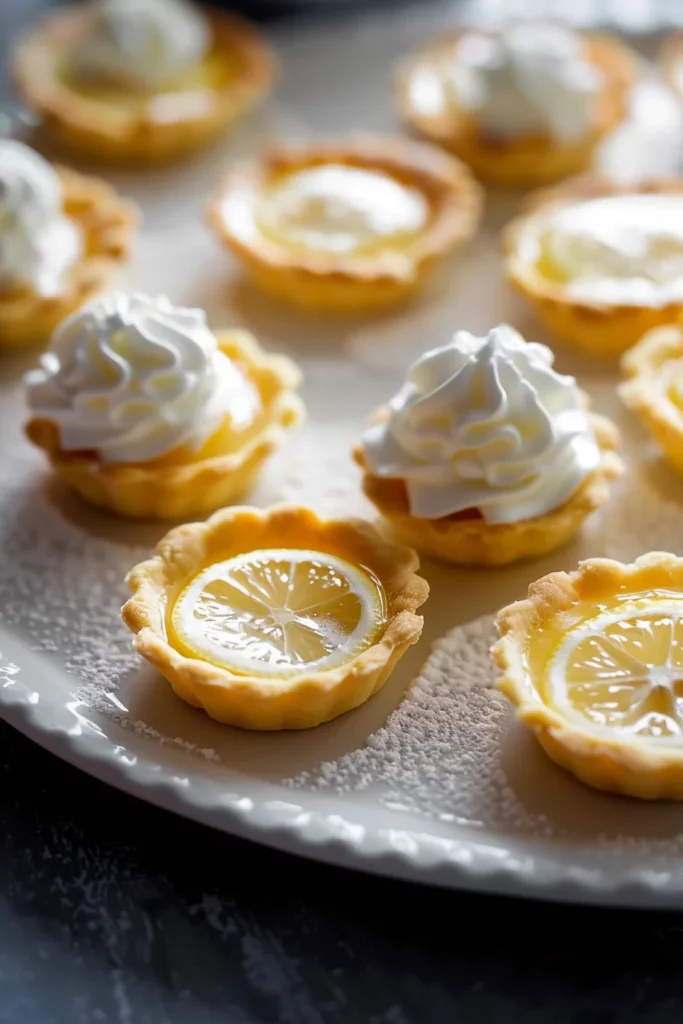
- Finish the tarts. Fill each tart shell with about 1 1/2 teaspoons of lemon curd, then add a small dollop of whipped cream on top.
Notes
- Ensure the butter is at room temperature for the dough to easily come together
- Use a small spatula to transfer the dough rounds to the muffin pan for optimal results
- Chill the dough if it becomes too soft while shaping the shells
- Prep Time: 1 hour
- Cook Time: 30 minutes
- Category: Dessert
- Method: Baking
- Cuisine: Not specified
Nutrition
- Calories: 150
- Fat: 8g
- Protein: 2g
Keywords: lemon tartlets, buttery crust, creamy lemon curd, whipped cream topping, mini muffin pan, zesty lemon flavor
Creating Mini Lemon Tarts
Fundamentals
To embark on this culinary journey, you’ll need a few essential ingredients: unsalted butter, granulated sugar, vanilla extract, all-purpose flour, salt, lemon zest, lemon juice, eggs, and heavy whipping cream. These simple components come together to create a dessert that is as delightful to make as it is to eat.
The key to perfect Mini Lemon Tarts lies in balancing the flavors and textures. The buttery pastry shell provides a crisp contrast to the silky lemon curd filling. Achieving this balance requires precision and a gentle touch, ensuring each element complements the others.
Preparation/Setup
Start by preparing the dough. In a stand mixer, blend soft butter with sugar until combined. Add vanilla extract for a hint of warmth. In a separate bowl, sift flour and salt together, then gradually incorporate into the butter mixture. Once your dough forms, wrap it in plastic and chill for about 45 minutes. This step is crucial for achieving a tender, flaky crust.
Preheat your oven to 350 degrees Fahrenheit and prepare a 24-cup mini muffin tray with baking spray. Roll the chilled dough on a floured surface, cutting out circles to fit into the muffin cups. If you find the dough too soft, a quick chill in the freezer can help. Bake the shells until golden and crisp.
Crafting the Perfect Lemon Filling
Technique
The filling is where the magic happens. Combine lemon zest and sugar in a food processor, pulsing until the zest is finely mixed. This step infuses the sugar with a bright citrus aroma. Add lemon juice, eggs, butter, and salt, blending until smooth. This mixture will transform into a luscious curd as you cook it over medium-low heat, stirring continuously.
Mini Lemon Tarts
Cooking the curd requires patience and attention. As it thickens, the mixture should reach 175 degrees Fahrenheit. This ensures the eggs are safely cooked and the curd achieves the right consistency. Once thick, let it cool to room temperature before storing it in the fridge. The result is a vibrant, tangy filling that pairs perfectly with the pastry shells.
Tips/Tricks
To enhance the lemon flavor, consider using freshly squeezed lemon juice and zest. A microplane is perfect for zesting, ensuring you capture only the fragrant outer layer of the lemon. When making the curd, use a rubber spatula to prevent it from sticking to the pan.
For an extra touch of elegance, top each tart with a dollop of whipped cream. Beat heavy cream with powdered sugar until soft peaks form, adding a light, creamy finish to your Mini Lemon Tarts. Remember, the key to success lies in attention to detail and the quality of your ingredients.
Perfecting Your Mini Lemon Tarts
Perfecting Results
Achieving the perfect Mini Lemon Tarts involves understanding the nuances of each component. The pastry should be crisp and golden, offering a satisfying bite without overpowering the delicate filling. The lemon curd, bright and tangy, should melt in your mouth, leaving a lingering zestiness.
To ensure your tarts are the star of any gathering, focus on consistency. Each tart should have an even layer of filling and a uniform shell. This attention to detail elevates your tarts from homemade to professional quality. Practice and patience are your best allies in mastering this recipe.
Troubleshooting/Variations
Common issues include a too-soft dough or runny curd. If the dough becomes difficult to handle, chilling it briefly can help. For curd that won’t thicken, ensure your heat is consistent and you’re stirring continuously. If you want to experiment, consider adding a hint of lavender or a drizzle of honey for a unique twist.
Exploring variations can lead to delightful discoveries, such as pairing these tarts with other lemon-inspired treats. For instance, try serving them alongside Lemon Yogurt Pancakes or Air Fryer Lemon Donuts for a citrus-themed brunch.
Serving and Storing Mini Lemon Tarts
Serving/Presentation
Presentation is key when serving Mini Lemon Tarts. Their vibrant color and elegant form make them perfect for any occasion. Arrange them on a beautiful platter, garnishing with a sprinkle of powdered sugar or a twist of lemon zest for added flair. These tarts are as visually appealing as they are delicious.
For a delightful contrast, serve with a fresh fruit salad or a light, refreshing drink. These additions complement the tarts without overshadowing their delicate flavors. Whether you’re hosting a garden party or an intimate gathering, these tarts are sure to impress.
Mini Lemon Tarts
Pairings/Storage
Pair your Mini Lemon Tarts with complementary dishes like Lemon Zucchini Bread from our blog or explore a similar recipe on Luscious Recipes. For a savory option, try Sous Vide Lemon Tahini Chicken Thighs.
Store any leftover tarts in an airtight container in the fridge, where they’ll keep for up to two days. For longer storage, freeze the shells and curd separately, assembling them freshly before serving. This ensures your tarts maintain their delightful texture and flavor.
Conclusion
Mini Lemon Tarts capture the essence of home baking: simple ingredients transformed into something truly special. Their bright, tangy flavor and crisp pastry make them a delightful treat for any occasion. By focusing on quality ingredients and careful preparation, you can create tarts that are both beautiful and delicious.
These tarts not only please the palate but also offer a moment of connection and joy. Whether you’re a seasoned baker or a novice, the process of making these tarts is rewarding and fun. Embrace the journey, savor the results, and share the joy of these delightful Mini Lemon Tarts with those you love.
